Introduction
OpenLM Broker facilitates communication between OpenLM Software License Management and Software License Management Cloud (further in the document SLM and SLMC) and the license manager to provide enhanced license statistics and functionality. It interacts directly with the license manager, querying it regularly for license information and relaying this data to the OpenLM SLM. While OpenLM Broker is an optional component, it is highly recommended for enhancing the license management experience and capabilities of the OpenLM system.
OpenLM Broker Installation
OpenLM Broker is Java-based and can run on any Java-supported platform. The Broker needs to be installed on the same machine as the license manager. As the Java environment is required, Java Runtime Environment (JRE) is bundled as part of the installation (available only for the Broker installation). Before starting the installation, it is advisable to check the system requirements on the OpenLM website. This document covers the installation of the OpenLM Broker on Windows in both standard wizard installation (see A. Installing OpenLM Broker with the Installation Wizard) and through the silent installation (see B. OpenLM Broker Silent Installation).
Both methods of installation require the OpenLM Broker installer. It can be located in the download area (https://www.openlm.com/download/).
A. Installing OpenLM Broker with the Installation Wizard
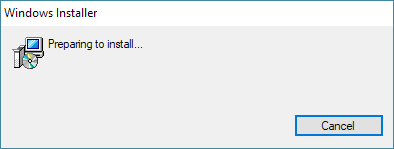
1. Double-click the installer file (OpenLM.Broker.Installer-#.#.##.##.msi) to initiate installation. A “Preparing to install” screen (see Figure 1) will appear briefly before the installation Welcome screen (see Figure 2).temp

Figure 1: Installation preparation screen.

Figure 2: Installation welcome screen.
2. Click [Next] to continue with the installation. The License Agreement screen will appear (see Figure 3).

Figure 3: License agreement screen.
3. If you agree to the terms and want to continue with the installation, click the “I Agree” radio button (see Figure 4). Clicking the radio button will enable the [Next] button. Clicking [Cancel] will exit the installer without any changes.

Figure 4: License agreement with “I Agree” checked.
4. Click [Next]. The Java selection screen will appear. Either accept the bundled OpenJDK distributive or choose and point to a path where Java 11 is already installed (see Figure 5).

Figure 5: The Java selection screen.
Click [Next]. The Select Installation Folder screen will appear with the default installation path (see Figure 6).

Figure 6: Select the Installation Folder screen.
5. [Optional] Click [Browse] to select a different installation path. The default path is recommended.
6. Click [Next]. An installation confirmation screen will appear (see Figure 6).

Figure 7: Installation confirmation screen.
7. Click the [Next] button to continue with the installation. An installation progress screen will appear (see Figure 8). The installation will continue until completion. The Success screen (see Figure 9) will appear at the end of a successful installation.

Figure 8: Installation progress screen.

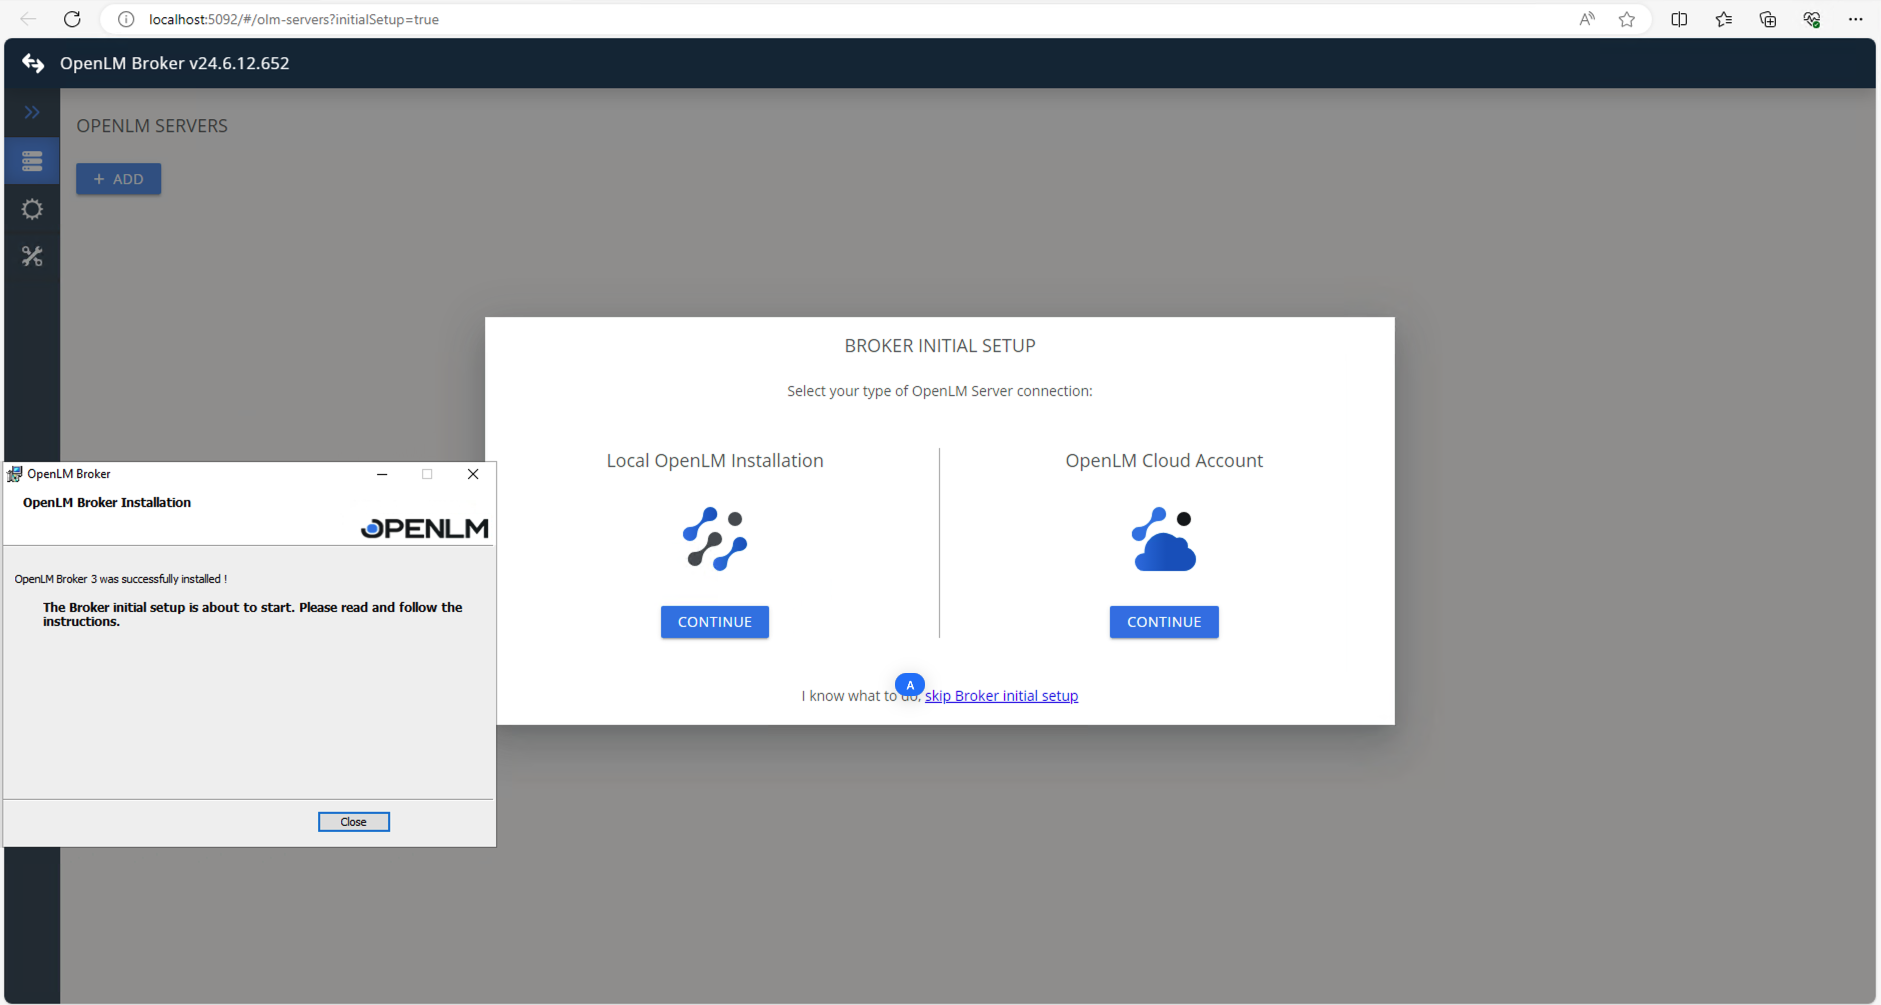
Figure 9: Notification of successful installation. Broker Initial Setup window
8. Click the [Close] button to exit the installer.
9. Go to the Broker and select where the Broker will report the data: into your Cloud Account or your on-premise installation:
9.1 On-premise installation:
- Select the “Local OpenLM Installation” option then click [Next]
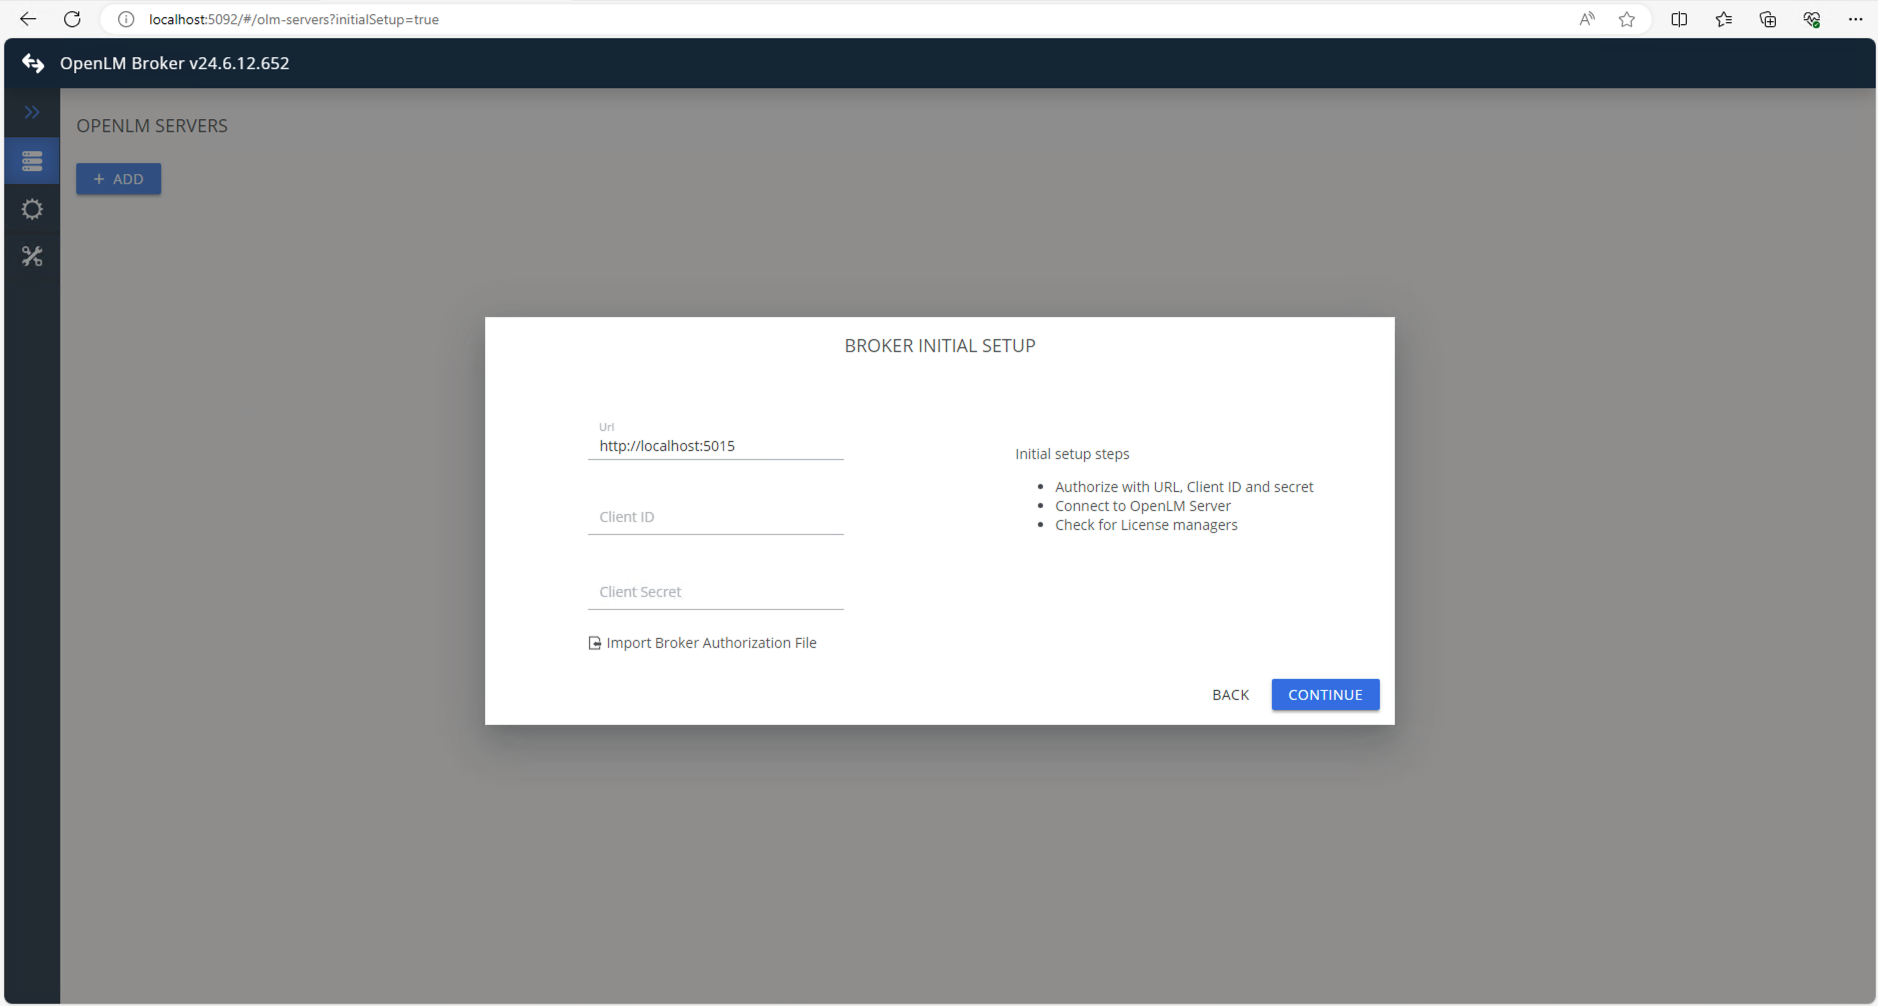
- Indicate the URL to the Easy Admin:

- Click [Next]. The Broker will attempt to make the connection to the EasyAdmin
If you are connected to the OpenLM SLM via the Identity Service:
- Go to EasyAdmin -> Start Menu -> Administration -> System & Security -> Authorization -> Add

- From the dropdown list select [Broker]
- Type in a suitable description:

- Click [Save]
- Make sure you read carefully the “Attention” about the Client Secret and Client ID message then click [OK]

- In the next prompt, the Client Secret and Client ID will be displayed. These must be imported into the Broker. There are two options to perform this action: either by downloading the JSON file or using the Copy&Paste command. Select the convenient one then go back to the Broker:

- Click [Import Broker Authorization File]. Indicate the path where the Authorization File has been downloaded.
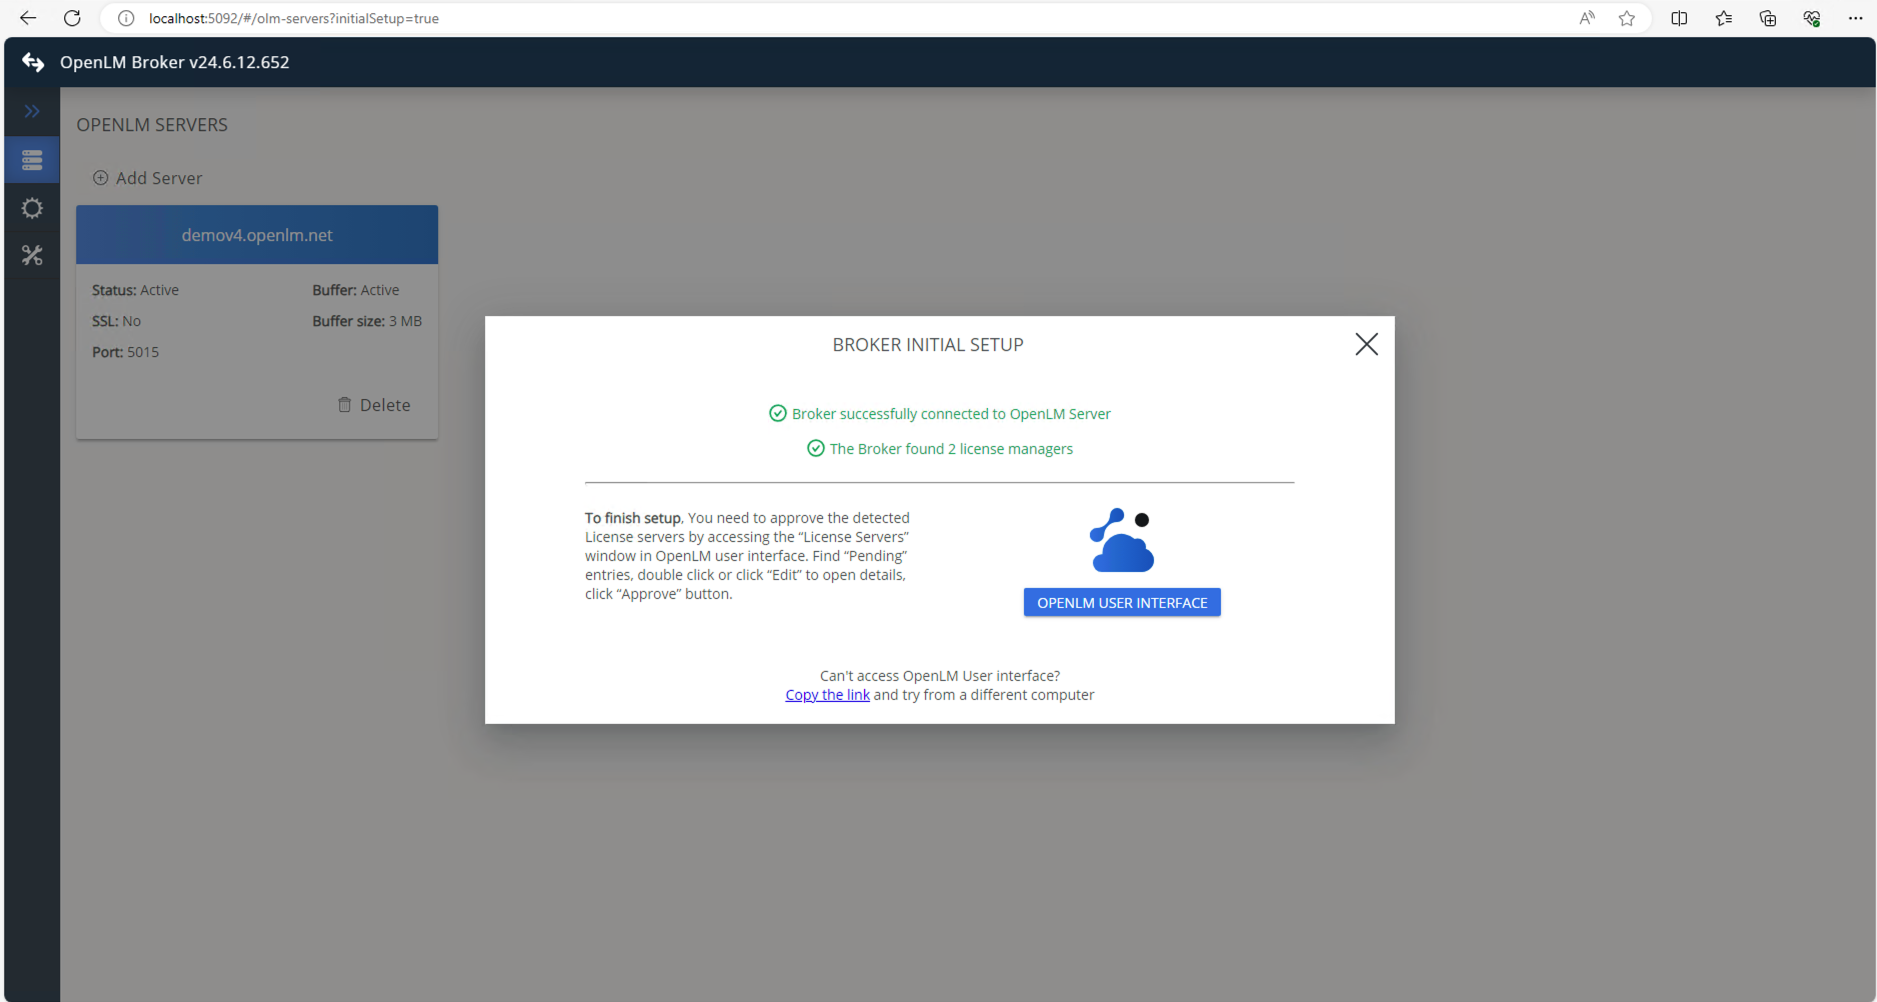
- After importing the Authorization File, the fields will be automatically populated. The same actions can be done with the Copy&Paste commands. Click [Next].

At this point, the OpenLM Broker installation is complete. Once you click OPENLM USER INTERFACE the EasyAdmin will open. Detailed explanation of the configuration is presented in the OpenLM Broker configuration document.
B. OpenLM Broker Silent Installation
System administrators who need to deploy multiple installations may find it easier and more efficient to perform a silent installation. This method allows users to install OpenLM Broker with predefined options and no on-screen ‘wizard’ assistance. The installation will also execute Broker’s autodetect functionality to automatically detect and configure certain license managers (e.g. FLEXlm).
1. Open a command prompt with administrative privileges (see Figure 9). The command prompt can be run in several ways:
- Type cmd in the taskbar search field and press [ENTER]. Right-click “Command Prompt” in the results list and choose “Run as administrator” from the popup menu.
- Launch EXE directly by right-clicking (e.g., from C:WindowsSystem32cmd.exe) and choosing “Run as administrator” from the popup window.
- Open Windows PowerShell from the Start Menu. Right-click on Start then choose Windows PowerShell (Admin). This will open Windows PowerShell in administration mode.

Figure 10: Command Prompt screen opened with Administrator role.
2. Launch msiexec with the required parameters for installation in the command prompt using the following format:
msiexec /i “<full Broker MSI file path>” /qn TRANSFORMS=”:I01″ MSINEWINSTANCE=”1″ <parameters>
The TRANSFORMS and MSINEWINSTANCE flags indicate the instance ID of the installation. Change the number if installing additional instances of Broker (e.g. “:I02” and “2” if it’s a second installation on the same machine and so on).
The following parameters are available:
- INSTALLLOCATION – specifies the installation folder. Use if you want to change from the default one. If the folder does not exist, it will be created. If this parameter is omitted, the default installation folder will be used (e.g., C:Program Files (x86)OpenLMOpenLM Broker)
- OPENLMLOCATION – specify the default OpenLM SLM connection that the Broker will connect to. Use the PORT@IP format (e.g. 5015@10.0.0.201)
- BROKERXML – specify a Broker.xml file to be copied in the Broker folder and used as the default configuration file
E.g. the command for a silent installation using a custom installation folder, a default OpenLM SLM connection at 10.0.0.201@5015 with an imported Broker.xml file would look like the following:
msiexec /i “C:UsersmariagDesktopOpenLM_Broker_22.3.30.1312.msi” /qn TRANSFORMS=”:I01″ MSINEWINSTANCE=”1″ USE_OPENLM_JAVA=”true” /l*v “C:UsersmariagDesktoplog.txt”
3. After entering the installation command, press [Enter] to launch the installation. The command prompt will advance to a new line and installation will be completed in the background.
4. Close the command prompt.
As this is a silent installation, no additional user input is required. Older OpenLM Broker versions will be upgraded if an earlier version is found in the installation folder.
Installation of Two or More OpenLM Broker Instances
It’s possible to install two or more instances of OpenLM Broker. This deployment requires the following:
- Each new installation of OpenLM Broker should be configured to connect to a different OpenLM SLM.
- Each new installation of OpenLM Broker must be installed on the same license server machine as the production installation of OpenLM Broker.
The following series of steps assumes that one instance of Broker is already installed on the targeted license server. Use the following steps to install additional instances of OpenLM Broker.
1. Double-click the installer file to initiate installation. The wizard welcome screen will appear. Previous installation(s) will be detected and the default will be set according to what installations are located. If an older instance is detected the default will be set to Upgrade Instance(s) (see Figure 11). If all existing instances are current, the screen will check by default Install New Instance (see Figure 12). The correct option for parallel installation is Install New Instance.
Figure 11: Wizard screen with Upgrade Instances checked.

Figure 12: OpenLM Broker wizard setup screen.
2. Click [Next] to continue with the installation. The License Agreement screen will appear (see Figure 13).

Figure 13: License agreement screen.
3. Click the “I Agree” radio button (see Figure 14). Clicking the radio button will enable the [Next] button.

Figure 14: License agreement with “I Agree” checked.
4. Click [Next]. Select Installation Folder screen will appear with the default installation path and automatically will add a digit to the Broker folder name (see Figure 15).

Figure 15: Select Installation Folder screen with installation path.
5. [Optional] Click [Browse] button to select a different installation path. The default path is recommended.
6. Click [Next] button. Confirm Installation screen will appear (see Figure 16).

Figure 16: Confirm Installation screen.
7. Click [Next] to continue with the installation. An installation progress screen will appear (see Figure 17). The installation will continue until completion. Success screen (see Figure 18) will appear at the end of a successful installation.

Figure 17: Installation progress screen.

Figure 18: Installation success screen.
8. Click [Close] to exit the installer.
9. Repeat Step #8 to Step #9 to install additional instances of Broker.
The parallel installation is complete.
Uninstalling OpenLM Broker
Uninstalling the OpenLM Broker component can be initiated through the Windows Control panel (Option A), by launching OpenLM Broker Setup Wizard and choosing the option to modify OpenLM Broker (Option B), or by doing a silent uninstall via the Windows Shell.
Option A: Uninstall Using Windows Control Panel
1. Open the Windows Control Panel.
2. Locate and click the “Uninstall a Program” option under Programs highlighted in Figure 19. Programs and Features screen will appear.

Figure 19: Windows Control Panel with Programs link highlighted.
3. Locate and click on OpenLM Broker in the list of names (click on Name to sort the list alphabetically). Action options for the program will appear at the top of the list (see Figure 20).

Figure 20: Programs and Features screen with the options highlighted.
4. Click on Uninstall. This will open a confirmation screen (see Figure 21).

Figure 21: Uninstall confirmation screen.
5. Click [Yes] to confirm uninstall. A progress screen will appear (see Figure 22). The progress screen will close when the process is complete.

Figure 22: OpenLM Agent uninstall progress screen.
6. Close the Programs and Features screen by clicking [x] in the upper right part of the window to close the Control Panel.
At this point the uninstall via the Control Panel Programs and Features function is complete. Uninstalling will leave configuration files for OpenLM Broker intact and they must be deleted manually. They are left so that OpenLM Broker can be reinstalled without losing previous configurations. They can be found by default in C:Program Files (x86)OpenLMOpenLM Broker (#).
Option B: Uninstall Using the OpenLM Installer Package
1. Locate the installer file and double-click it. OpenLM Broker Setup Wizard screen will appear (see Figure 23). “Install New Instance” is selected by default.

Figure 23: OpenLM Broker Setup Wizard screen.
2. Click Modify Instance(s) checkbox to select the option for removing the installation (see Figure 24).
3. Click [Next] button to advance to the Select Instance screen (see Figure 25).

Figure 24: Select Instance screen.
4. Choose the instance by clicking on it in the list (if there is only one it will be highlighted already).
5. Click the [Remove] button.
6. A progress screen will appear

Figure 25: Removed OpenLM Broker progress screen.
7. If any processes linked to OpenLM Broker are still running, an error screen will appear with information on the process(es) involved. These processes can be stopped using Windows Services (e.g., execute C:WINDOWSsystem32services.msc or type “Services” in the Windows search on the taskbar and choose Services App from the result), and removal can be continued by clicking [Try Again] (see Figure 27). When removal is complete, the removal success screen will appear (see Figure 28).

Figure 26: Removal success screen.
8. Click [Close] button to exit the Setup Wizard.
At this point the removal process using the OpenLM Broker Installer wizard is complete. Uninstalling will leave configuration files for OpenLM Broker intact and these must be deleted manually. They are left so that OpenLM Broker can be reinstalled without losing previous configurations. They can be found by default in C:Program Files (x86)OpenLMOpenLM Broker (#).
Option C: OpenLM Broker Silent Uninstallation
System administrators who would like to uninstall silently can do so with the following method.
1. Open a command prompt with administrative privileges (see Figure 28). The command prompt must be run as an administrator. Instructions for eliciting the command prompt can be found in section “B. OpenLM Broker Silent Installation” under the OpenLM Broker Installation heading.

Figure 28: Command Prompt screen opened in the Administrator role.
2. At the command prompt, enter the desired parameters for the uninstall. This will be in the format as follows:
msiexec /x “<msi installation file path>” /qn TRANSFORMS=”:I##”
The MSI file path is the location of the MSI file downloaded for the installation. A simple uninstall might look like the following (includes the ‘TRANSFORMS’ parameter which refers to the number of the instance [:I##] to be uninstalled):
msiexec /x “C:UsersmariagDesktopOpenLM_Broker_22.3.30.1312.msi” /qn TRANSFORMS=”:I01″
3. After entering the installation command, press [Enter] to launch the installation. The command prompt will advance to a new line and the installation will complete in the background.
4. Close the command prompt by clicking the [x] in the upper right of the window.
As this is a silent uninstall, there is no additional user input. Uninstalling will leave the configuration files for OpenLM Broker intact and these must be deleted manually. They are left so that the OpenLM Broker can be reinstalled without losing previous configurations. They can be found by default in C:Program FilesOpenLMOpenLM Broker (#).

