System Requirements
To install OpenLM Reports Scheduler, the following prerequisites must be met:
- A single OpenLM SLM installation running on a central network server.
- An OpenLM license that includes support for the Reports Scheduler extension (please contact sales if you cannot locate the “Reports_Scheduler” feature in the Administration → OpenLM License window).
- (optional) If you choose not to install the OpenJDK 11 distributive that comes bundled with the Reports Scheduler installer, a compatible version of Java 11 must be present on the target machine.
* This will vary depending on the Reports Scheduler installer package (consult the release notes).
Installation
OpenLM Reports Scheduler should be installed on the same machine where OpenLM SLM resides.
1. Download the latest installer of OpenLM Reports Scheduler from the Downloads page.
2. Double-click the installer file (Openlm_Reports_Scheduler_XXXX.exe) to start the installation. The installer window appears:

3. Click Next to advance to the License Agreement screen:
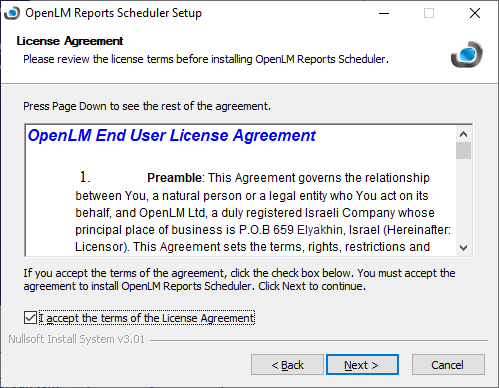
4. Check the I accept the terms of the License Agreement box, then click Next
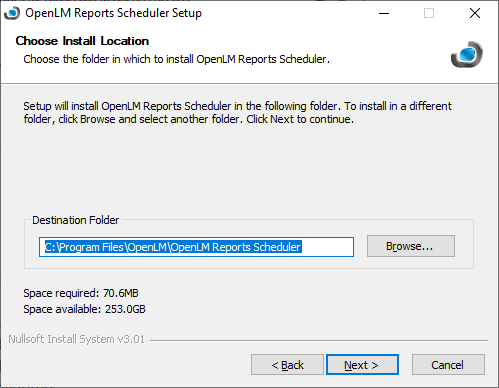
5. On the Choose Install Location screen, you can provide an alternative installation folder. We recommend leaving the default one as-is. Click Next.
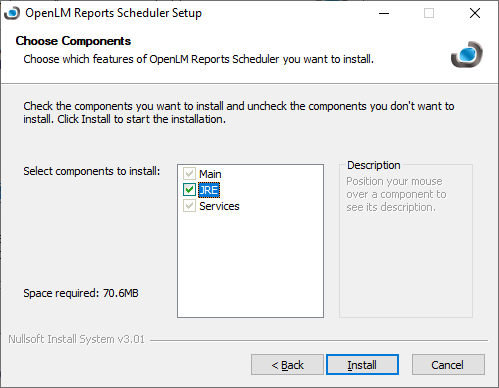
6. The Choose Components screen displays the required components that will be installed. JRE can be optionally unchecked if you prefer using an external installation of Java 11, however, we recommend leaving the default settings as-is. Click Install.
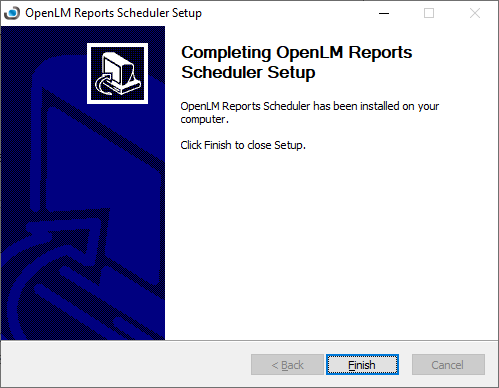
7. Click Next then Finish to close the wizard.
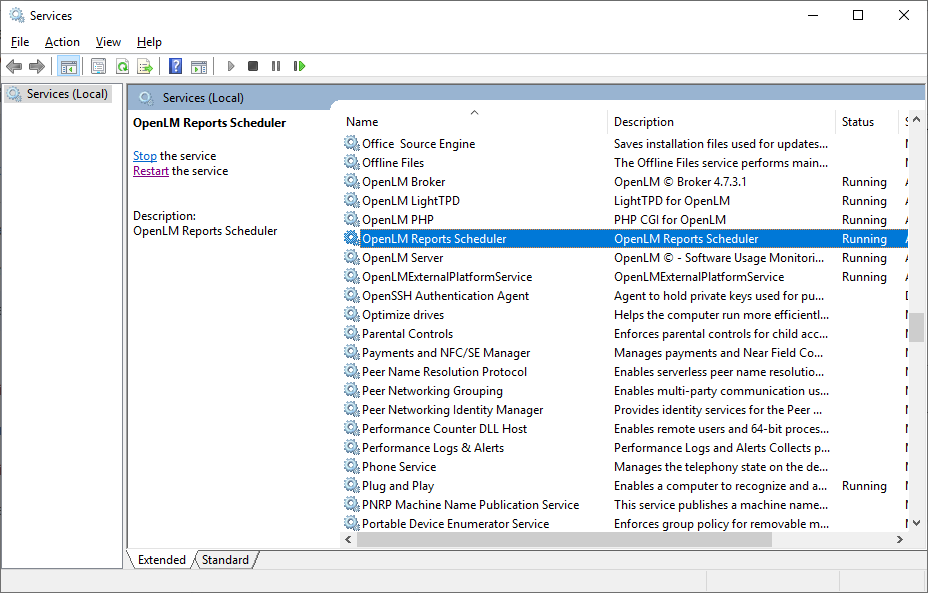
8. To verify that the Reports Scheduler is operational, open the Services window and verify that the “OpenLM Report Scheduler” service is up and running.
To continue with the Reports Scheduler configuration, please see this guide.

