CREO
This document outlines the steps required to integrate Creo License Manager with OpenLM. By completing the configuration, you can monitor license usage, gather statistics, and ensure optimized license management.
Before you begin
- OpenLM Platform
- OpenLM Broker v25.x or higher installed on the same machine as Creo, and approve it in Broker Hub.
Monitoring capabilities
The current monitoring capabilities available for CREO through OpenLM Broker are as follows:
| Denials | Expiration Date Reporting | Logs |
|---|---|---|
| Yes | Yes | Yes |
Configure OpenLM Broker
- Open a web browser and access the Broker interface using the URL:
http://localhost:5090 (adjust the port number if it's not the default, for example, 5091 or 5092).
-
Navigate to the License Managers tab.
-
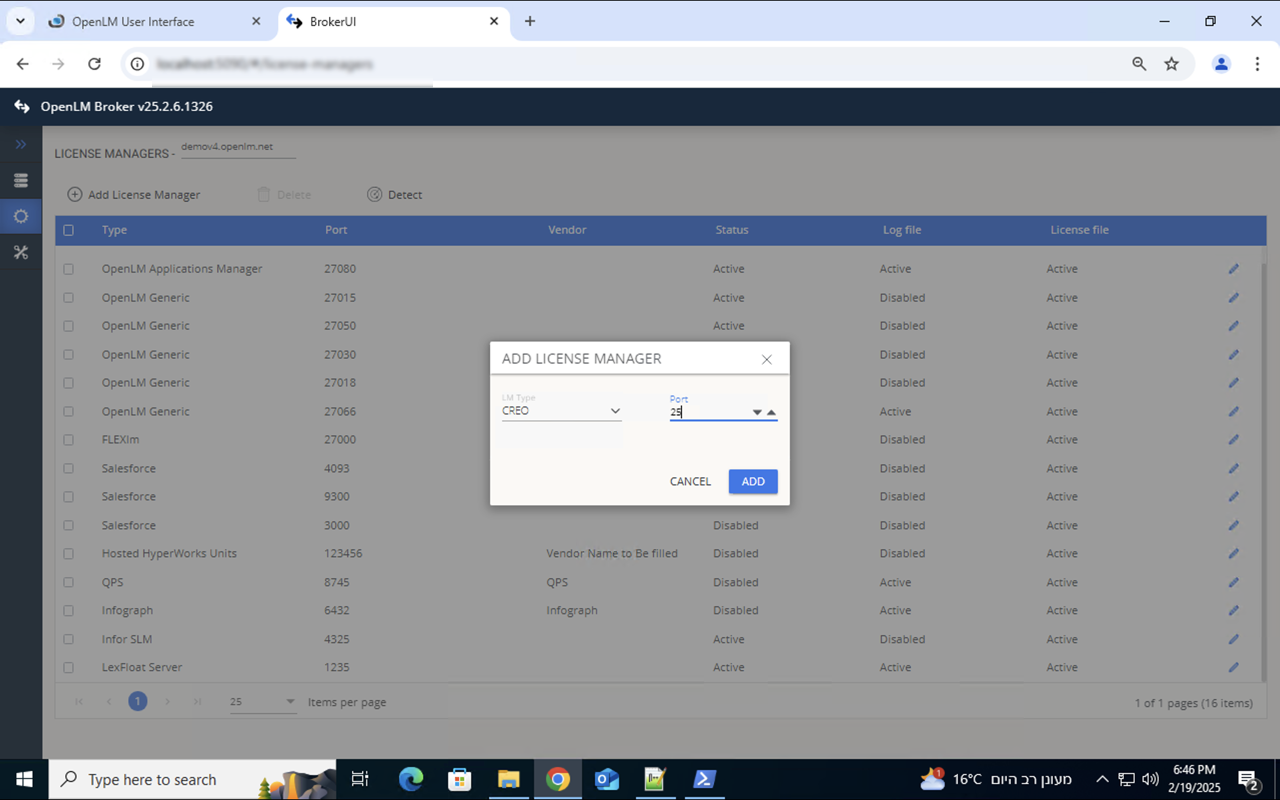
Select Add License Manager.
-
In the pop-up window:
-
Select Creo from the drop-down list.
-
Enter the Creo port number (for example, 25).
-
Select Add.
 Step 3: Configure License File Settings
Step 3: Configure License File Settings
-
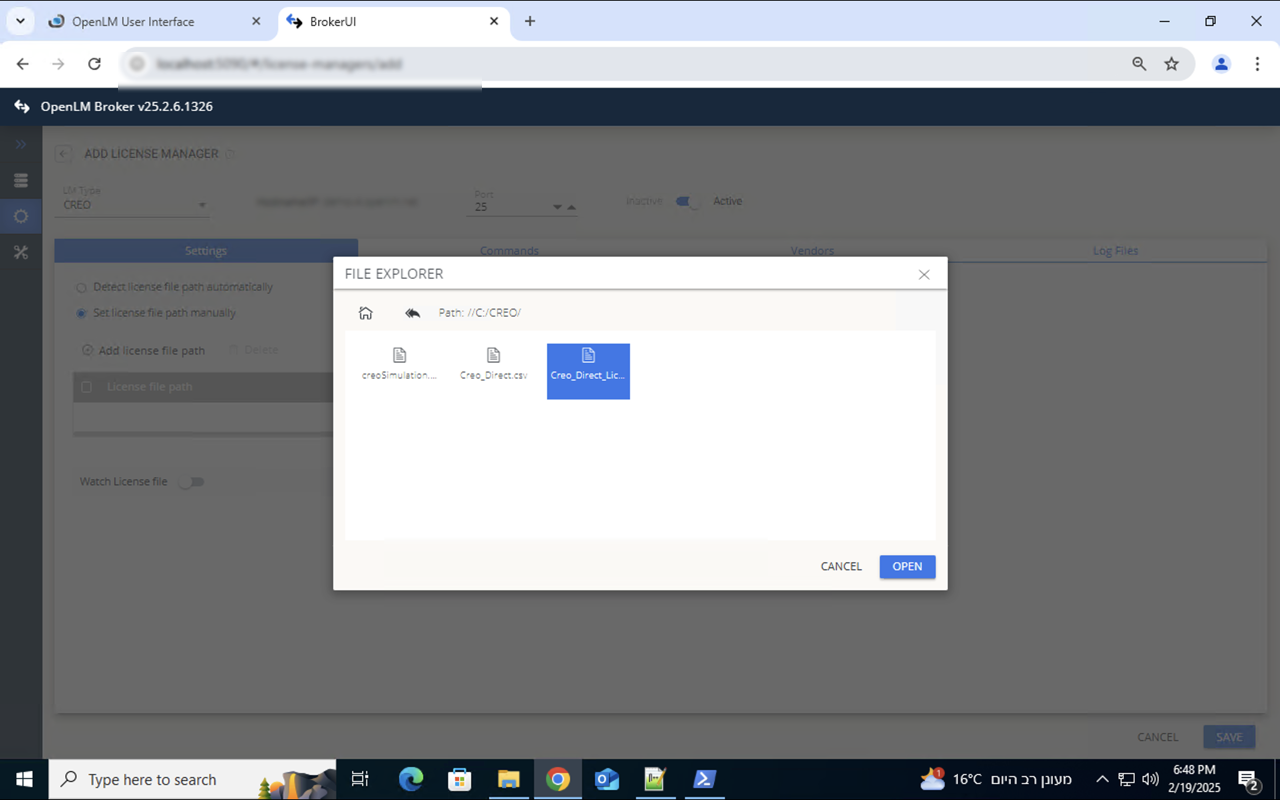
Go to the Settings tab. The Broker can auto-detect the license file.
-
Verify the detected file path, or select Set license file path manually to navigate to the license.xml file.
-
Select Save.
 Step 4: Commands tab
Step 4: Commands tab
-
-
Switch to the Commands tab.
-
Select Save, then select Execute. A positive run command result will look like this:
 Configure OpenLM Platform
Approve CREO in OpenLM Platform
- Sign in to OpenLM Platform.
- From the menu, go to License Servers → Pending Server.
- Select the CREO license manager, then select Approve and Merge.
Verify the integration
- In OpenLM Platform, go to License Servers Live → Server Statistics.
- Confirm CREO appears with a green status indicator.
It can take up to 3 minutes for the status to update for a new connection.