AutoCADプラグイン インストールガイド
OpenLM AutoCAD プラグインは提供を終了しており、今後のアップデートは行われません。現在利用可能なバージョン(v25)は引き続きダウンロードいただけますが、新しいバージョンのリリース予定はありません。本プラグインをご利用のお客様は、標準の Workstation Agent への移行をお勧めいたします。
概要
本ドキュメントでは AutoCAD Plugin のインストール手順を説明します。AutoCAD Plugin は、ユーザーの作業内容を安全に保存し、AutoCAD を終了してライセンスを解放するために OpenLM が開発したソフトウェアコンポーネントです。同じマシンに OpenLM WorkstationAgent がインストールされている場合、このプラグインは動作しません。AutoCAD Plugin は OpenLM Cloud Server のみで動作します。既定のインストール先は C:ProgramDataAutodeskApplicationPluginsOpenLM_AutoCAD_Plugin.bundle です。
要件
- OpenLM SLMC アカウント
- AutoCAD のインストール(AutoCAD LT シリーズを除く)
- Autodesk Cloud サブスクリプション(Autocad 2020 以降をサポート)
OpenLM AutoCAD プラグインのインストール
AutoCAD で利用を開始するには、インストールパッケージ OpenLM_AutoCADPlugin_Setup_####.msi("####" はバージョン番号)を実行します。インストールは通常のセットアップウィザード、またはサイレントインストールで行えます。セットアップウィザードは単一ユーザーのワークステーション向けに画面案内で進める方法です。サイレントインストール(コマンドプロンプト)は、中央サーバーから複数ワークステーションへエンドユーザー操作なしで展開できます。
インストーラーは OpenLM 営業、または Web サイトのダウンロードエリアから取得できます(https://www.openlm.jp/downloads/ で AutoCAD Plugin リンクを探してください)。
この方法では画面ウィザードに従ってインストールします。
- Cloud Portal アカウントから JSON 認可ファイルを取得します。 https://cloud.openlm.com/portal/products → Identity & Access Management (IAM) → Client Authorization files → Add Client にアクセスし、Client type に Agent を選択して説明的な名前を入力します。Save をクリックしてから JSON 認可ファイルをダウンロードします(手順 3 で必要になります)。

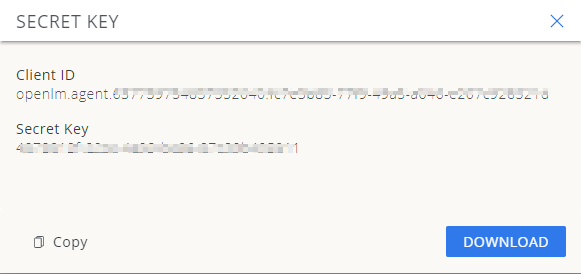
注: 認可情報は一度しか表示されません。JSON ファイルをダウンロードするか、コピーして安全に保管してください。
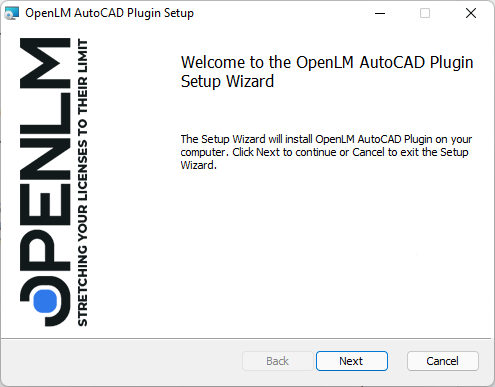
- インストーラーを探してダブルクリックし、インストールを開始します。OpenLM Agent Setup Wizard の Welcome 画面が表示されます。
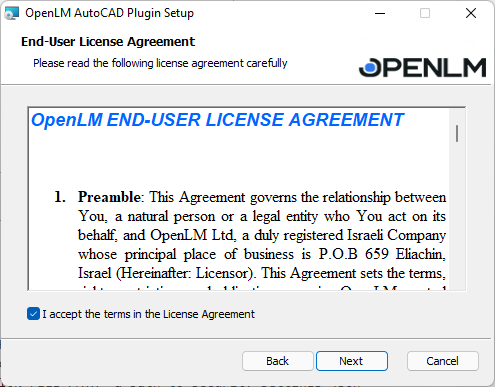
- Next をクリックしてインストールを続行します。License Agreement 画面が表示されます(図 2)。条件に同意して続行する場合は "I Agree" にチェックします。チェックすると Next ボタンが有効になります。Cancel をクリックすると、変更を行わずにインストーラーを終了します。
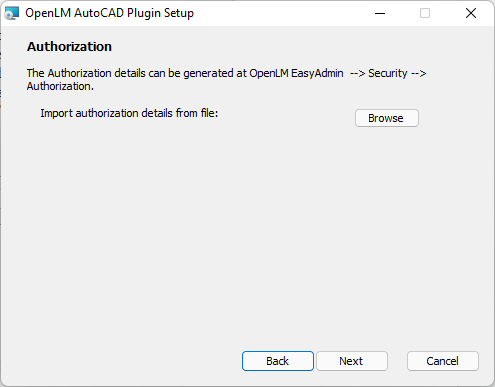
- 認可情報を入力する画面が表示されます。Browse をクリックして手順 1 で取得した認可ファイルを選択し、Next をクリックします。
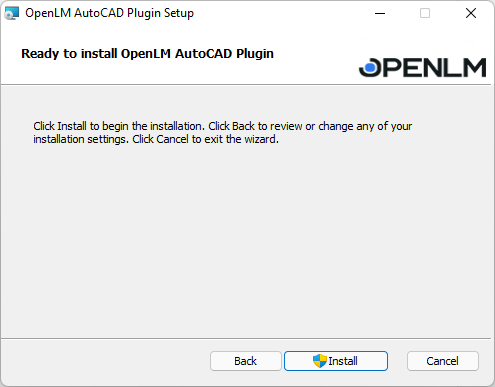
- 認可情報のインポートが完了し、プラグインのインストール準備ができました。Install ボタンをクリックします。
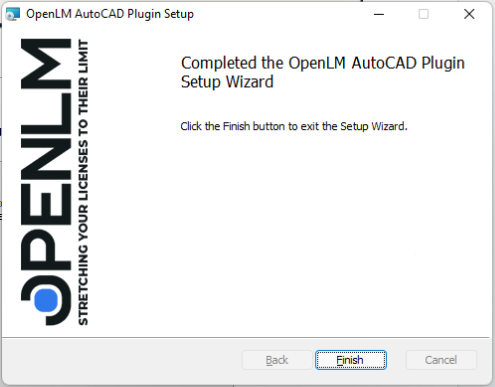
- インストール進行画面が表示され、完了まで処理が続きます。成功すると Success 画面が表示されるので、Finish をクリックして終了します。
サイレントインストール
この方法では、事前定義したオプションで AutoCAD Plugin をインストールし、画面ウィザードは表示されません。
- 管理者権限でコマンドプロンプトを開きます。起動方法はいくつかあります:
a. タスクバーの検索に "cmd" と入力して RETURN を押します。結果一覧の "Command Prompt" を右クリックし、"Run as administrator" を選択します。
b. EXE を直接起動します(例: C:WindowsSystem32cmd.exe を右クリックし、"Run as administrator" を選択)。
c. スタートメニューから起動します。Start を右クリックし Windows PowerShell (Admin) を選択します。管理者モードで PowerShell が開きます。

コマンドプロンプトで、以下の形式でパラメータを指定して実行します:
With installer:
msiexec /i "AutoCADPlugin_FILE_PATHOpenLM.AutoCAD.Plugin.Setup.msi" CLOUD_LOCATION="cloudLocation property value from the agent-authorization.json file" CLIENT_ID="clientId property value from the agent-authorization.json file" SECRET_KEY="clientSecret property value from the agent-authorization.json file"a path to security settings json file" /l*v a path to msi log filelog.txt
Silent without UI
msiexec /i "AutoCADPlugin_FILE_PATHOpenLM.AutoCAD.Plugin.Setup.msi" CLOUD_LOCATION="cloudLocation property value from the agent-authorization.json file" CLIENT_ID="clientId property value from the agent-authorization.json file" SECRET_KEY="secret key" AUTHORIZATION_FILE_PATH="path to the agent-authorization.json file" /l*v a path to msi log filelog.txt /q
Silent basic UI
msiexec /i "AutoCADPlugin_FILE_PATHOpenLM.AutoCAD.Plugin.Setup.msi" CLOUD_LOCATION="cloudLocation property value from the agent-authorization.json file" CLIENT_ID="clientId property value from the agent-authorization.json file" SECRET_KEY="clientSecret property value from the agent-authorization.json file" AUTHORIZATION_TYPE="2" /l*v a path to msi log filelog.txt /qb
- キーボードの Enter/Return を押してインストールを開始します。
これでインストールは完了です。