Materialise Magics
以下の手順で OpenLM を設定し、Materialise Magics のライセンス使用状況を監視してライセンス統計を取得します。
要件
ライセンスマネージャーを問い合わせる前に、次を用意してください:
- オンプレミスの OpenLM SLM(または OpenLM Cloud アカウント)
- Materialise Magics ライセンスマネージャーと同じマシンに OpenLM Broker v25.4 以降
監視機能
| Broker の LM タイプ | コマンド | ログ | 数量 | 有効期限 | 拒否 | 借用 | 割り当て | レポート粒度 |
|---|---|---|---|---|---|---|---|---|
| Materialise Magics | はい | いいえ | はい | はい | いいえ | いいえ | いいえ | 秒 |
Broker を使用すると、バッファ付き通信が有効になり、ライセンスマネージャーサービスのリモート起動・停止も可能になります。
OpenLM Broker の設定
OpenLM Broker による Materialise Magics ライセンスマネージャー接続
OpenLM Broker は事前にインストールし、OpenLM SLM へレポートするよう設定しておく必要があります。
-
Broker Web UI を
http://localhost:5090で開きます。
同じネットワーク上の別マシンからアクセスする場合は、次にアクセスしてトークンを生成します:
http://localhost:5090/api/new-token -
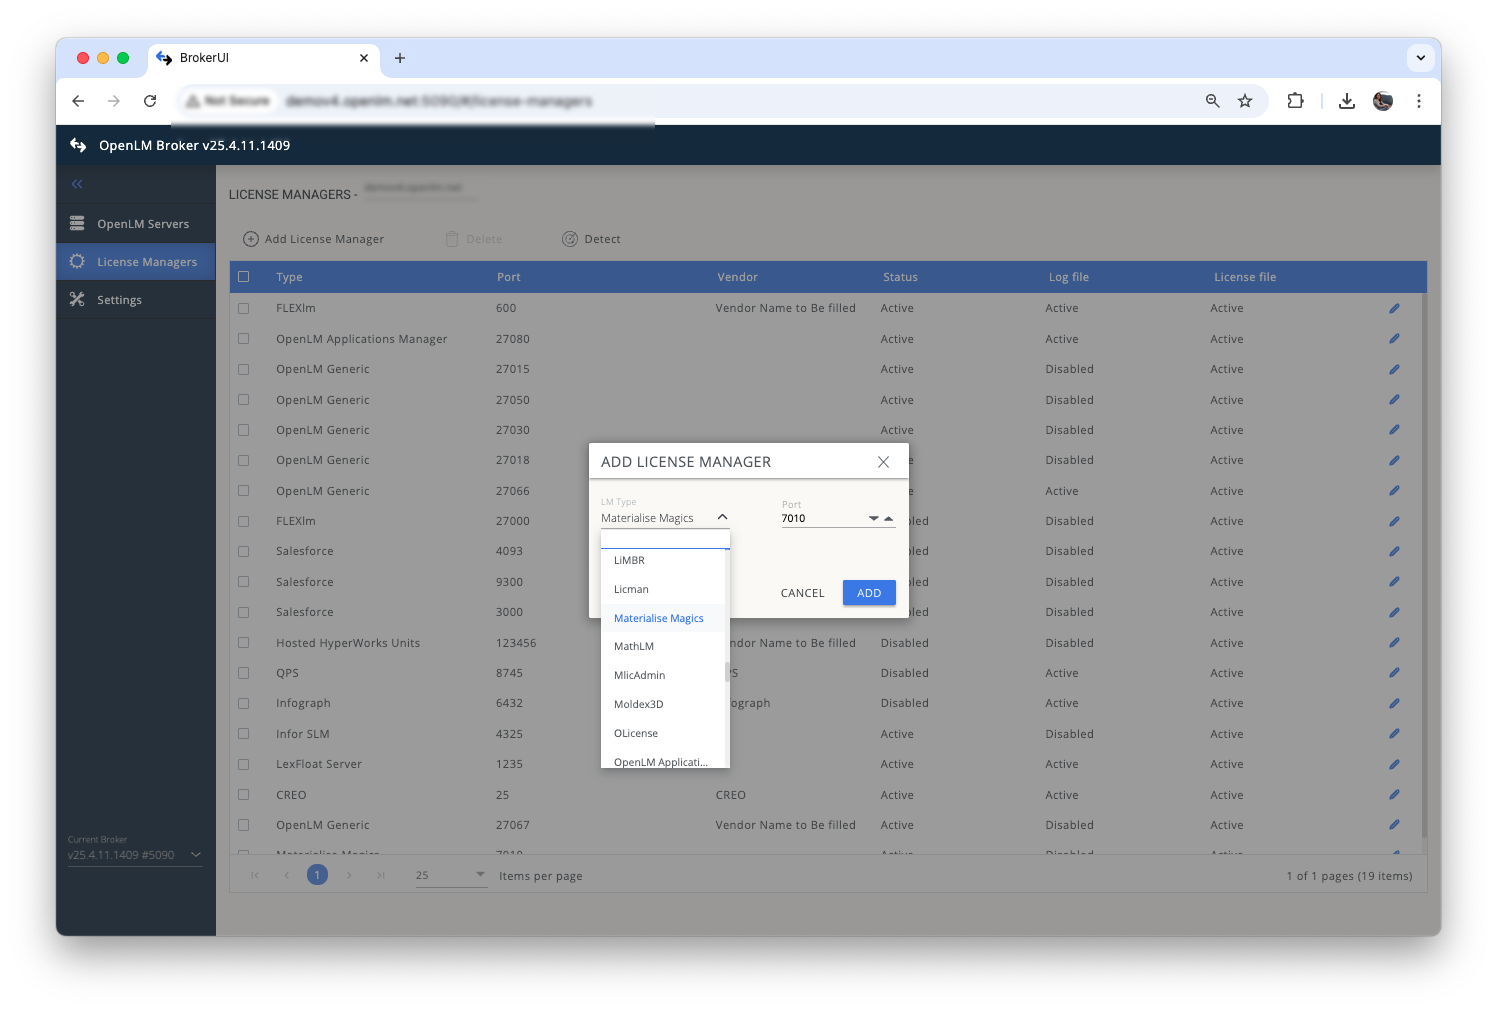
License Managers → Add License Manager に移動します。
-
LM Type のドロップダウンから Materialise Magics を選択します。
-
ポート番号(既定:
7010)を入力して Add をクリックします。 -
Executable Path フィールドで Materialise Magics の
.exeファイルのインストールディレクトリを参照します。
OpenLM Broker で Materialise Magics の実行ファイルパスを設定 -
Save をクリックします。
-
設定を確認するため、Commands タブで Execute をクリックします。

Materialise Magics ライセンスマネージャー接続の確認 -
成功すると、出力は次のようになります:
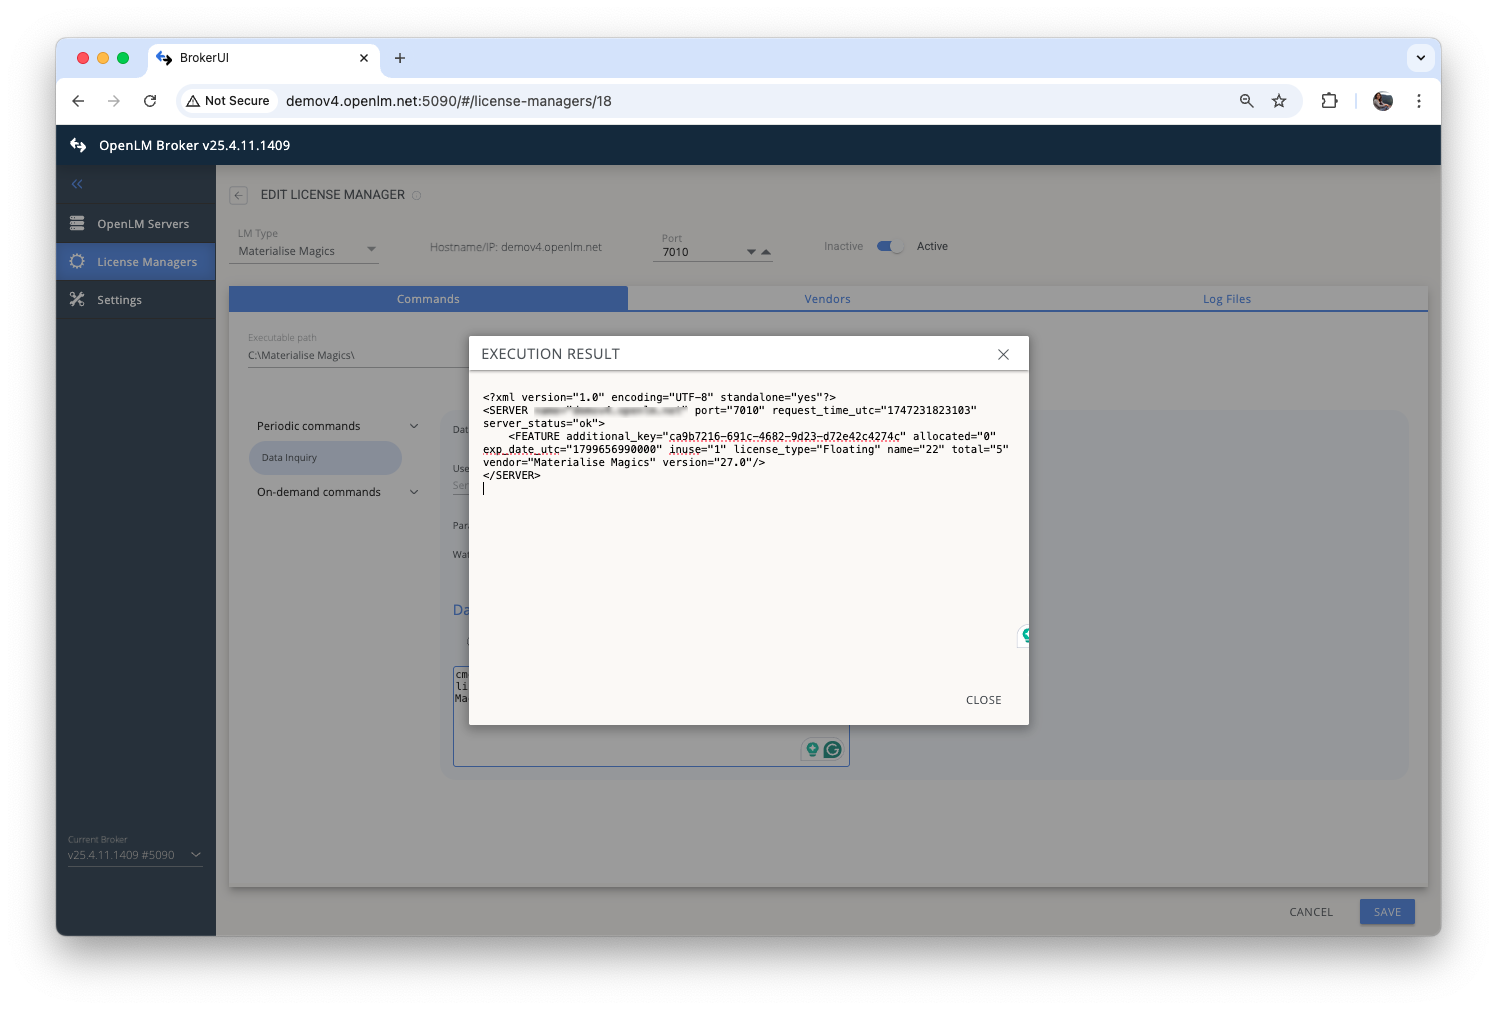
接続成功時の出力例 -
Vendors タブに移動し、Add Vendor をクリックして
Materialiseを入力し、Continue をクリックします。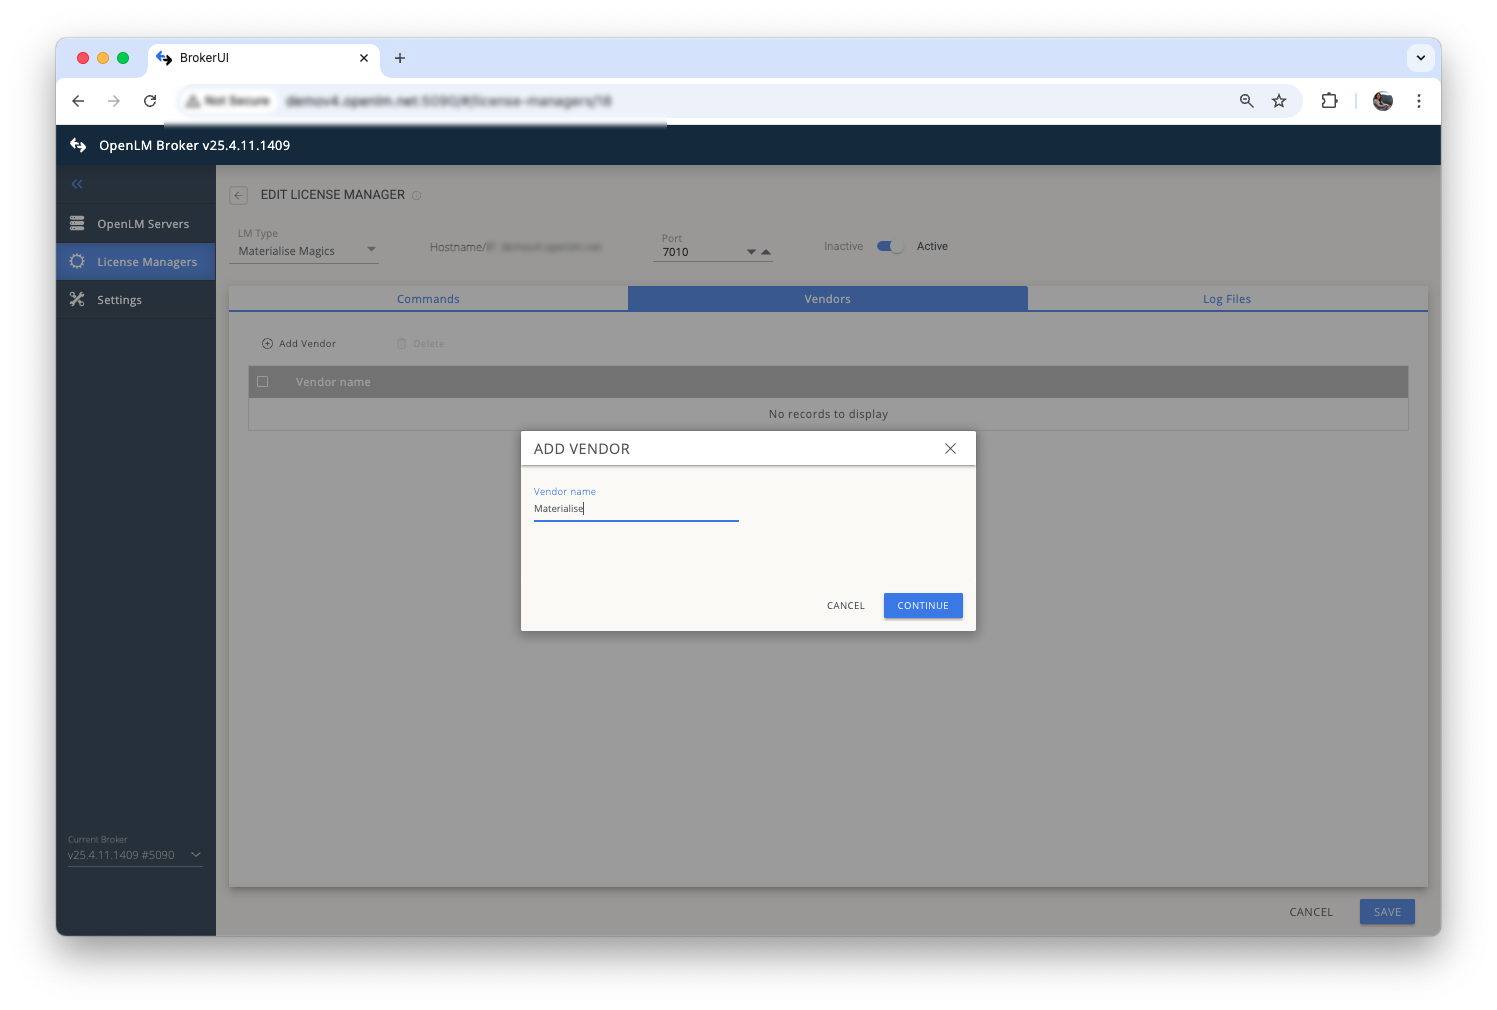
OpenLM Broker で Materialise ベンダーを追加 -
Save をクリックします。
OpenLM の設定
上記手順が完了すると、Broker は OpenLM SLM にデータを送信しているはずです。
EasyAdmin UI で設定を承認します:
-
EasyAdmin を開きます。
-
Start → Widgets → License Manager Servers に移動します。
-
Servers Pending Approval のリンクをクリックします。
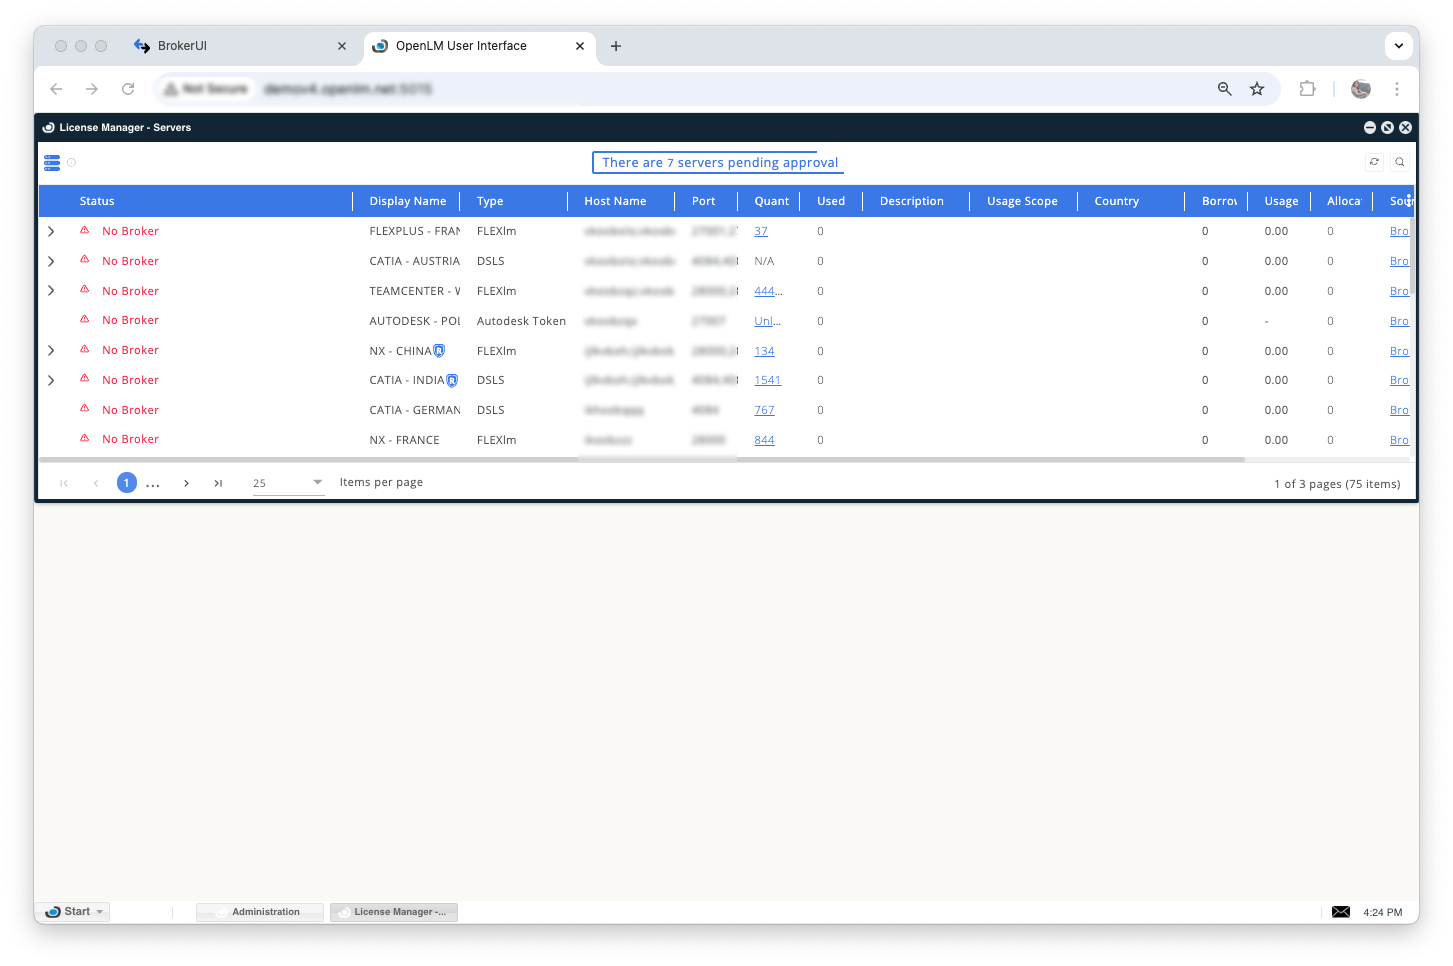
EasyAdmin の保留中ライセンスマネージャー -
Materialise Magics のエントリの編集アイコンをクリックします。
Display Name に任意の名前(例:Materialise Magics)を入力します。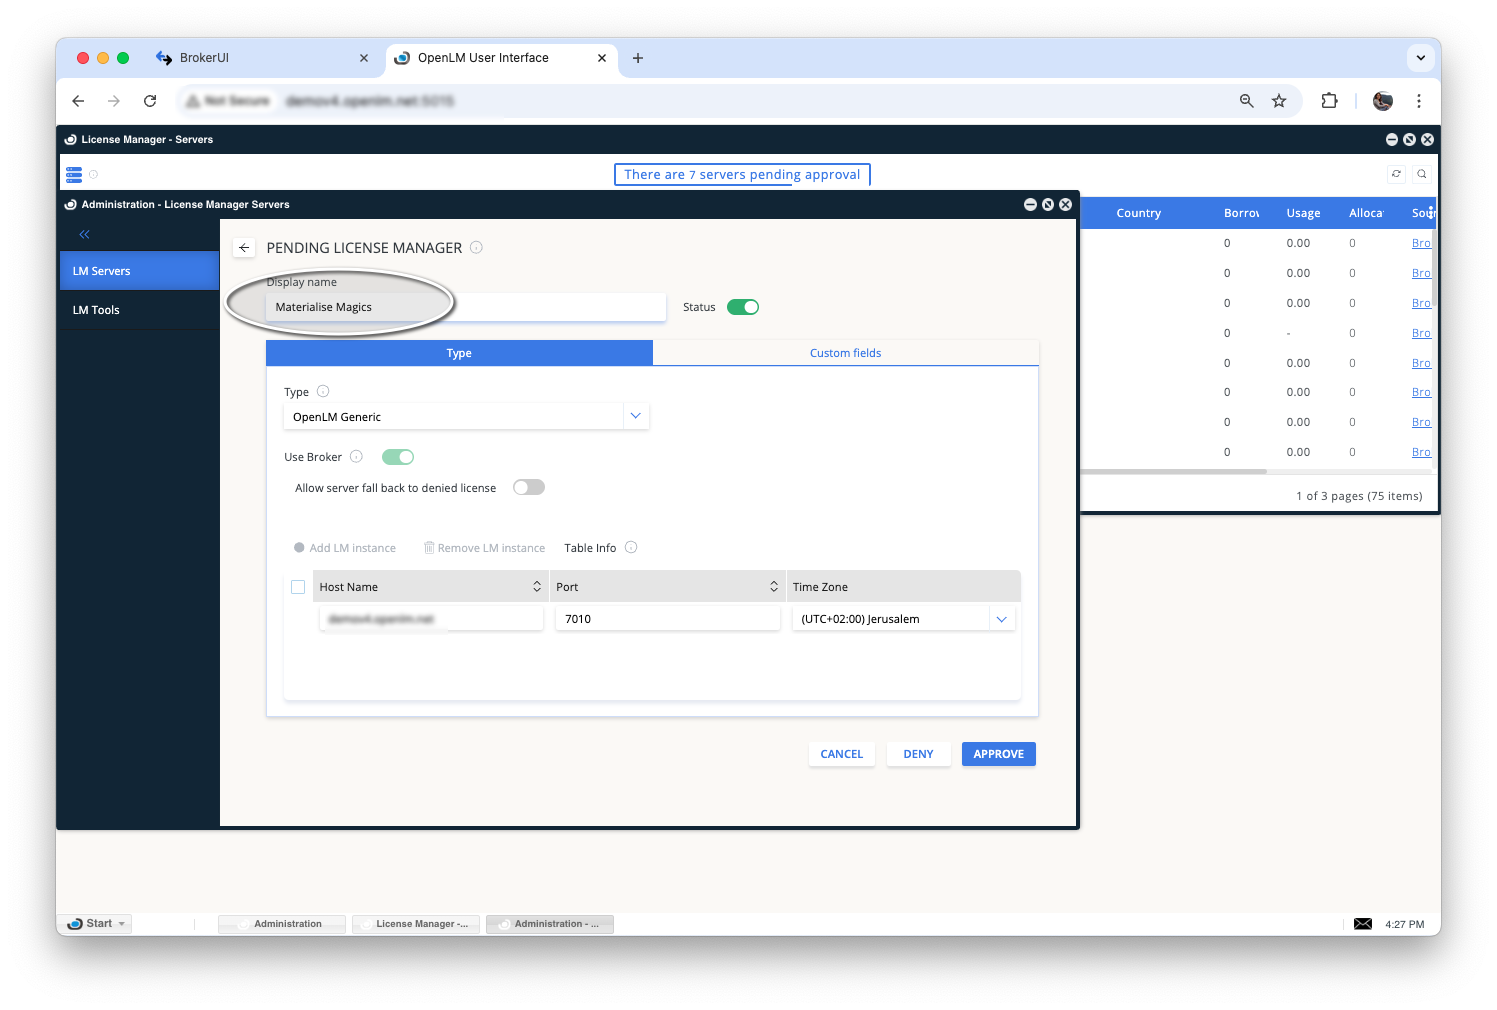
Materialise Magics ライセンスマネージャーの表示名を編集 -
(任意)Custom Fields タブで国、使用範囲、説明などを追加します。
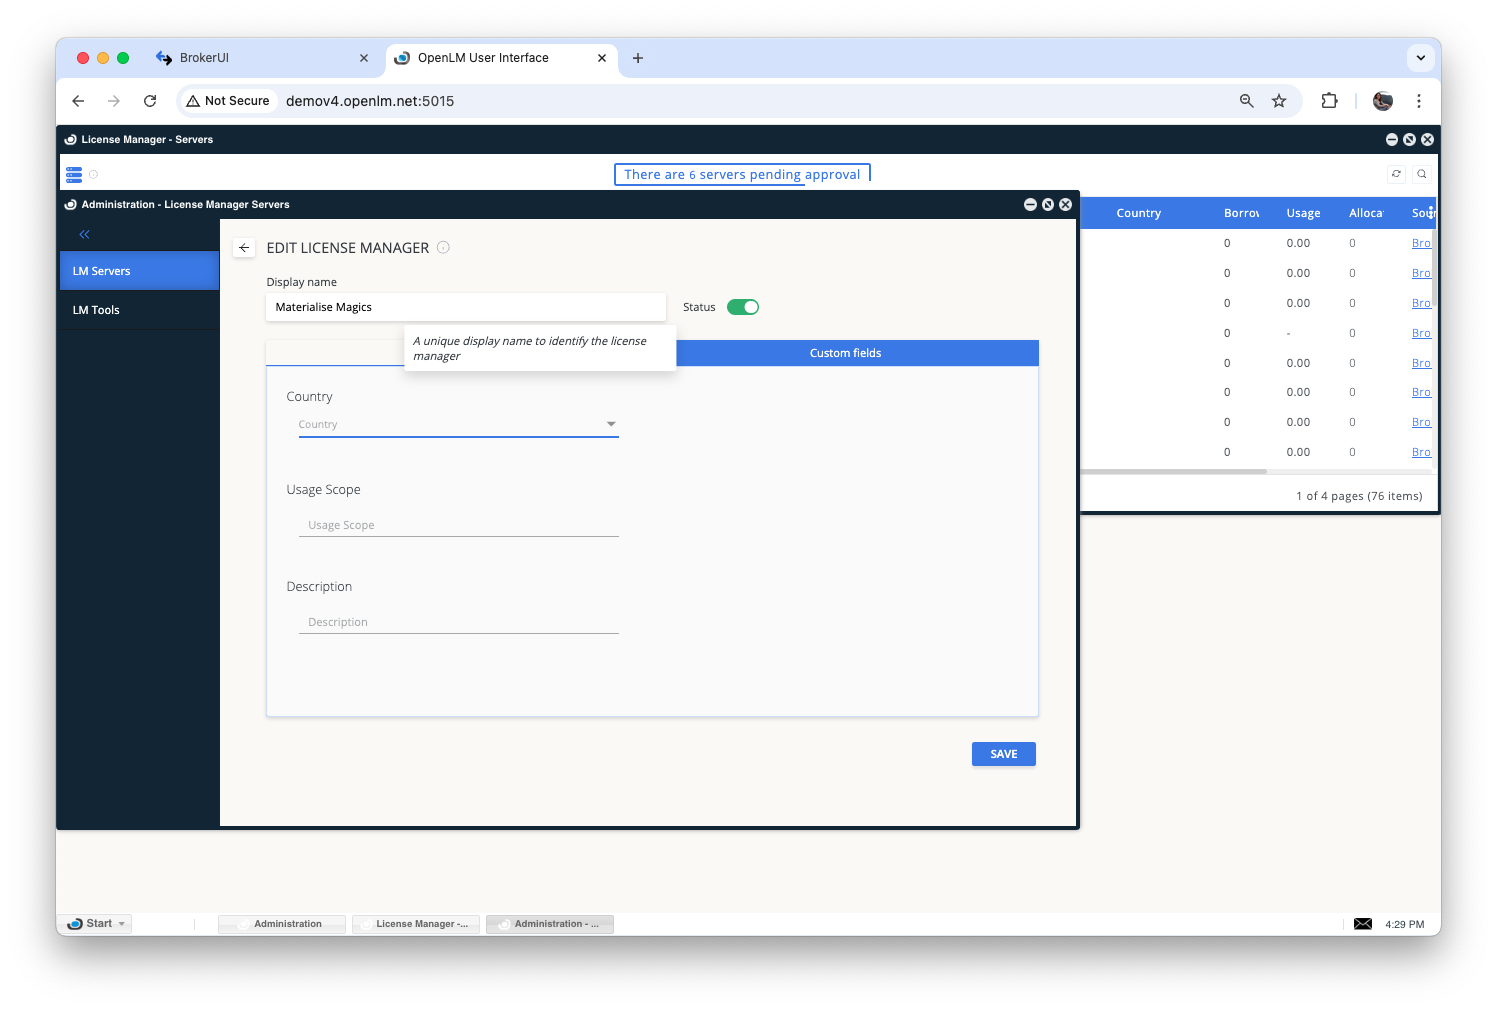
Materialise Magics ライセンスマネージャーのカスタムフィールド -
Save をクリックします。
設定の確認
-
EasyAdmin を開きます。
-
Start → Widgets → License Manager Servers に移動します。
-
一覧に Materialise Magics ライセンスマネージャーが表示され、緑色の丸アイコンになっていることを確認します。
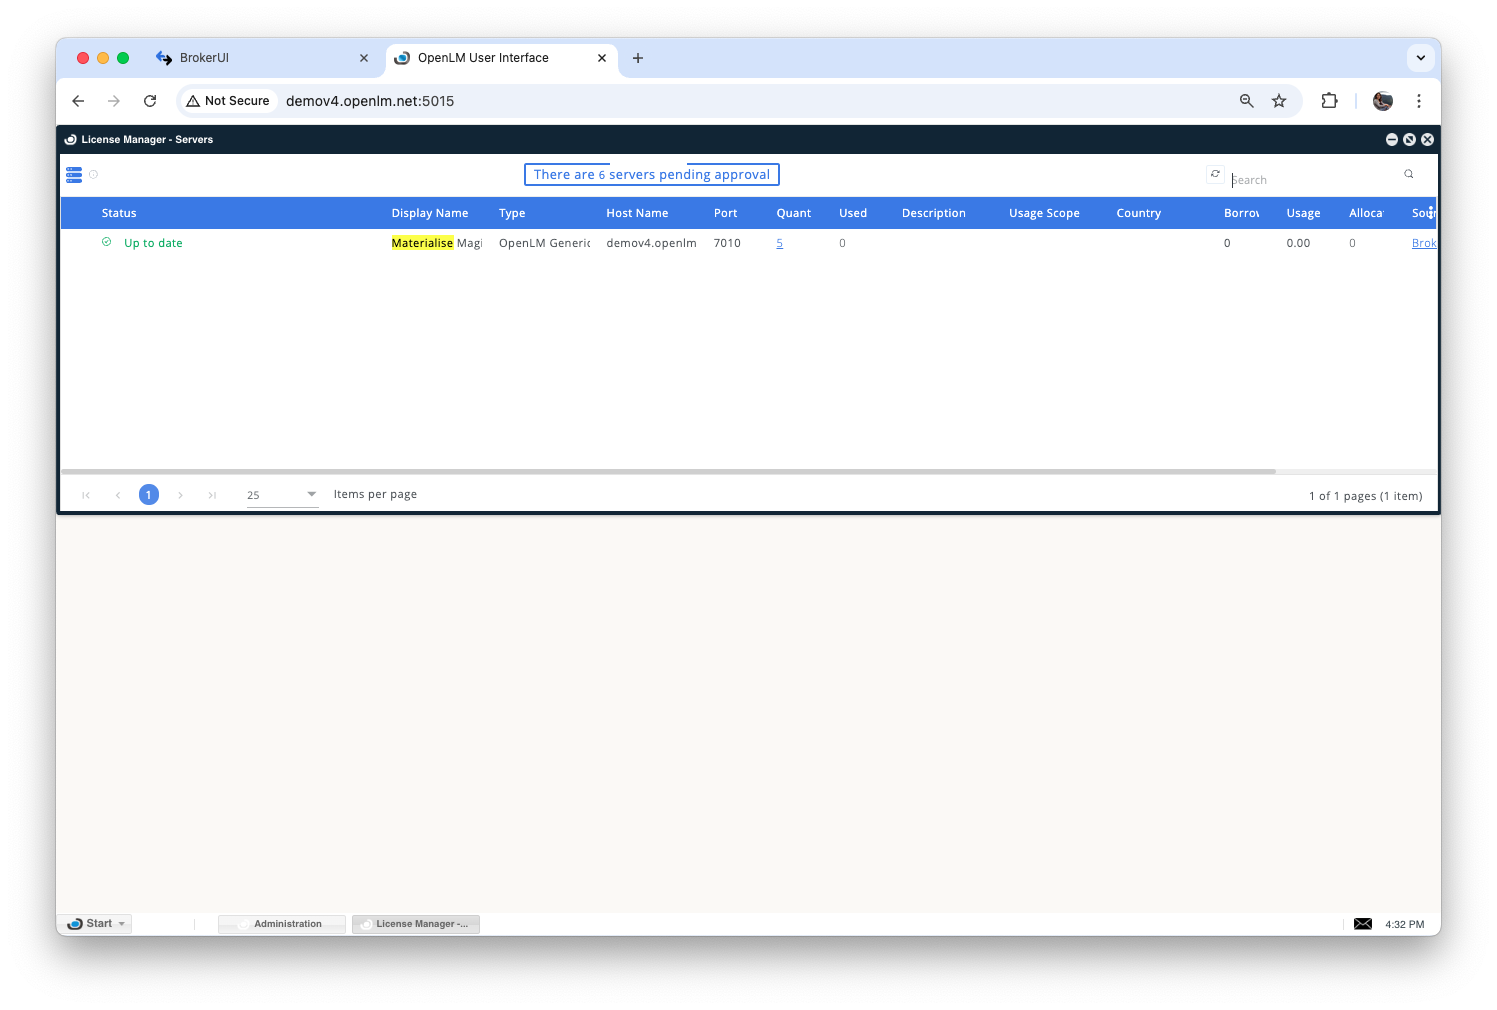
EasyAdmin の緑色の丸アイコンは接続が有効であることを示します
新しい接続の後、ステータス更新まで最大 3 分かかることがあります。