Directory Sync installation guide
Prerequisites
- OpenLM SLM 21 or higher.
- A license file that has support for the Directory Sync extension (contact sales@openlm.com if unsure).
- If installing DSS and DSA on a machine separate from OpenLM SLM, ensure that the machine is on the same network as the AD domain controller.
- A designated schema in any supported database - MariaDB, MS SQL, My SQL.
Directory Synchronization Service installation
- Get the latest version of DSS from the OpenLM Downloads page. Run the installer.
-
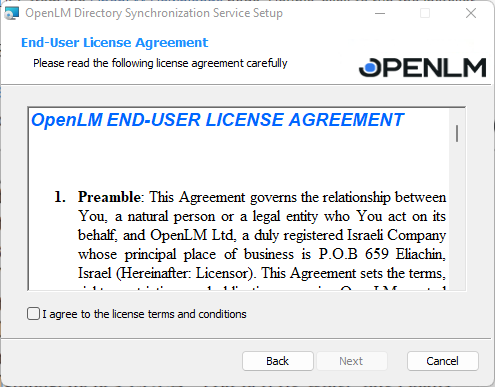
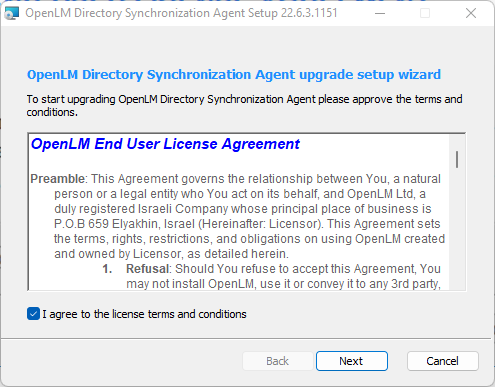
Check the "I agree to the license terms and conditions" box and select Next.
-
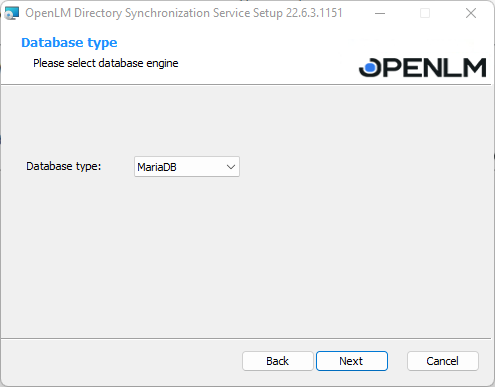
In the next prompt you will be asked to select the database type that you want to use. Select it from the dropdown list and select Next. If you are upgrading and require to migrate data, go to step 4.2
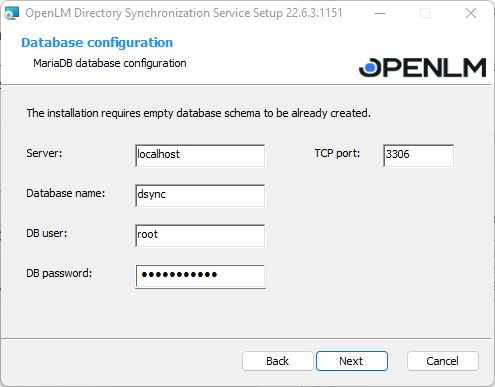
- Provide the database configurations details then select Next:
Note this prompt may be slightly different, depending on the DB type used.
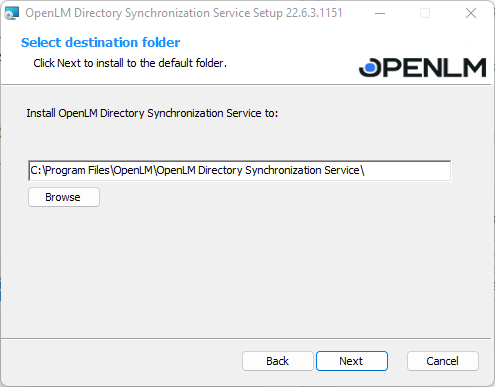
- You can change the installation folder if you want. The default one is C:Program FilesOpenLMOpenLM Directory Sync (DSS) Service . Select Next.
- Once the setup is complete, select Finish. This will close the Setup Wizard and open the DSS user interface in your browser.

Directory Synchronization Agent installation
- Get the latest version of DSA from the OpenLM Downloads page. Run the installer.
-
Check the "I agree to the license terms and conditions" box and select Next.
-
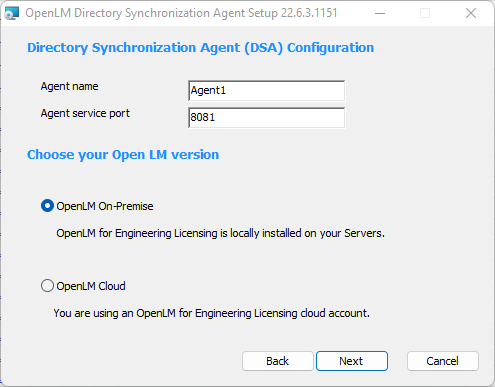
Enter a descriptive name (no spaces allowed) to recognize the Agent instance and the details of the DSS installation (found in the Directory Sync UI → Service Configuration tab under DSS Server), then select your Server version: On-premise or Cloud. Select Next.
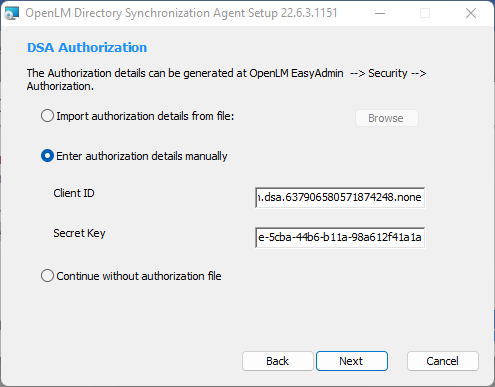
- The next prompt will require you to authorize. You can skip this step if you don't use Identity Service.

- To obtain the Authorization file go to EasyAdmin and follow the path: Start→Administration→System&Security→Security→Authorization→Add

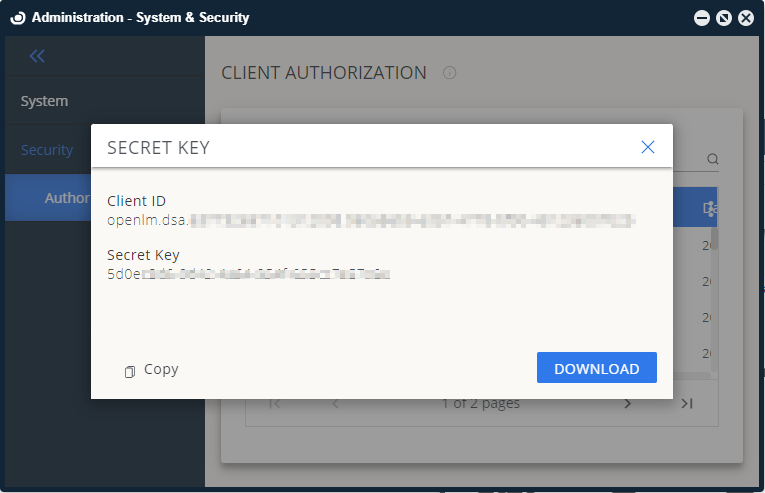
- Select the Client type from the drop-down list - DSA. Select Save.
(Note the Secret Key will only be displayed once. Make sure to save it before closing the window).
- Copy or Download the JSON file with the Client ID and Client Secret:
- Go back to the installation process and import or copy&paste the credentials:
- You can change the installation folder if you want. Enter the path or select Browse, then select Next when completed.

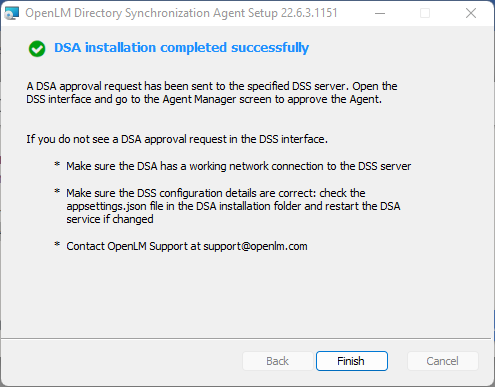
- Once the setup is complete, select Finish. At this point, a DSA approval request will have been sent to the DSS. You need to open the DSS user interface and go to the Agent Manager tab to approve it.
When completed, follow this guide to configure your Directory Sync Instance.