ETAP
Interfacing ETAP License Manager with OpenLM
This document outlines the steps required to integrate ETAP License Manager with OpenLM. By completing the configuration, you can monitor license usage, gather statistics, and ensure optimized license management.
Requirements
To set up ETAP integration with OpenLM, the following components are necessary:
OpenLM SLM:
- Version 2.x installed on a local machine within your organization.
- Alternatively, an SLMC account.
OpenLM Broker:
- Version 26.1 or higher installed on the same machine as the ETAP License Manager.
Monitoring capabilities and features
The current monitoring capabilities available for ETAP through OpenLM Broker are as follows:
| LM Type in the Broker | Commands | Logs | Quantity | Expiration date | Denied | Borrowing | Allocations | Report resolution |
|---|---|---|---|---|---|---|---|---|
| ETAP | Log through Event Viewer command | Yes (Log-based) | Not Available (Usage) | N/A | N/A | N/A | N/A | seconds |
The Commands integration reads from a log file generated by Broker. Broker runs a command that pulls log lines from Windows Event Viewer and writes them into the log file it then parses.
Configuration steps
OpenLM Broker configuration
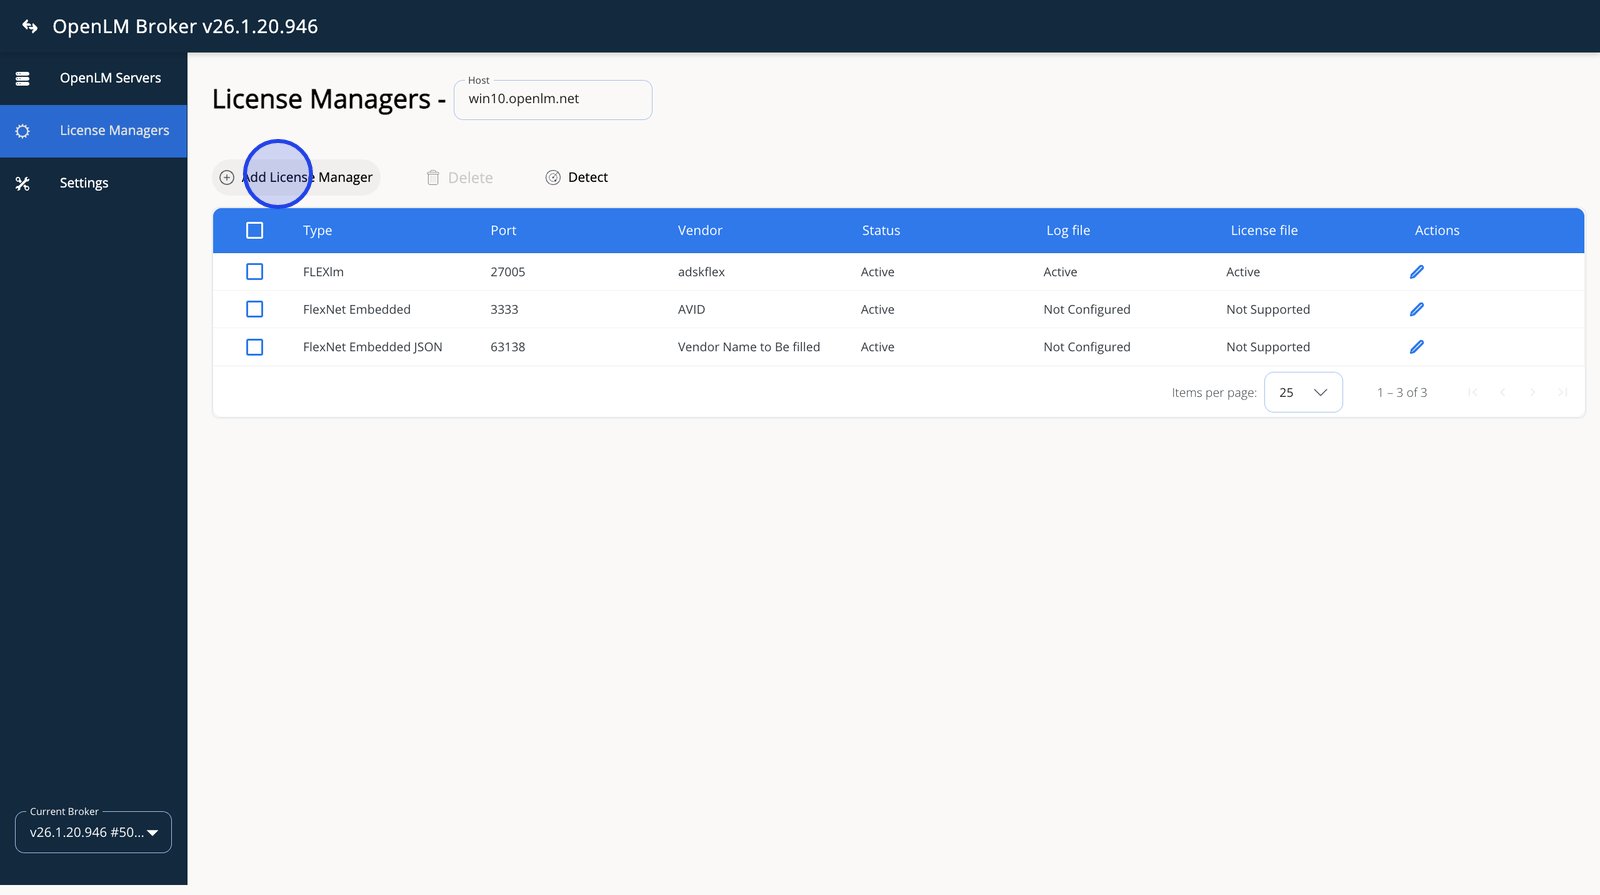
- Navigate to your Broker instance. Select License Managers from the sidebar.
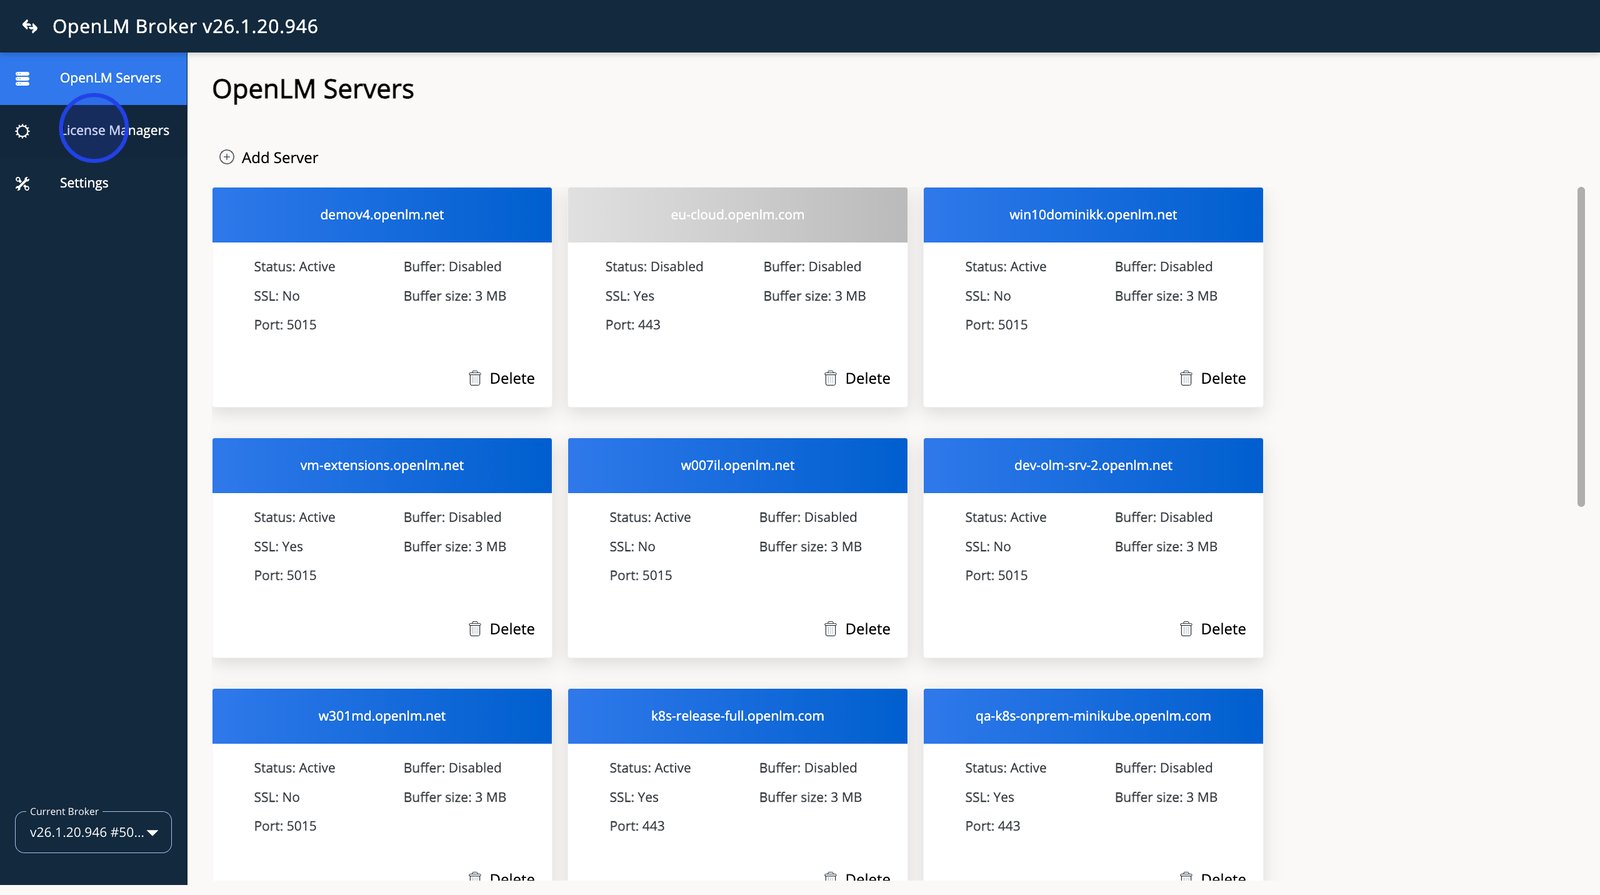
- Select Add License Manager to register a new license manager on the selected host.
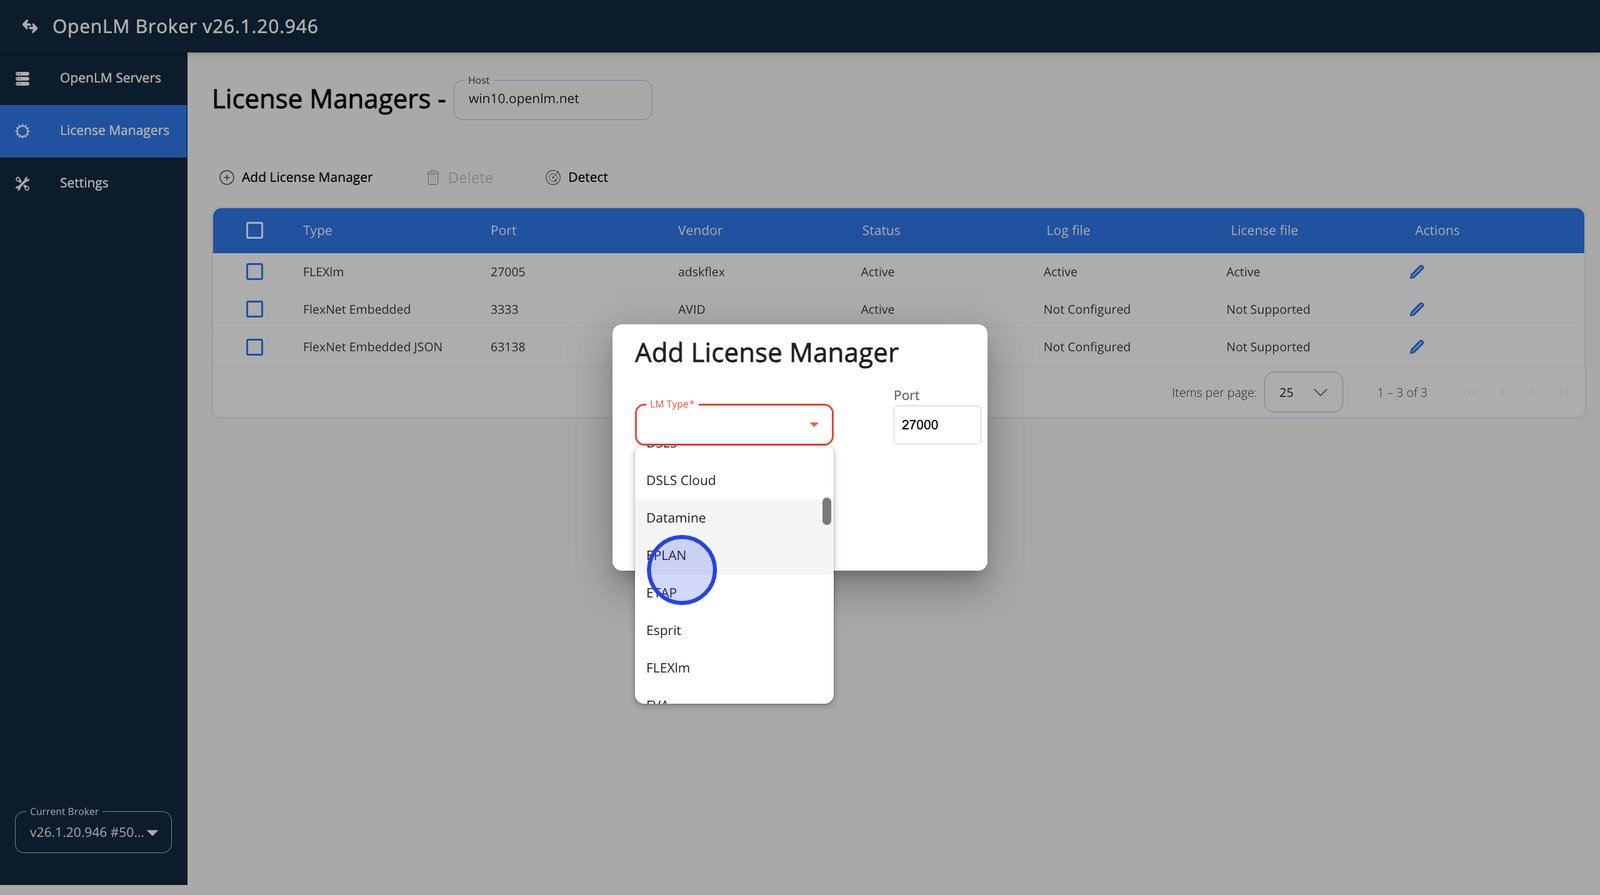
- Open the LM Type dropdown and browse the available license manager types.
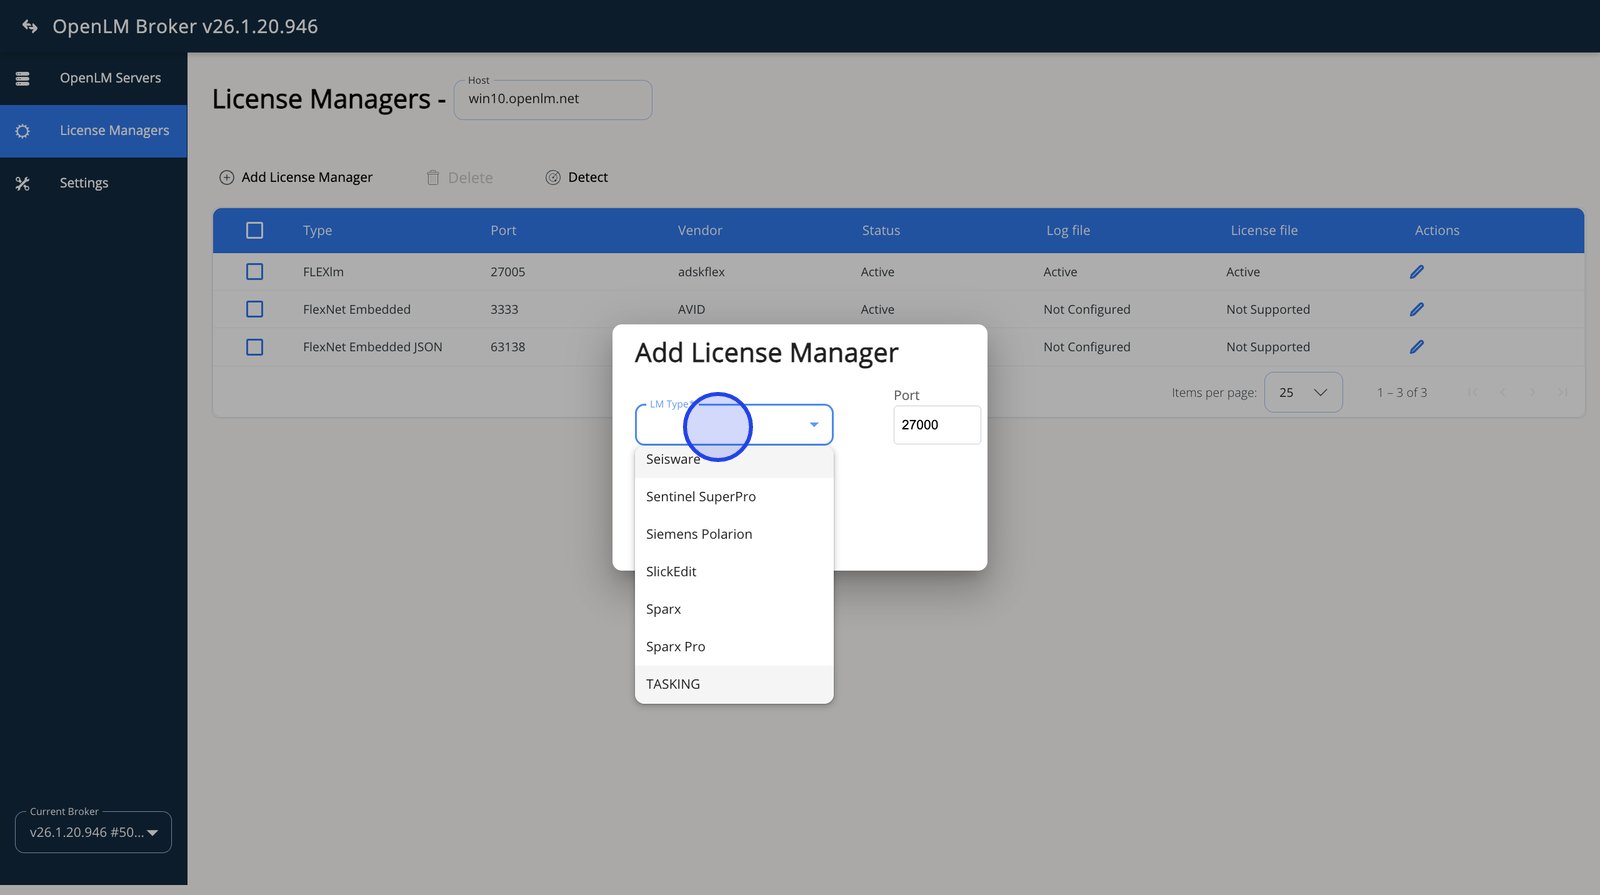
- Pick ETAP as the LM Type.
- Select the Port field to confirm or change the port the license service listens on.
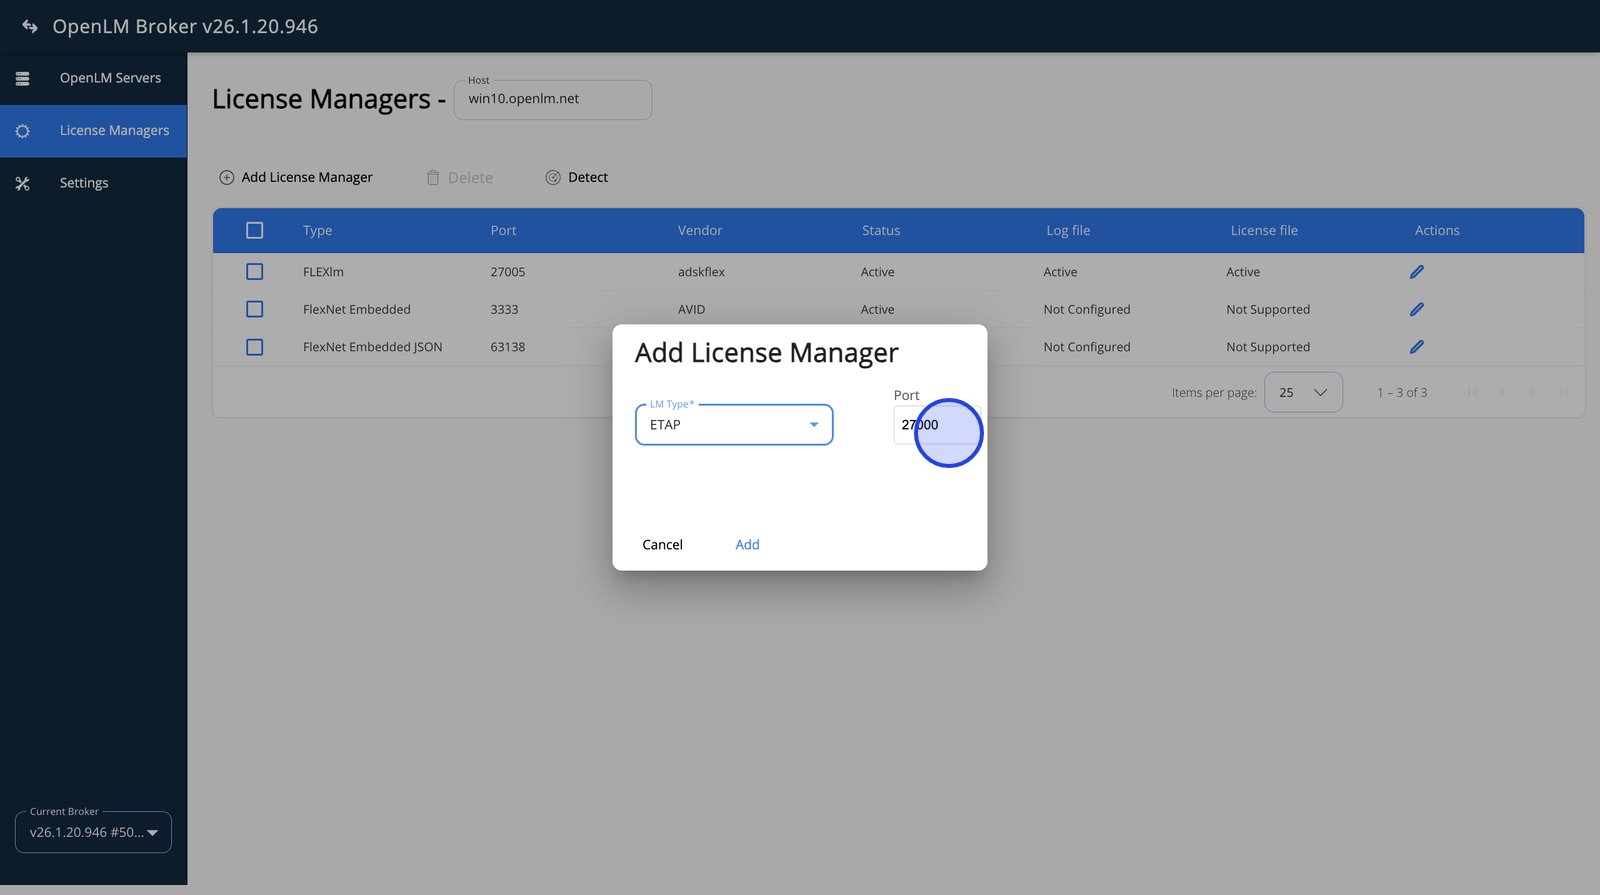
- Update the port to match your ETAP configuration. (Port does not play a role, as this is a log-based integration).

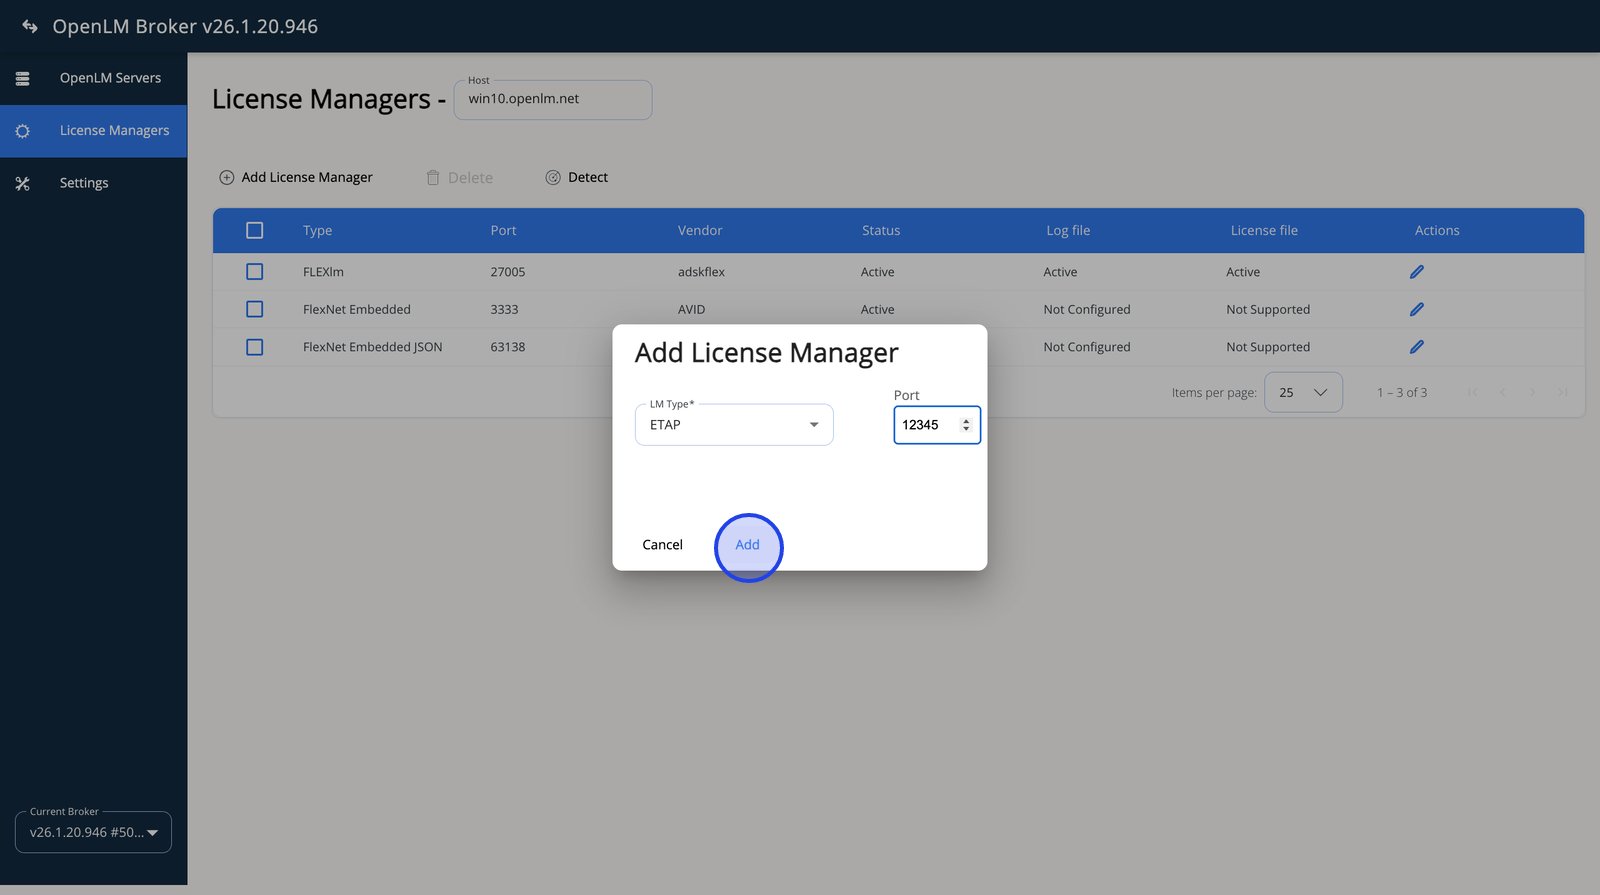
- Select Add to create the license manager entry in OpenLM Broker.
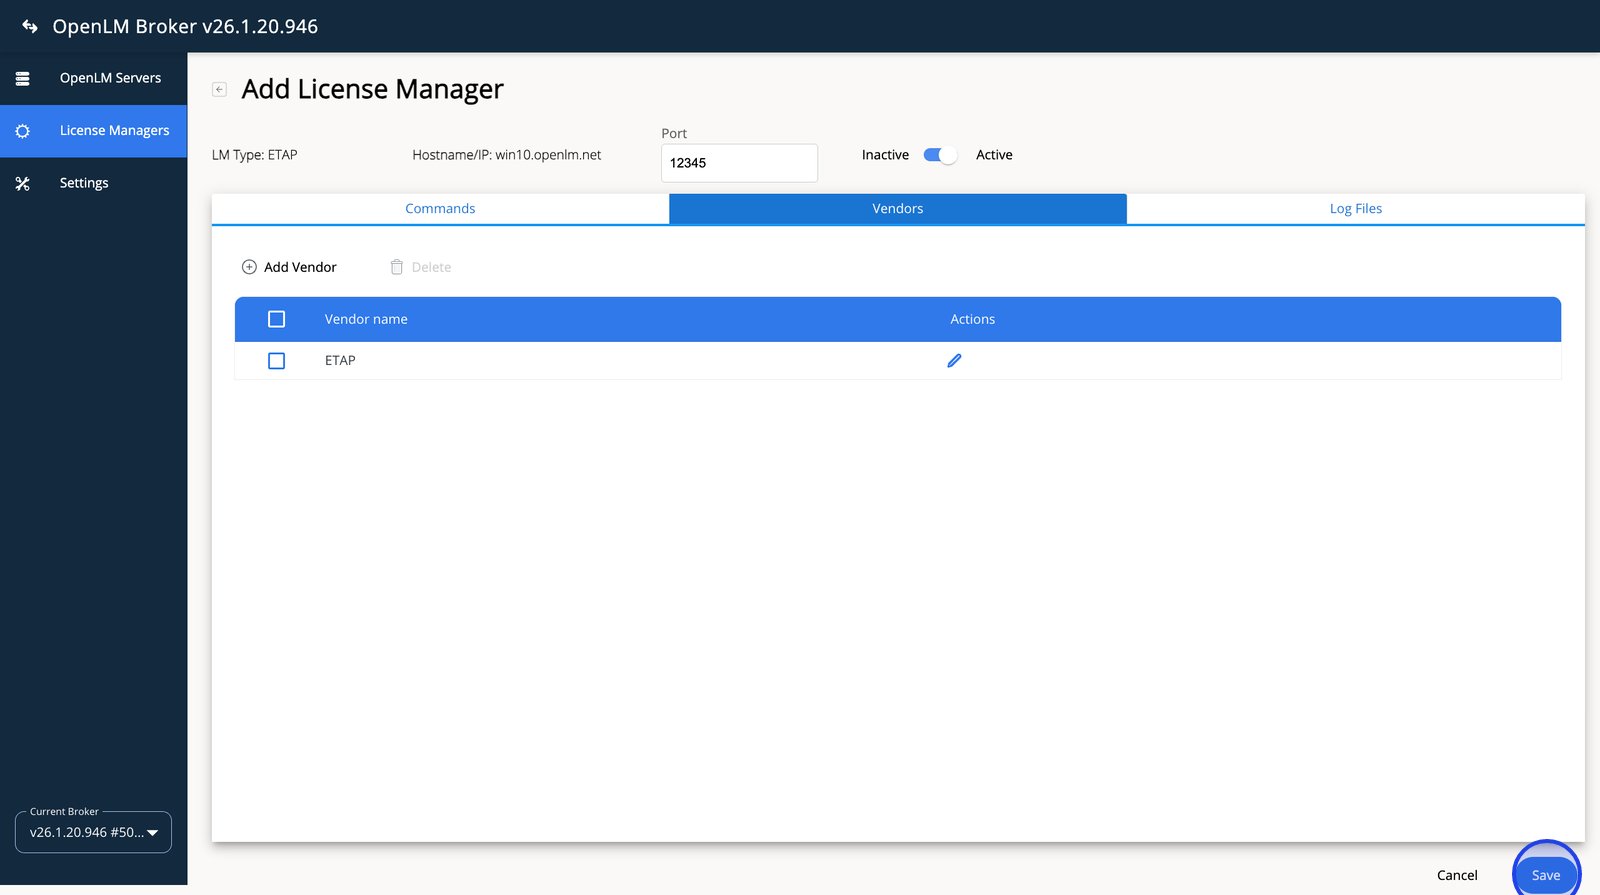
- Switch to the Vendors tab to verify the vendor definition tied to this license manager.
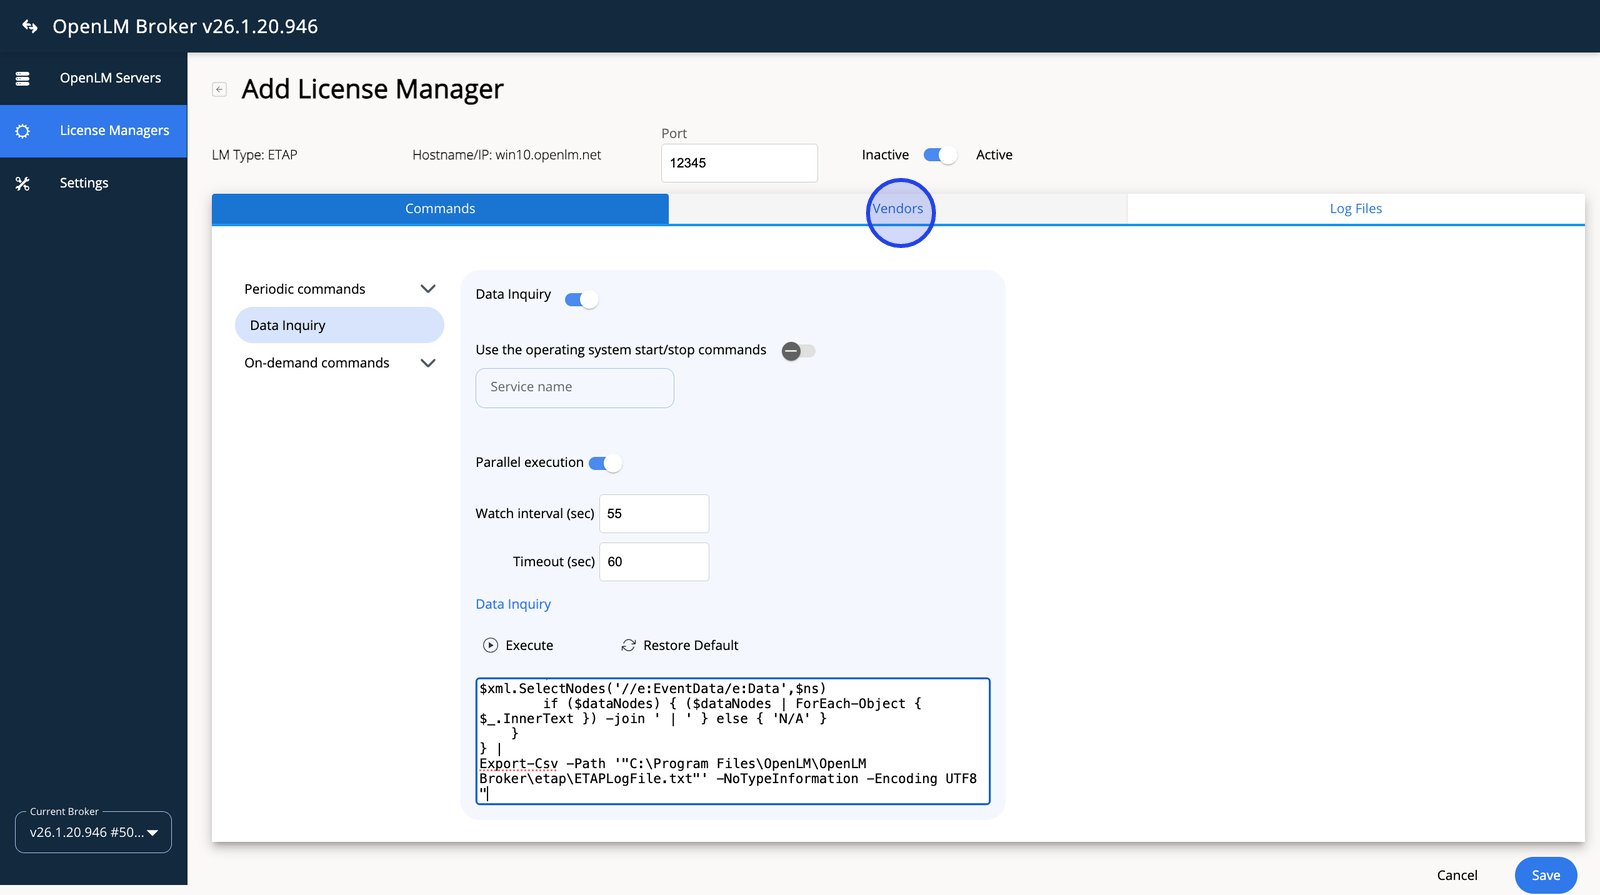
- Select Save to apply the license manager configuration and send it for approval.
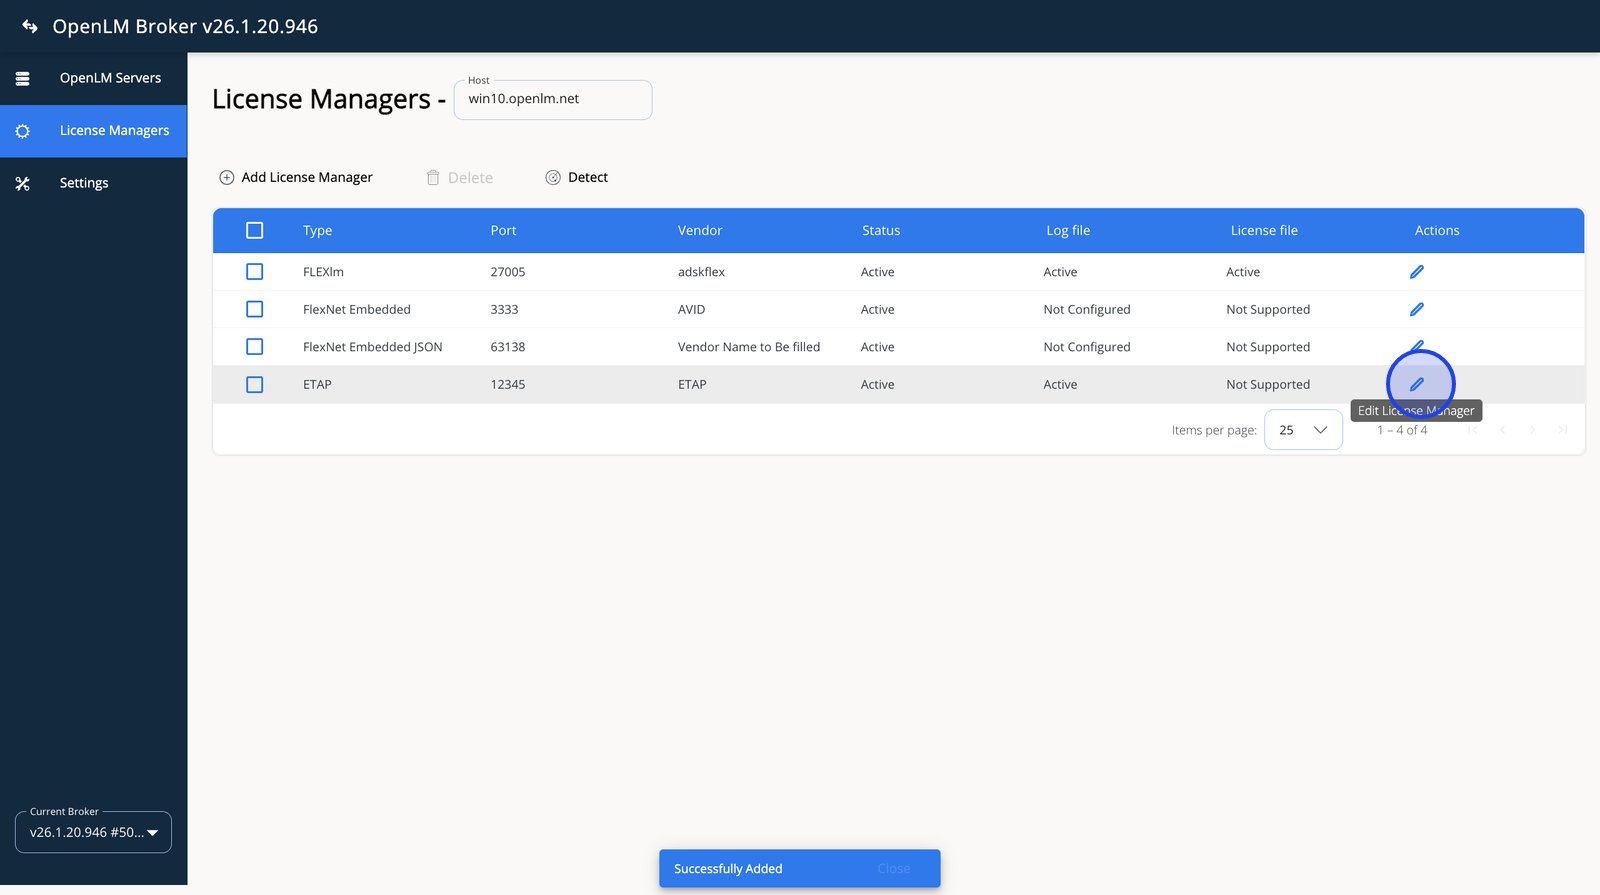
- Use the Edit action to reopen the license manager and fine-tune its settings if required.
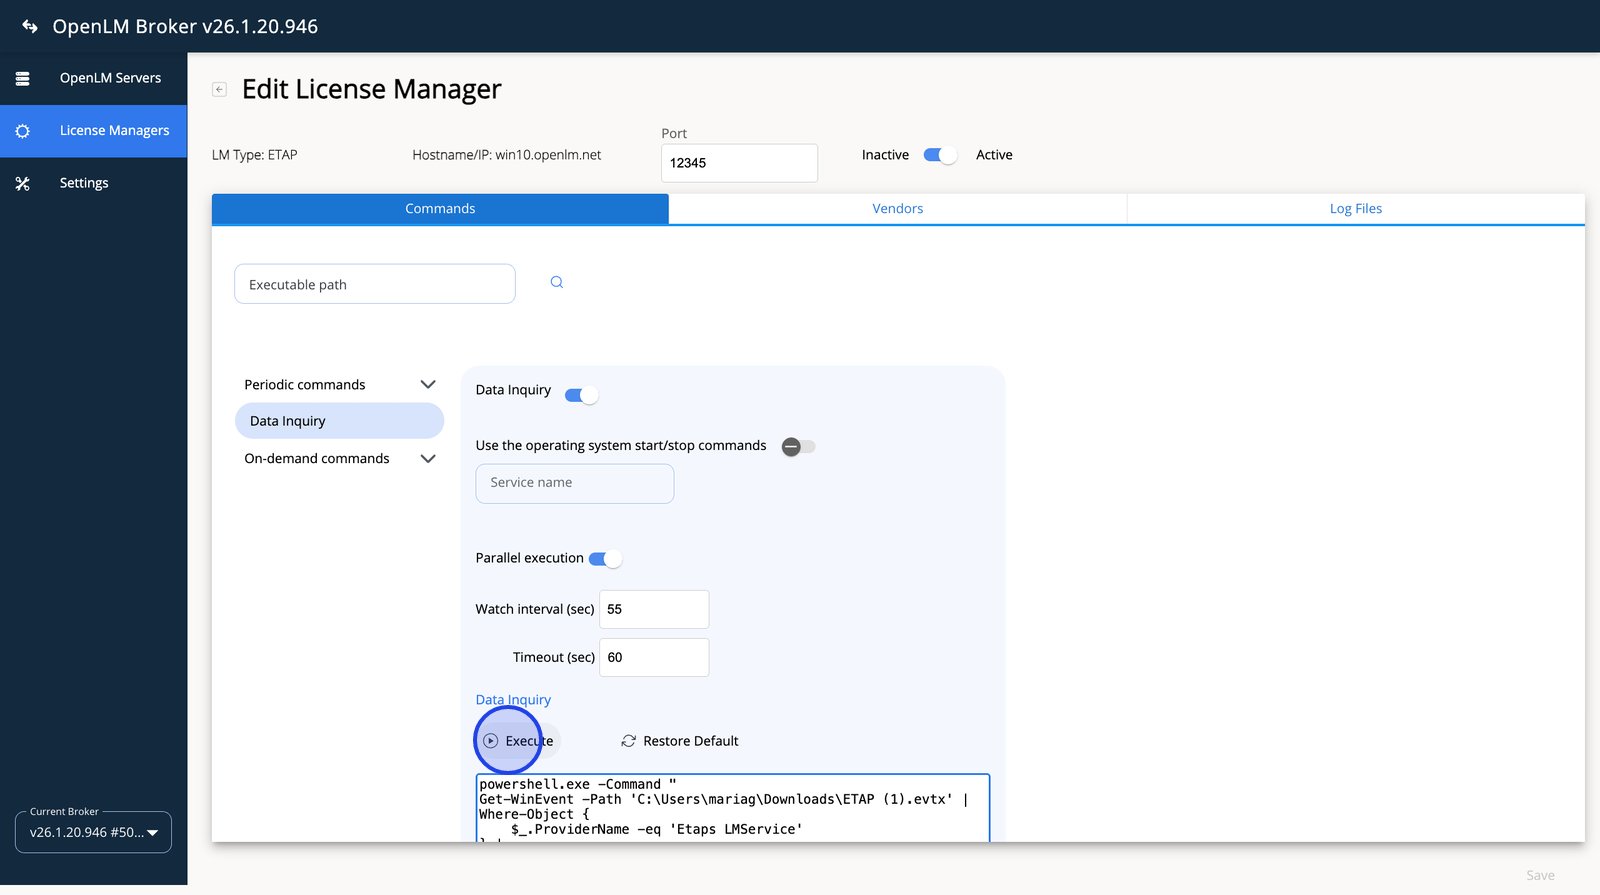
- Select Execute to test the Data Inquiry command and confirm it returns valid results.
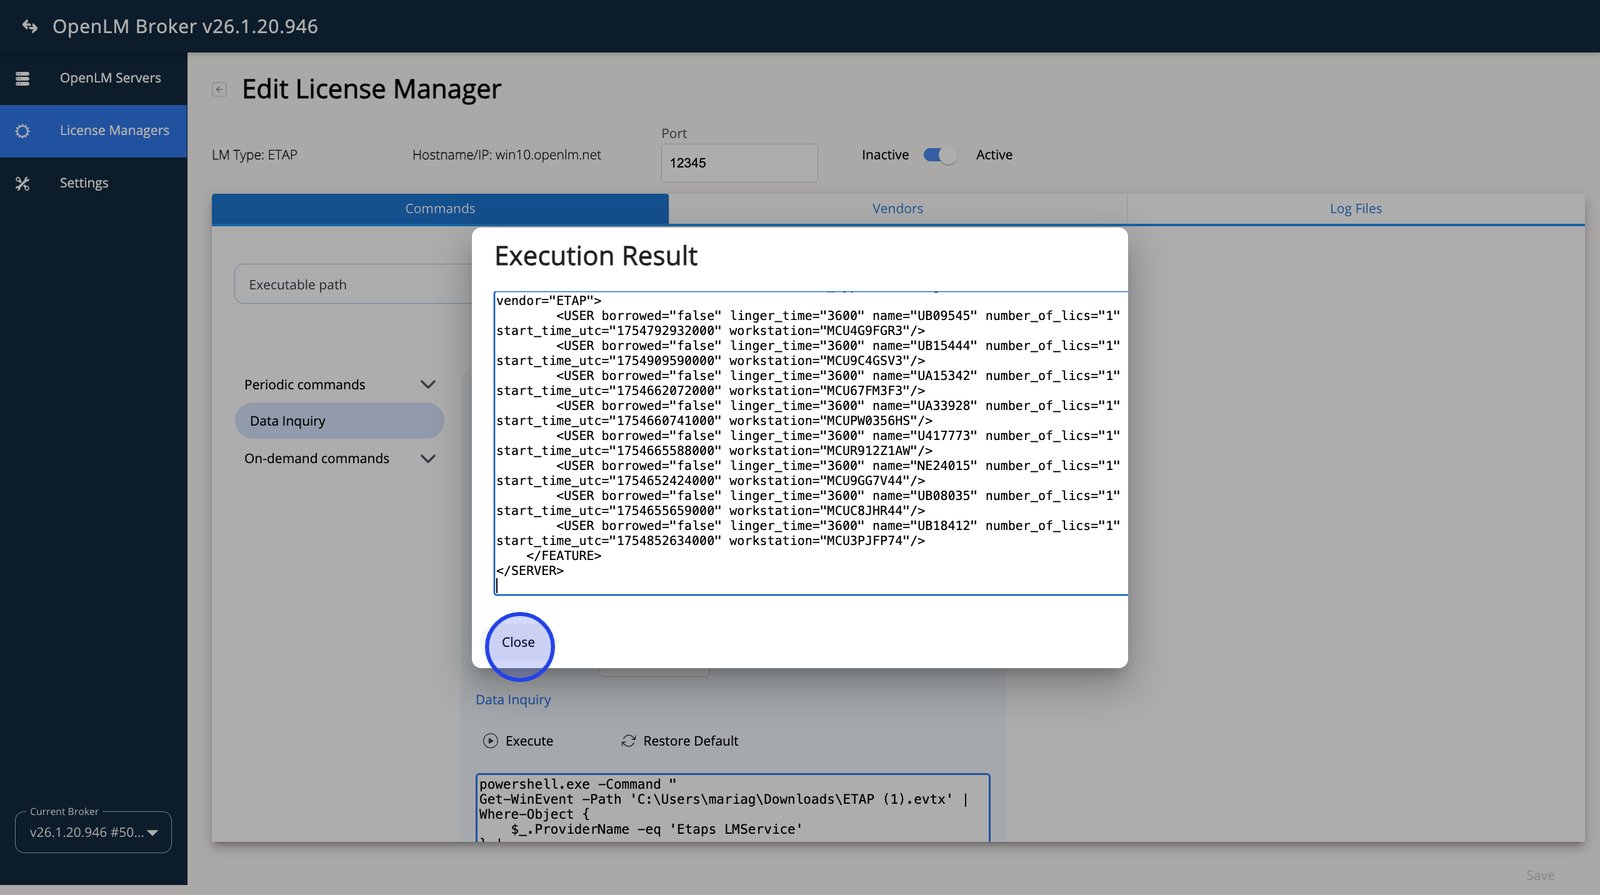
- Close the Execution Result window after validating the command output.
OpenLM SLM configuration
Once the OpenLM Broker is set up, proceed to configure OpenLM through the EasyAdmin User Interface:
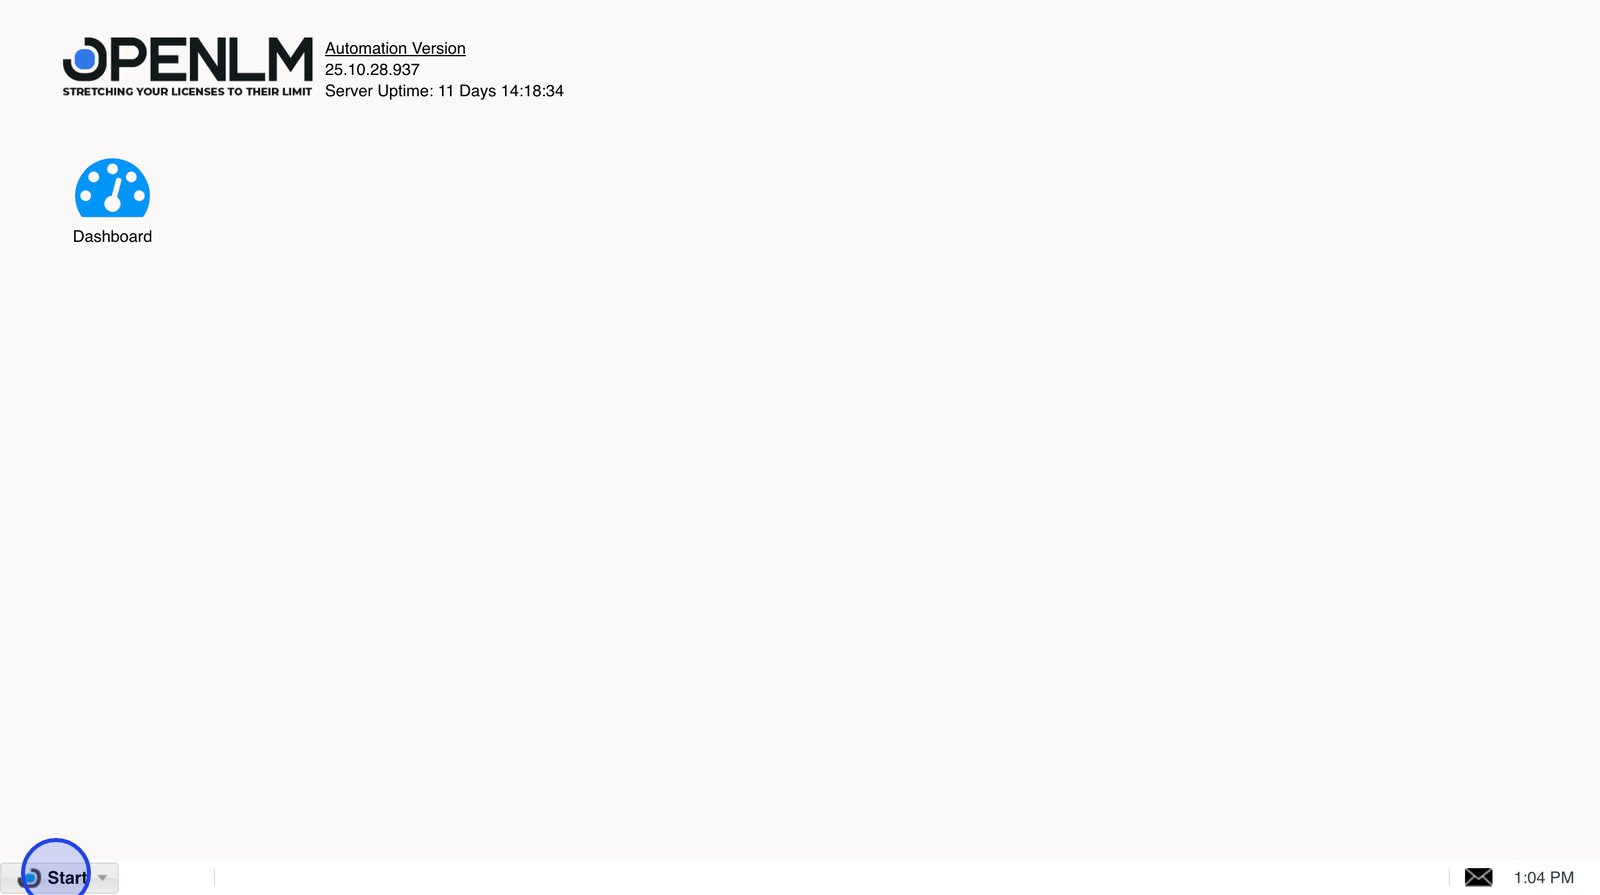
- Navigate to EasyAdmin User Interface. Open the Start menu.
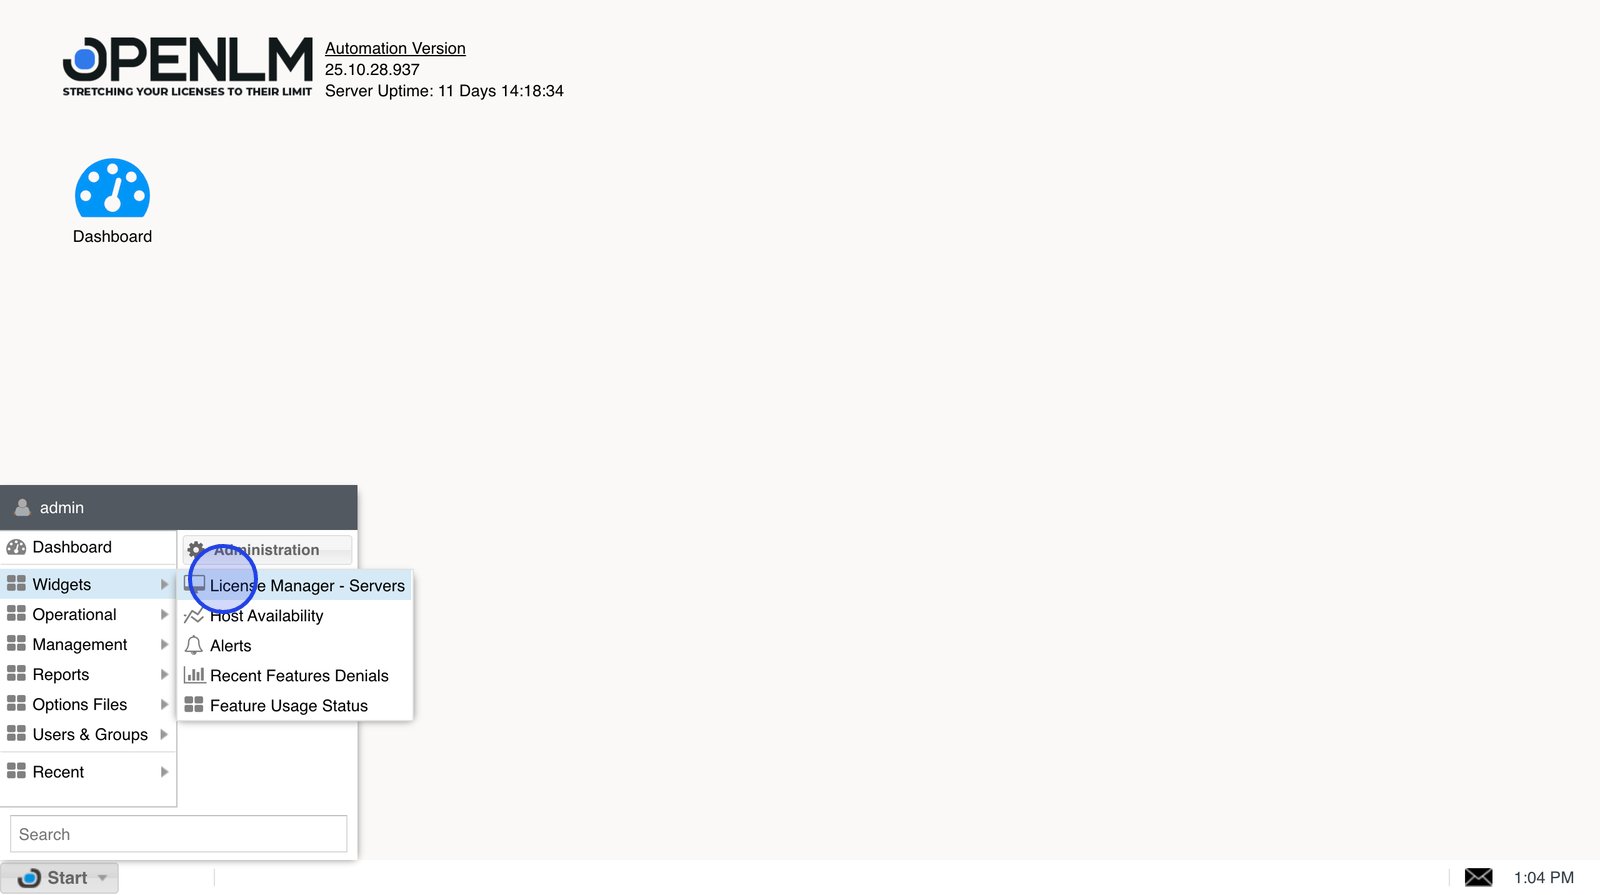
- Navigate to Start -> Widgets -> License Manager Servers to review broker servers awaiting approval.
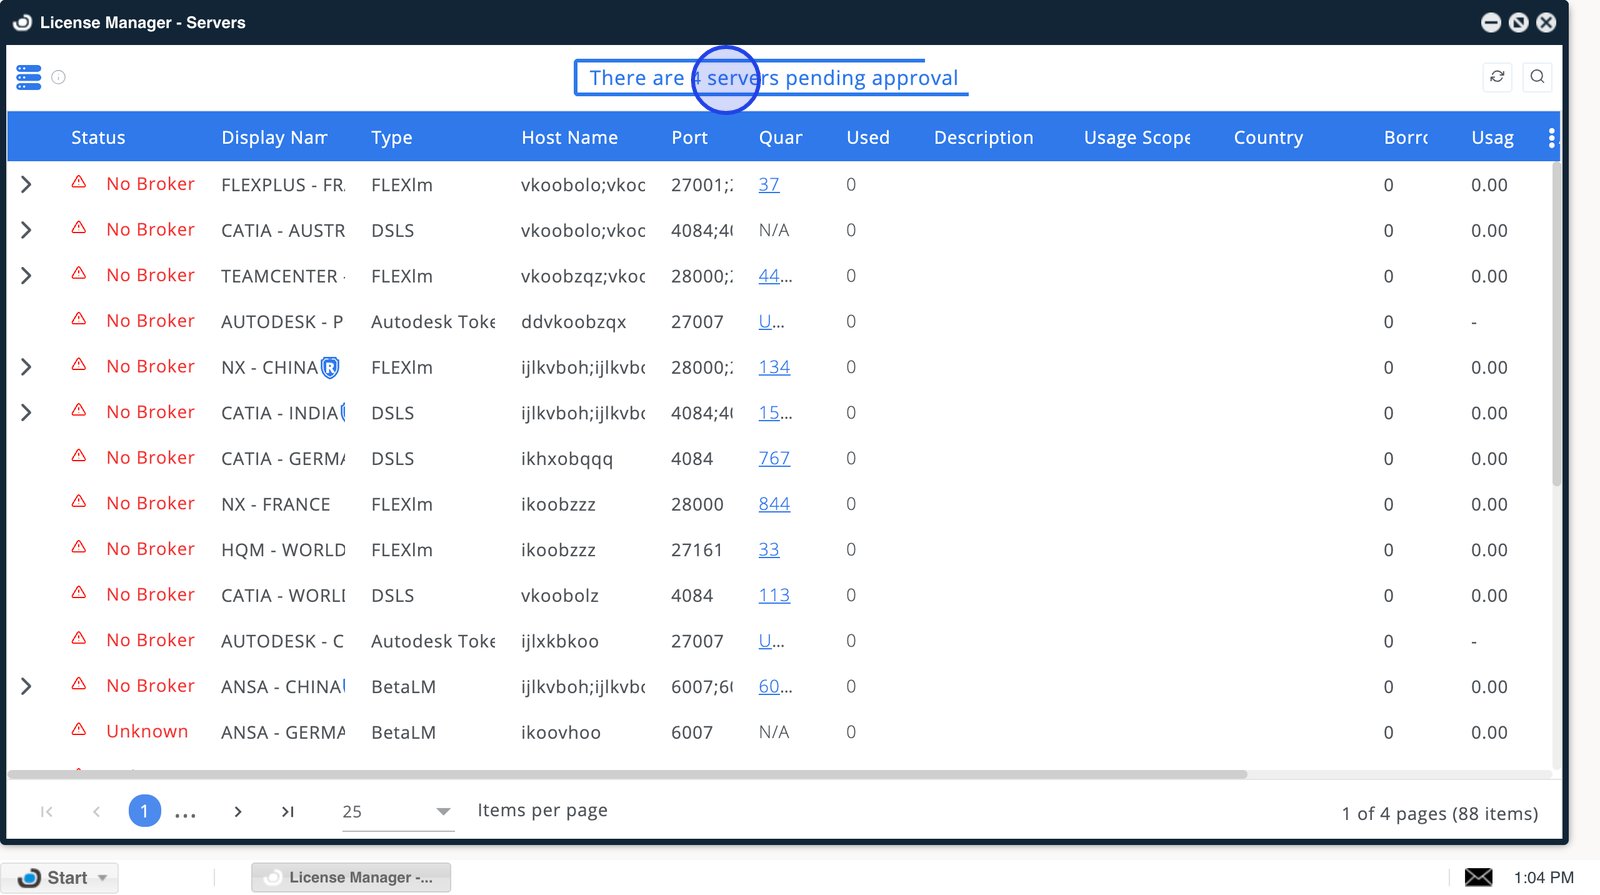
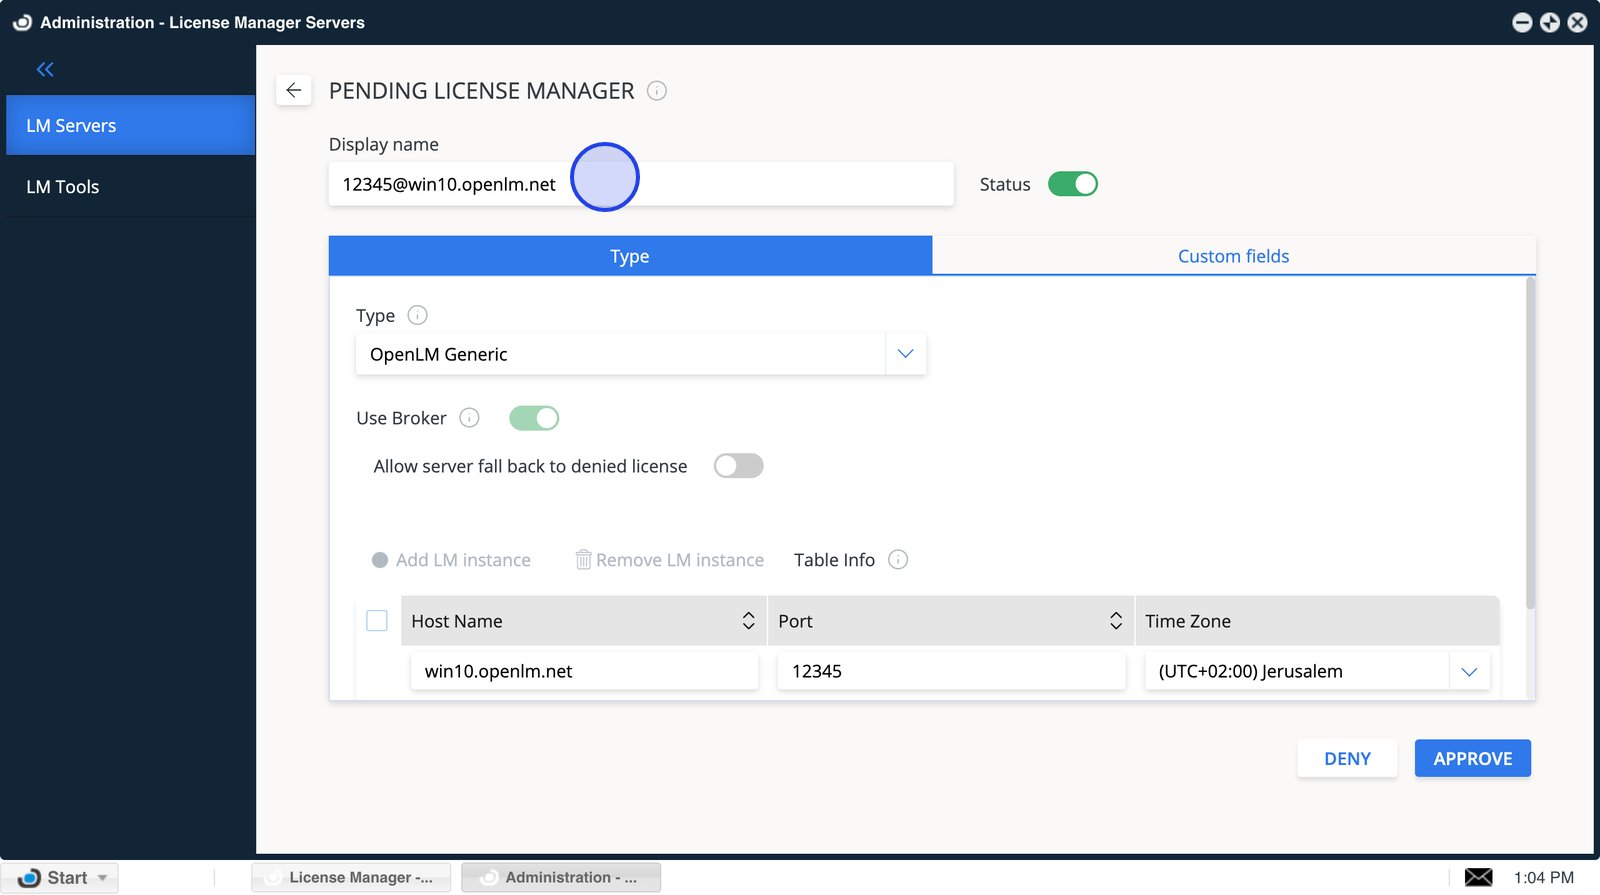
- Double-click the pending-approval banner to jump directly to servers that need approval (displayed as OpenLM Generic).
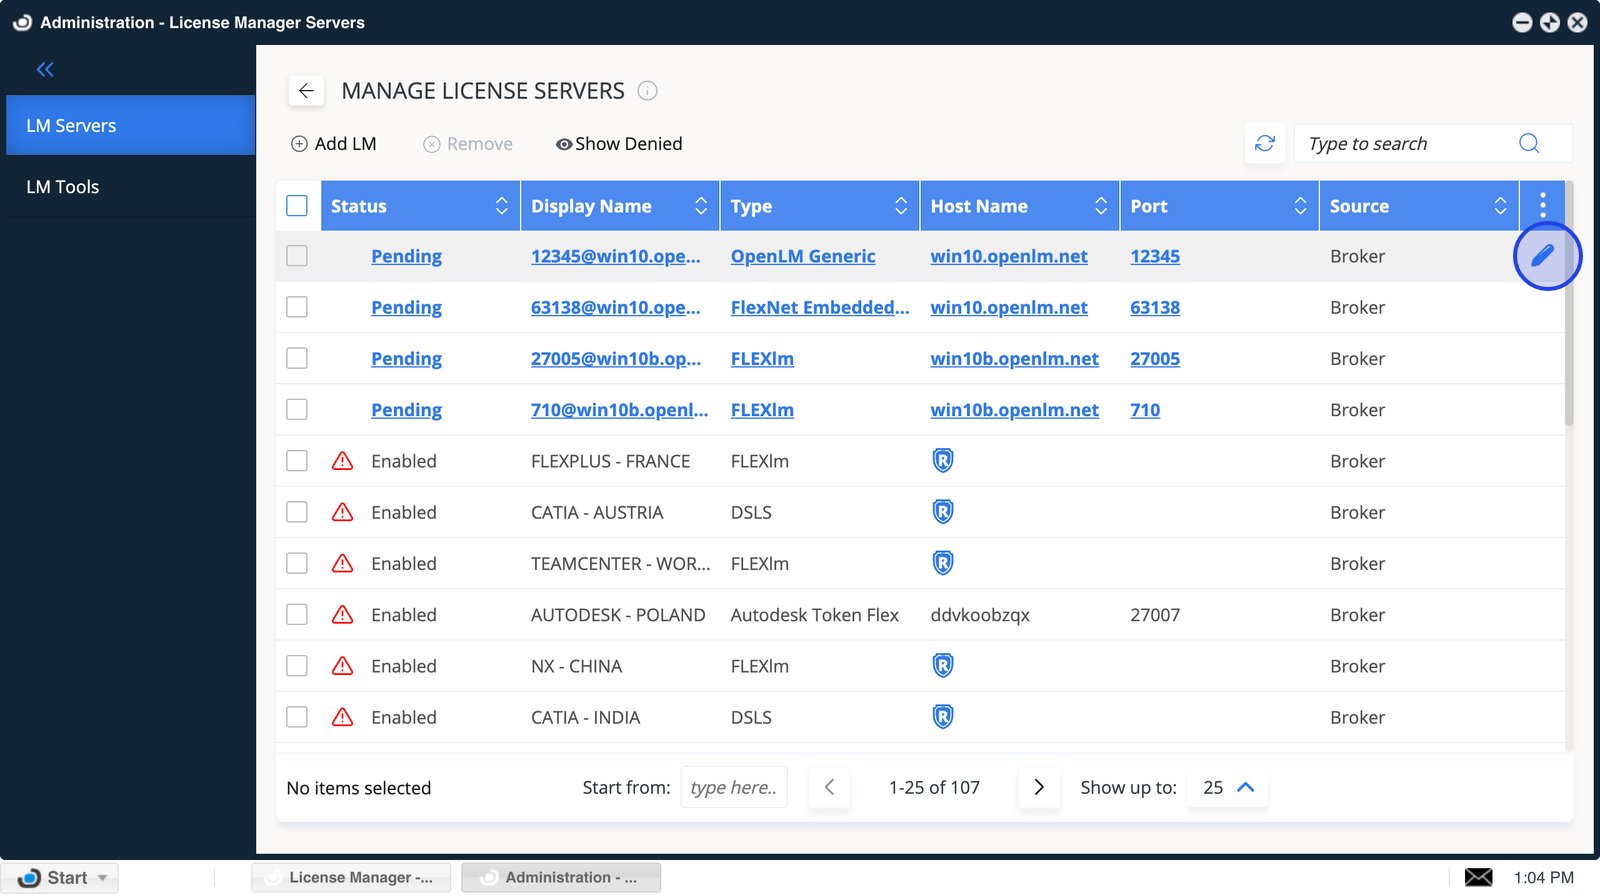
- Select Edit on the pending server to review its details before approving it.
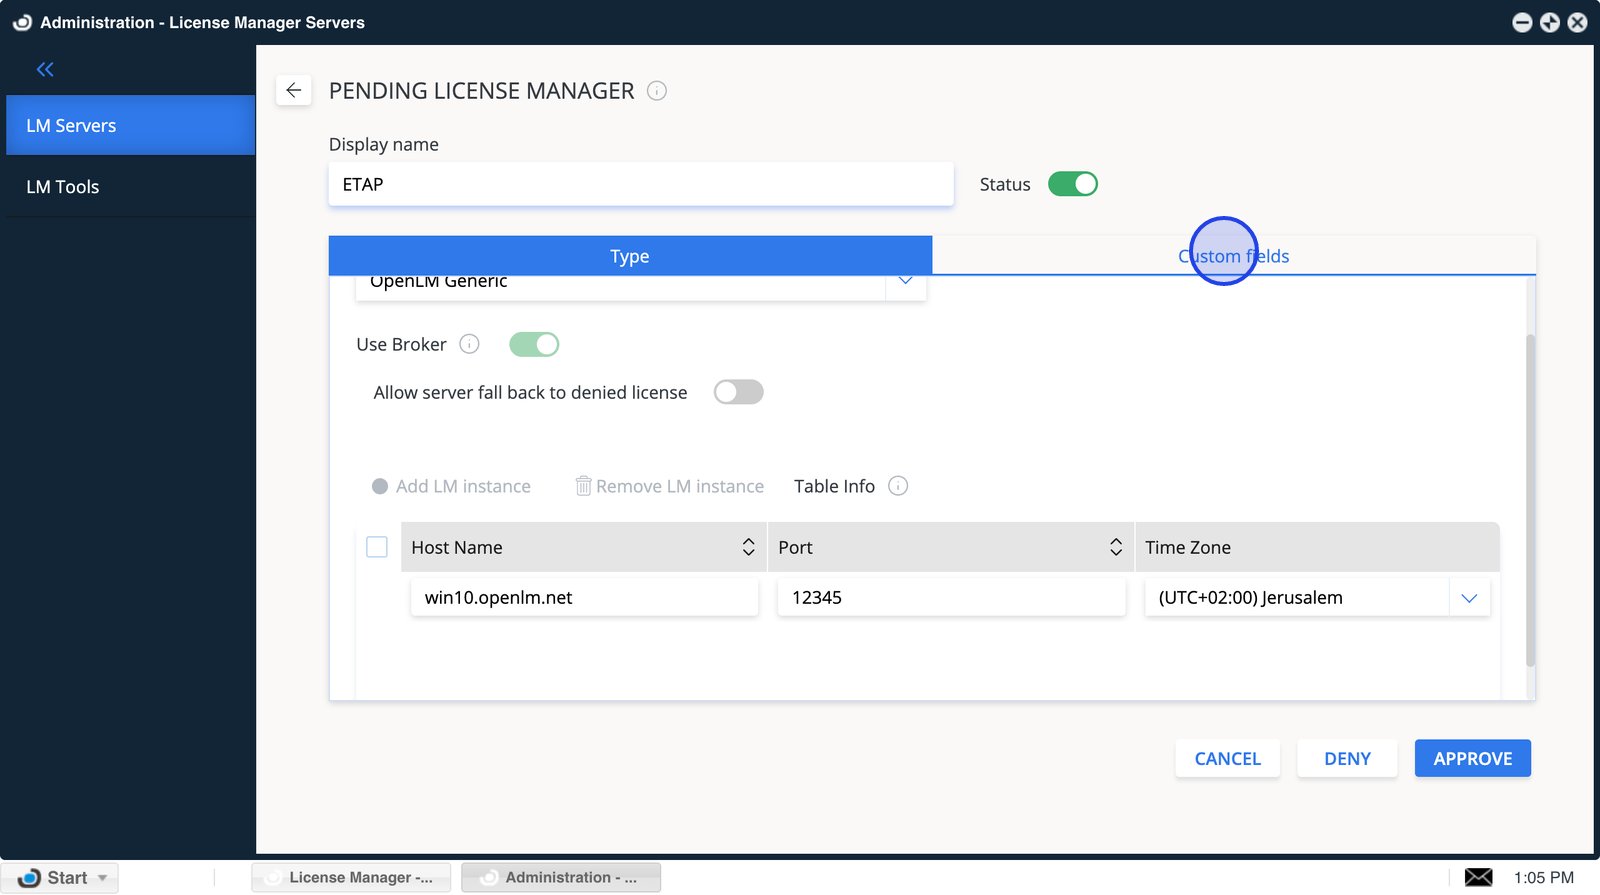
- Confirm the Display name so the server is easy to identify after approval.
- Open Custom fields to fill in any required metadata for this server.
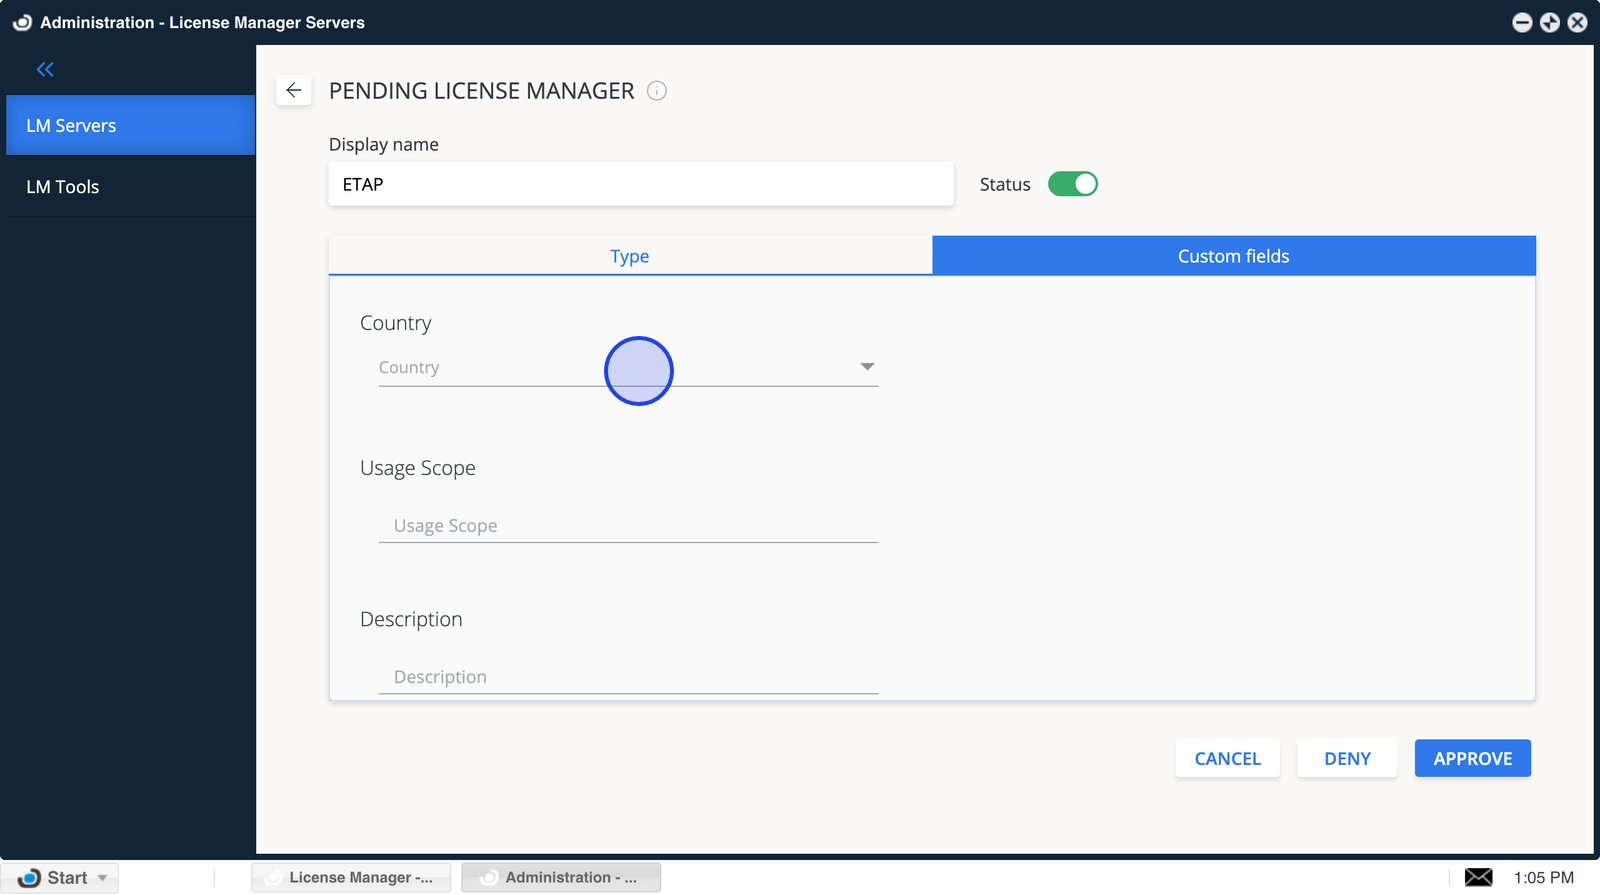
- Use the Custom Fields to add relevant details, such as country, usage scope, or description.
- Select APPROVE to activate the broker-added license manager in Administration.
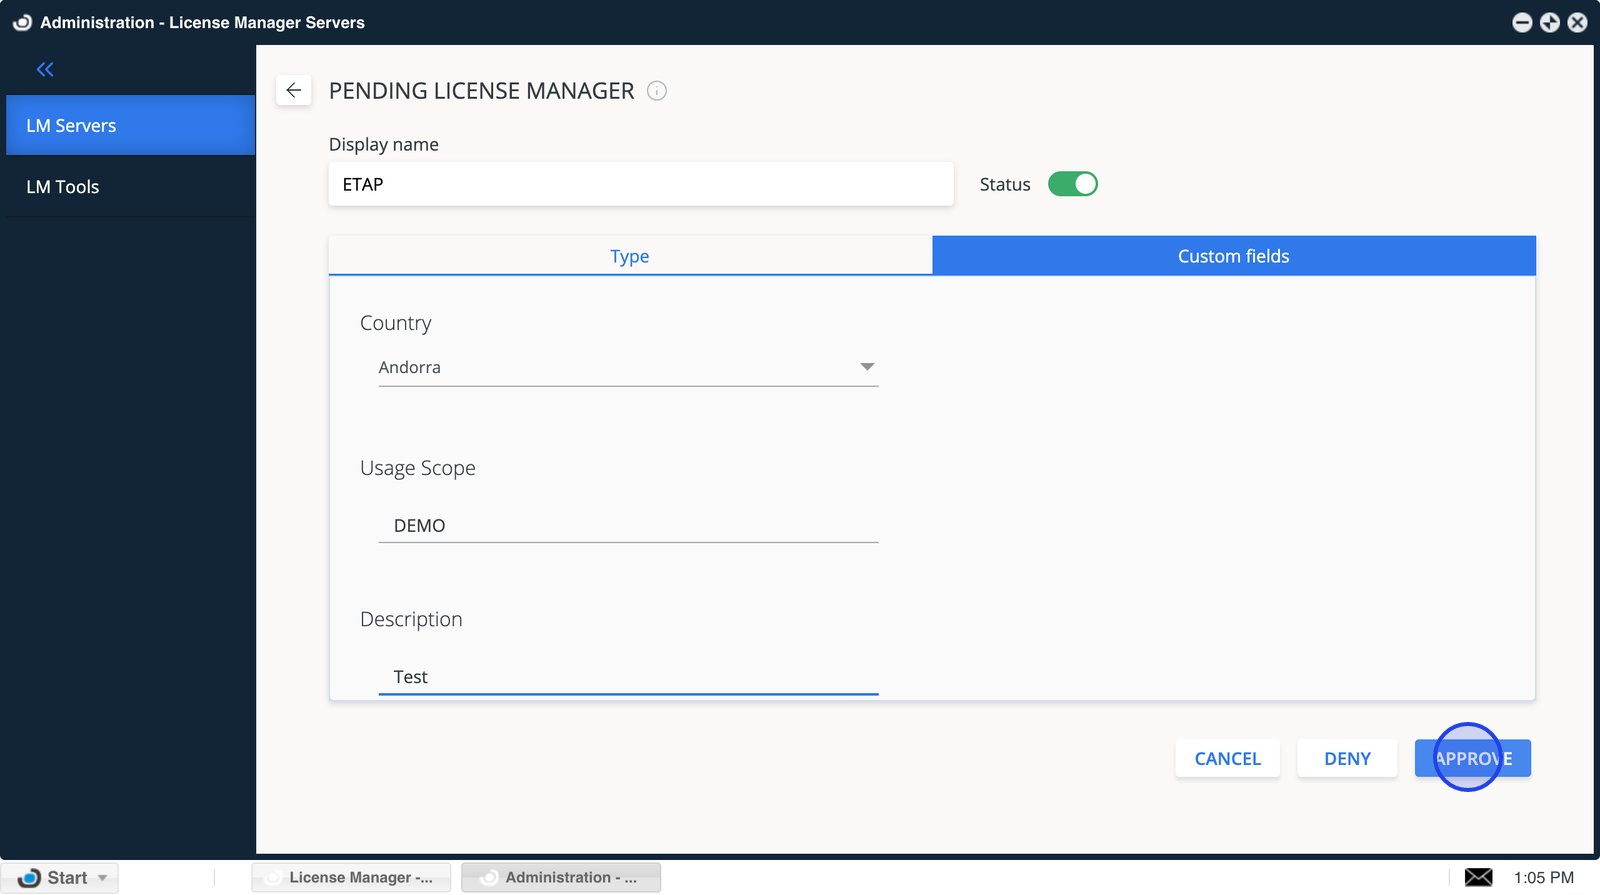
- Verify the configuration details and select Approve.
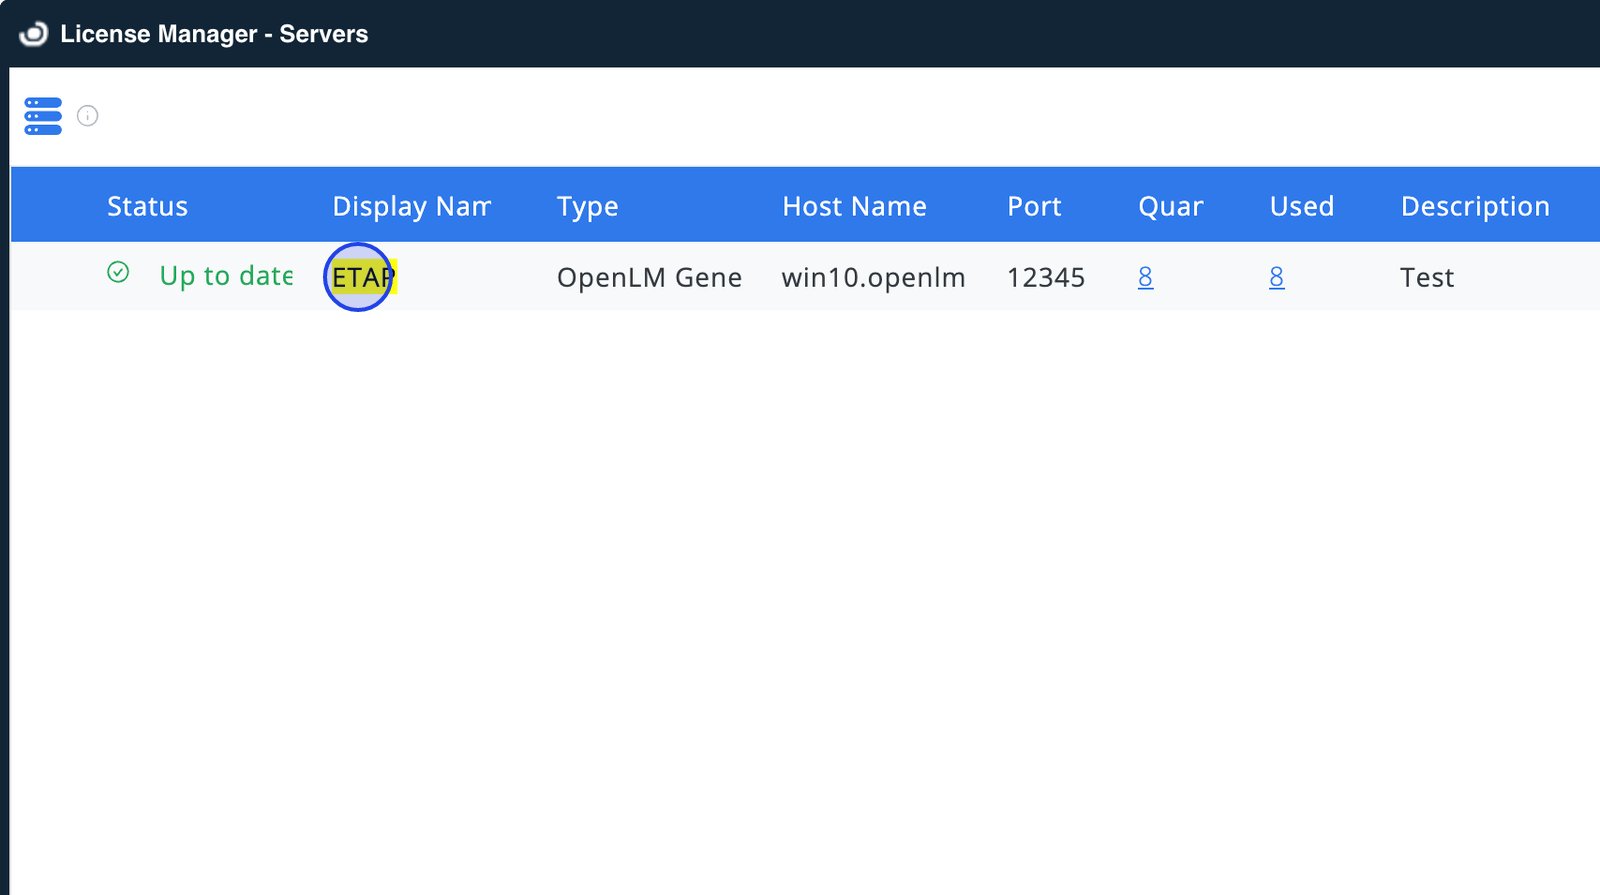
The ETAP License Manager will now be added to the OpenLM SLM. After a brief period (up to 3 minutes), the system will parse the data and display its status with a green circle, indicating an active connection.
Verifying the ETAP configuration
To confirm that the ETAP License Manager is correctly configured:
- Open EasyAdmin in your browser.
- Navigate to EasyAdmin Start -> Widgets -> License Servers.
- Verify that the configured license manager appears in the server list.
A green circle node indicates an active connection to the license server.
Note: For new connections, it may take up to 3 minutes for the status indicator to change.