Scope
OpenLM monitors license usage according to users and user groups. It can also be utilized to apply license usage constraints via Options file management.
This document discusses the different entity types that OpenLM relates to Users, User groups, Host, Host groups, and IPs.
It briefly explains their roles and methods of introduction to the OpenLM DB.
Users
There are four methods of introducing new users to the OpenLM database:
- Active license usage: when a user checks out a license
- Manually through the EasyAdmin User Interface web application.
- Synchronizing with a company’s Active directory
- Options File Reading
Active users
Once a user checks out a license for the first time, they automatically become an Active User. All information is recorded and stored and the System Administrator can gauge usage and ownership of software in the future.
Manually introducing new Users
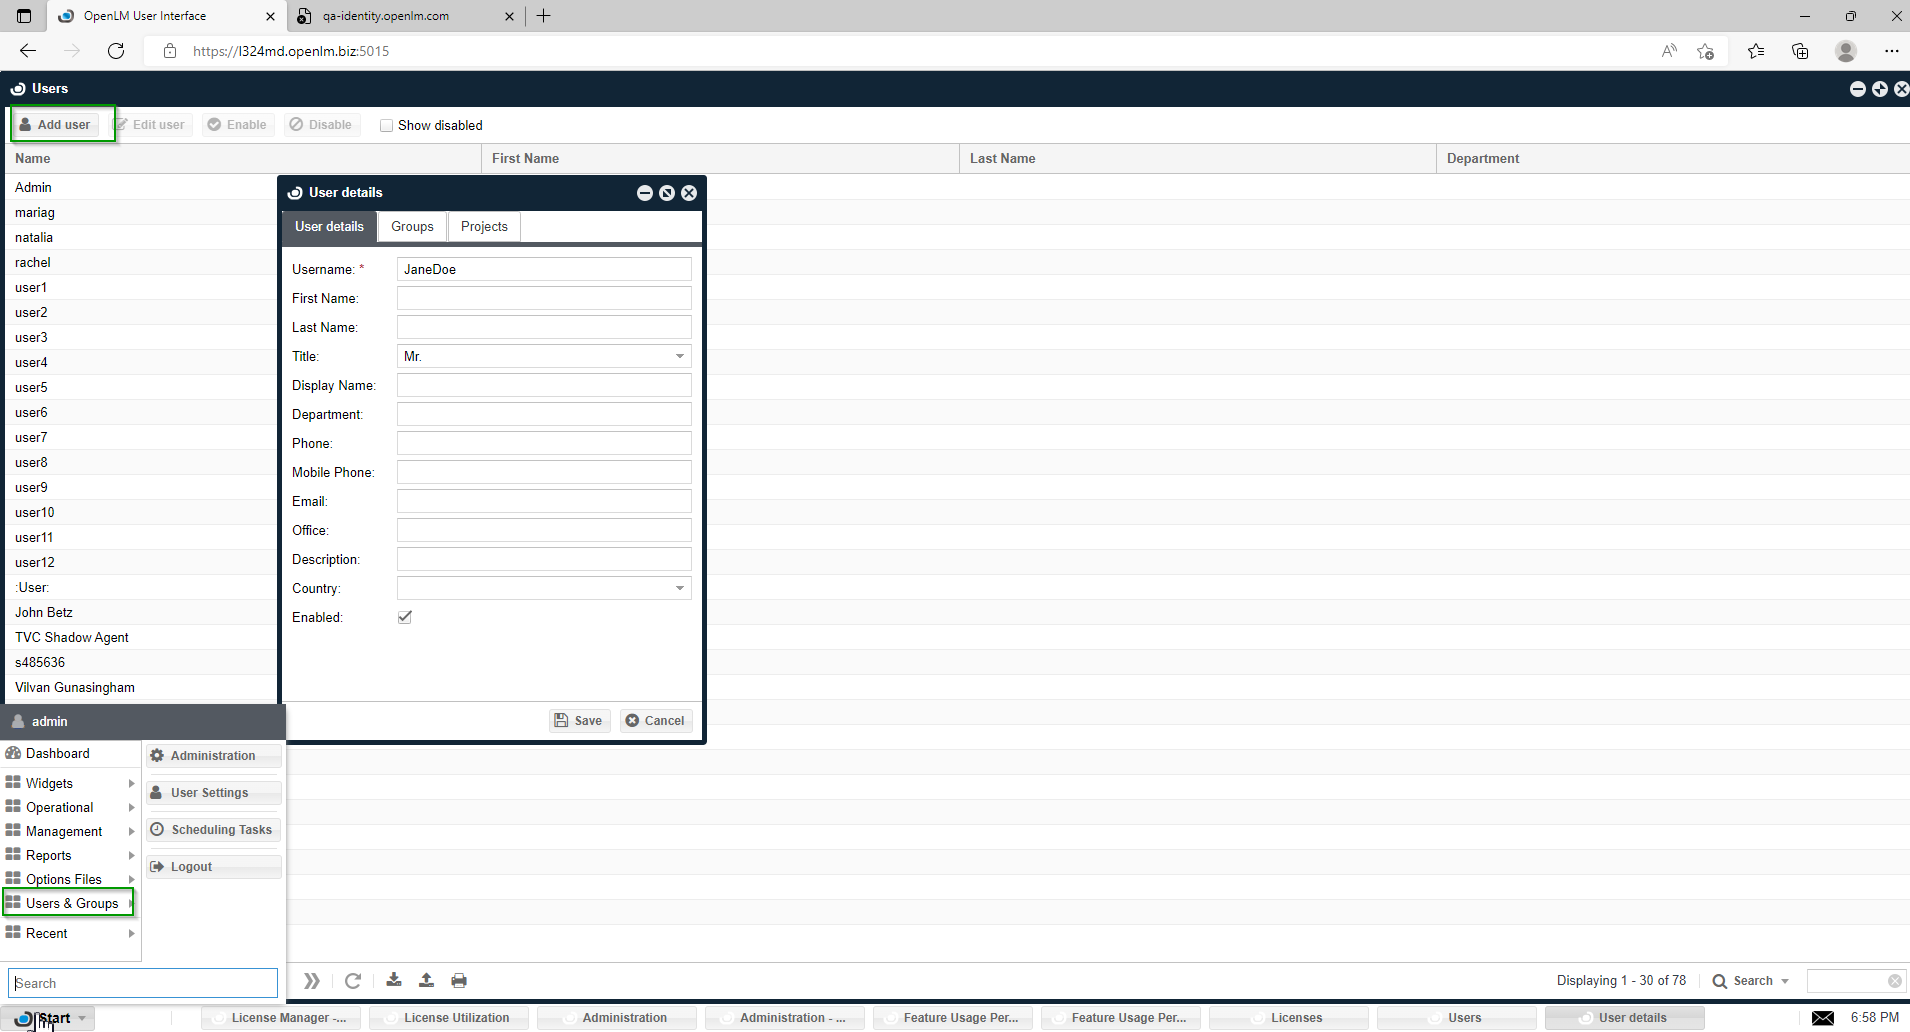
The manual method of adding users and groups is through EasyAdmin’s Users & Groups menu.
- Open the OpenLM EasyAdmin web application.
- Click Start → Users & Groups → Users.
- Click Add User and insert the required data, Check Enabled, and then click Save.
Synchronizing Users with the Organization’s Active Directory (LDAP)
To import users via directory synchronization, refer to the following Application notes:
For current versions of OpenLM, use the Directory Synchronization components:
Directory Synchronization – Comprehensive Guide
Importing information from an Options file
FLEXlm (FlexNet publisher) Options files grant license administrators close control over various operating parameters within the constraints of the license model. Licensed features can be dedicated, denied, or reserved to users or groups of users, as well as Hosts, IPs, and Host Groups according to the Options file setting.
Read more about it in this document:
Options File management Using OpenLM EasyAdmin
Groups
User groups may be imported into the OpenLM DB through one of the following:
- Manually adding a user group through the EasyAdmin User Interface web application.
- Synchronizing with a company’s Active Directory service.
- Options File reading.
Note:
- Users may be members of several groups. Each user is assigned a default user group.
- OpenLM attributes the entire usage time of a specific user to the user’s default group.
- Users who are only members of a single group – that group will be regarded as their default group.
Manually introducing new User Groups
- Open the OpenLM EasyAdmin web application.
- Click Start → Users & Groups → Groups
- Click Add Group and Insert the required data, Insert information for the Group Name, and click OK.
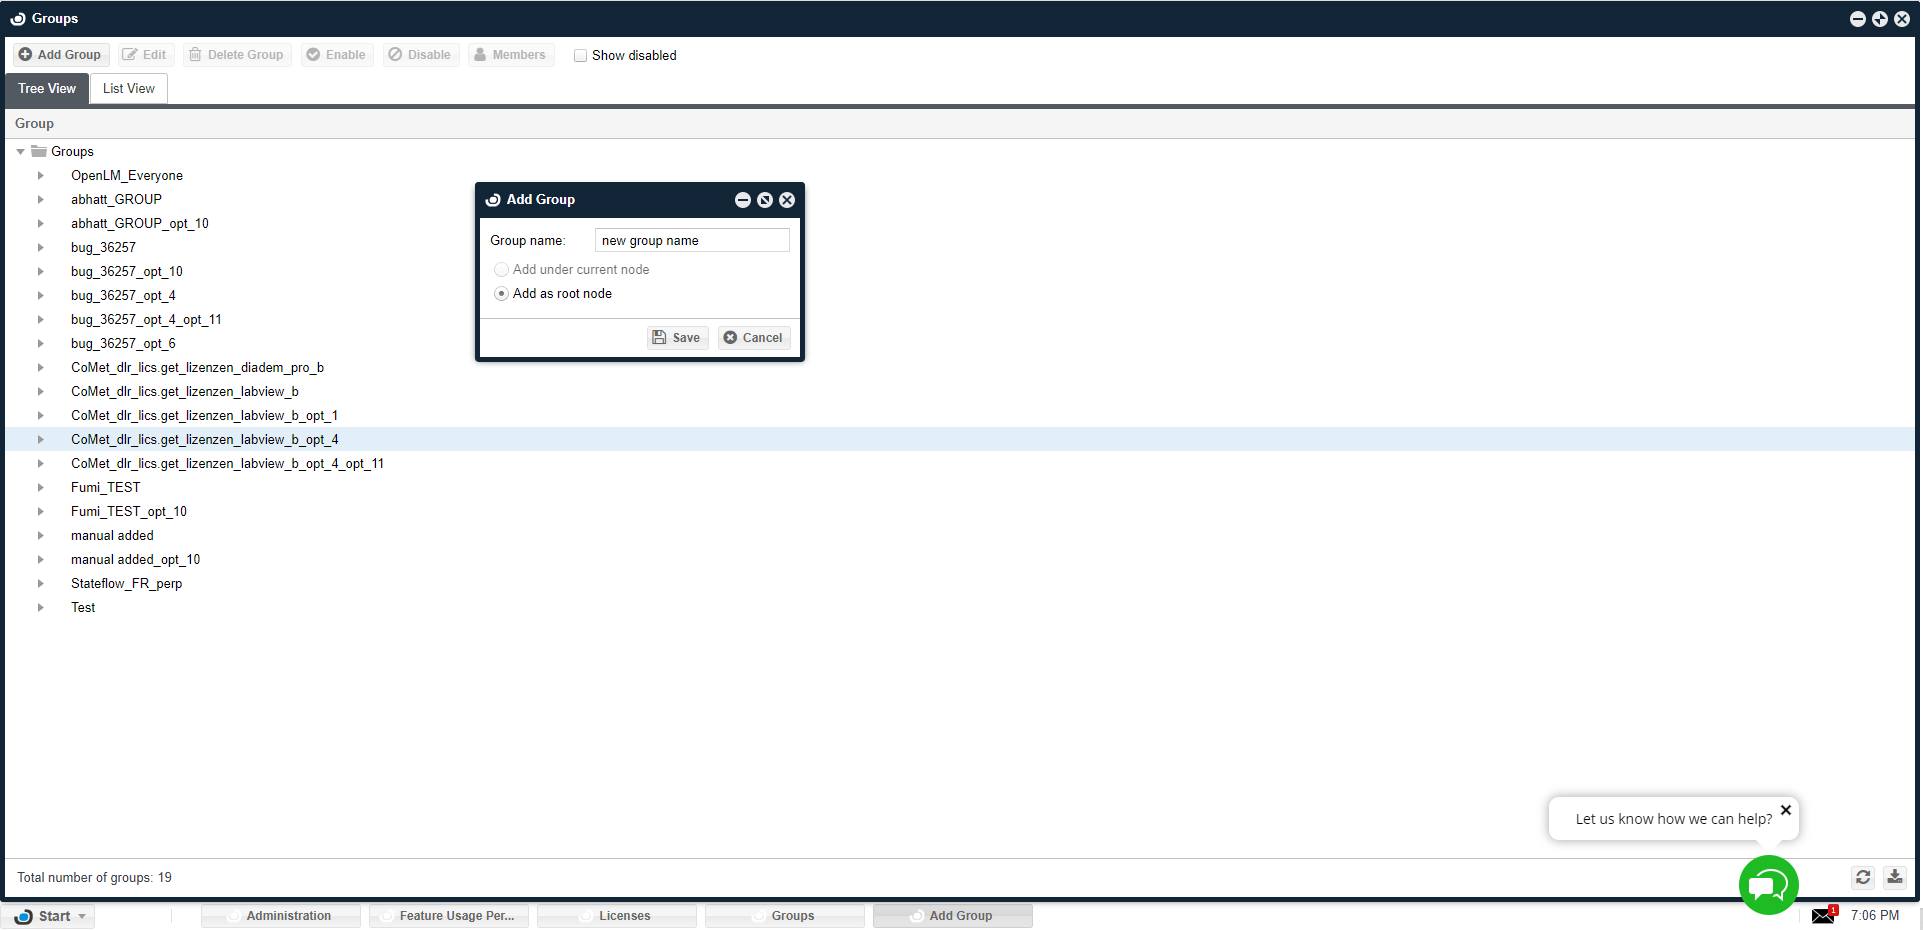
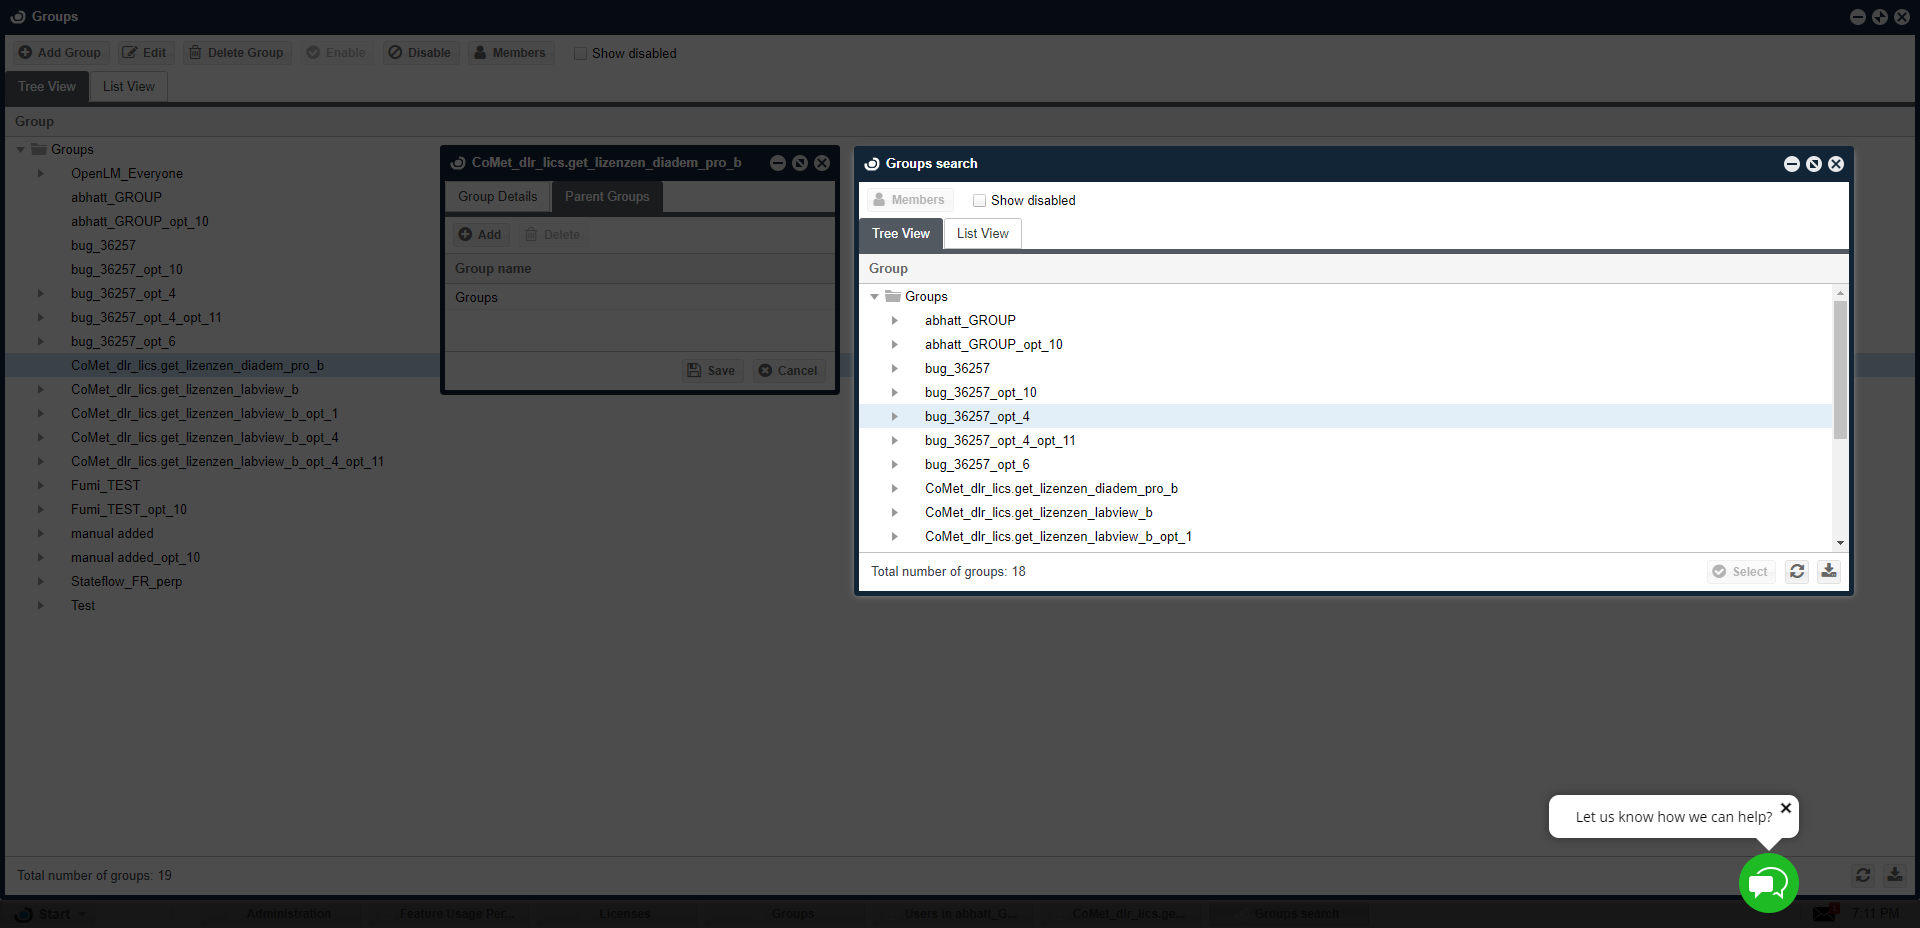
- From the Groups window, highlight the newly created group(a) (e.g.: my_group) and click the Members icon (b) to add new members to the group. The Users in my_group window (c) opens.
- The Users search window will open. Select users from the Users search window and click Add (d) to Users in my_group. Repeat this step as often as necessary.
Introducing groups via Active Directory synchronization
This issue is also discussed in this document:
Directory Synchronization – Comprehensive Guide (specifically the “Group Rules tab” section)
Note that it is possible to set a user’s default group via the DSS configuration interface.
Options file reading
It is also possible to import Groups and Group members via Options file reading, as already discussed above, and in this application note:
Options File management Using OpenLM EasyAdmin
Applying Options files restrictions to IP ranges
Controlling the license usage of specific computers is made possible by applying constraints to IP addresses. It is also possible to control the license usage of an IP range of computers.
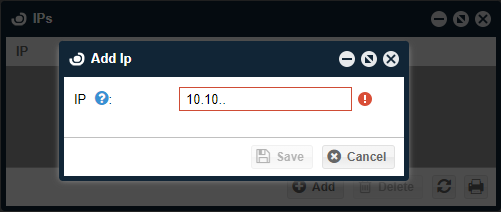
For example, typing in the IP: 123.123.123.* applies the Options File configurations window to be implemented on all user IPs in the range of 123.123.123.0 through 123.123.123.255.
Add a specific IP
- Open the EasyAdmin web application.
- ClickStart → Option Files → IPs
- Click the Add button, and the Add IP window will open.
- In the text box enter the IP address you want to add.
Add a range of IPs
- On the EasyAdmin User Interface web application window.
- Click Start→ Option Files → IPs
- Click the Add button, and the Add IP window will open.
- In the text box enter the IP range you want to add (as explained in the paragraph above).
Applying Options files restrictions to Hosts and Host groups
Hosts may be introduced into the OpenLM DB
- Options file reading
- LDAP synchronization
- Manually into the Options file editor (see below)
About Host Groups
Custom groups of virtual machine hosts may also be created, for grouping hosts and their virtual machines in meaningful ways. For example, you may create a host group for every branch office in your organization. You can also use host groups to set aside resources on hosts in the host group for the use of the host operating system.
- Open the EasyAdmin User Interface web application.
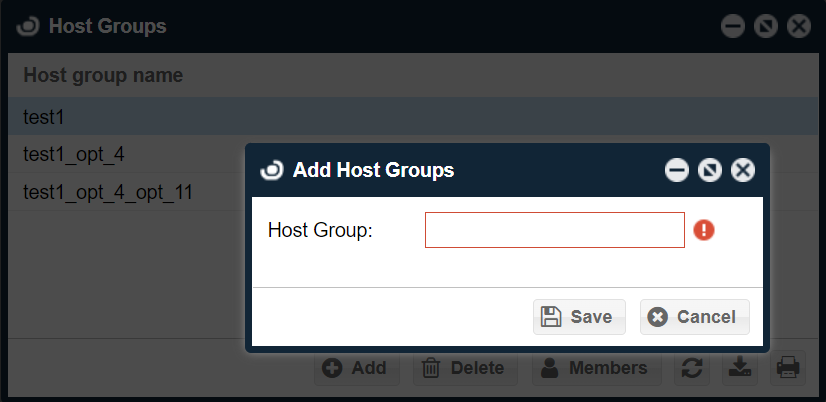
- Click Start → Option Files → Host Groups. The Host Groups window opens.
- Click the ‘Add‘ button, and add a Host group (e.g.: “test test test”).
- Select the newly added group, and click the “Members’ icon. The Members of the “test test test” window opens (see image).
- Select the computers that are required for grouping, then click ‘Select‘. The new Host group is ready for use.

