LexFloatServer
Follow these steps to configure OpenLM to monitor license usage and retrieve license statistics from LexFloat Server.
Requirements
Before you query the license manager, install:
- OpenLM Platform
- OpenLM Broker v25.x or higher installed on the same machine as LexFloat, and approve it in Broker Hub.
Monitoring capabilities
| Item | Value |
|---|---|
| LM Type in the Broker | LexFloat Server |
| Commands | No |
| Logs | Yes |
| Quantity | No |
| Expiration date | No |
| Denied | No |
| Borrowing | No |
| Allocations | No |
| Report resolution | Seconds |
Using the Broker also enables buffered communication and allows remote start and stop of the license manager service.
OpenLM Broker configuration
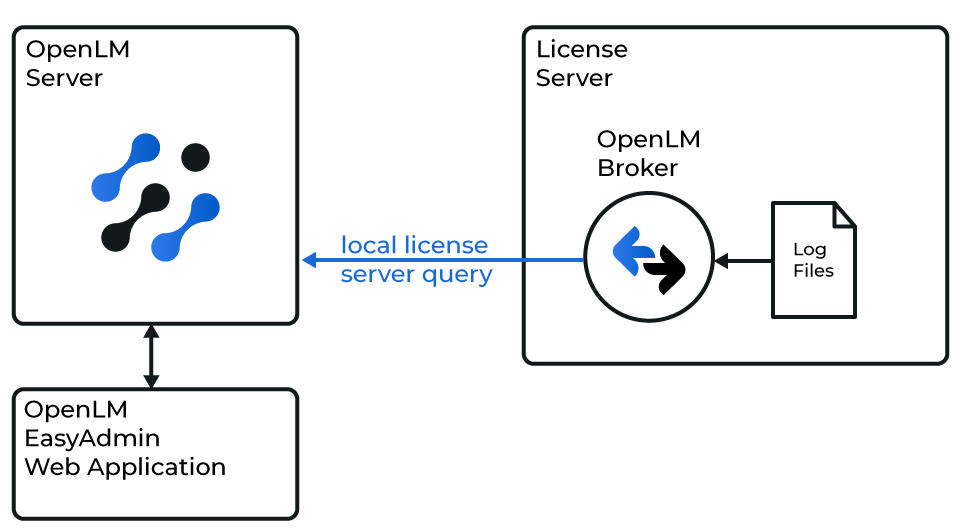
OpenLM Broker must be installed and configured to report to OpenLM SLM before proceeding.
Configuring via Broker UI
-
Open the Broker web UI at http://localhost:5090.
-
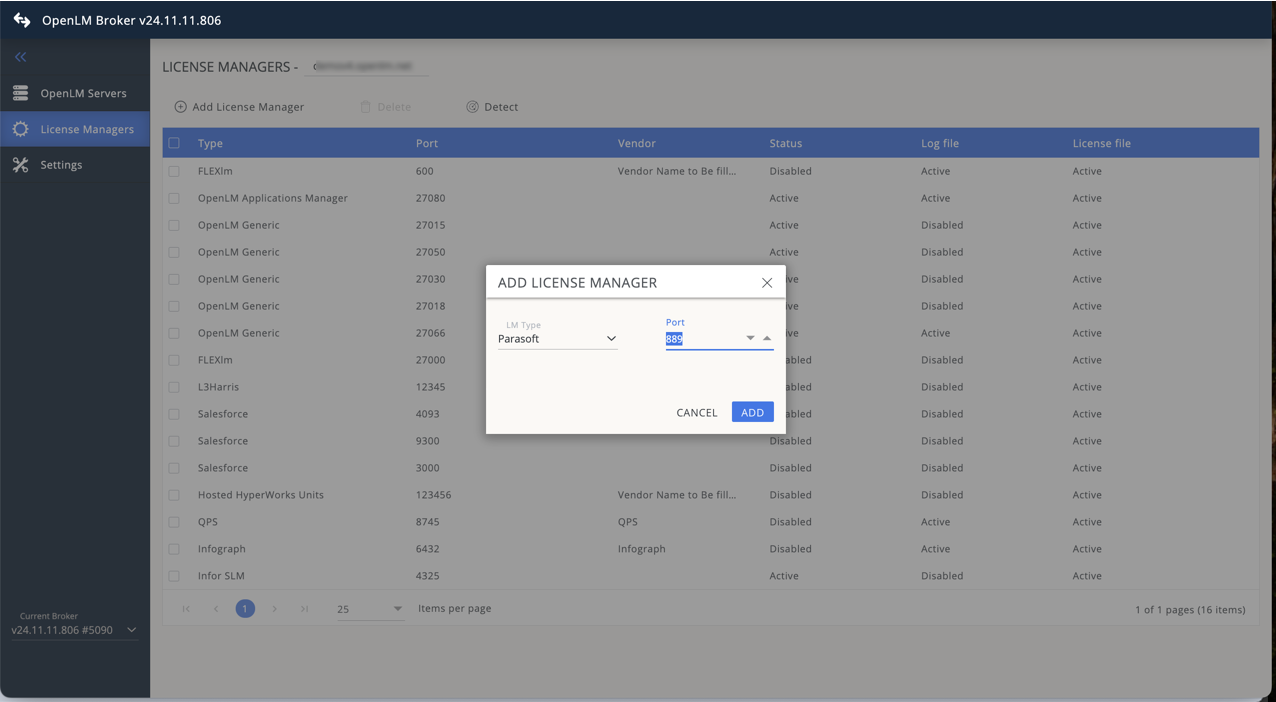
Go to License Managers -> Add License Manager.
-
From the LM Type drop-down list, select LexFloat Server.
-
Enter the port number (e.g., 889) and click Add.

-
Go to the Vendors tab. Click Add Vendor, enter LexFloat Server, and click Continue.
-
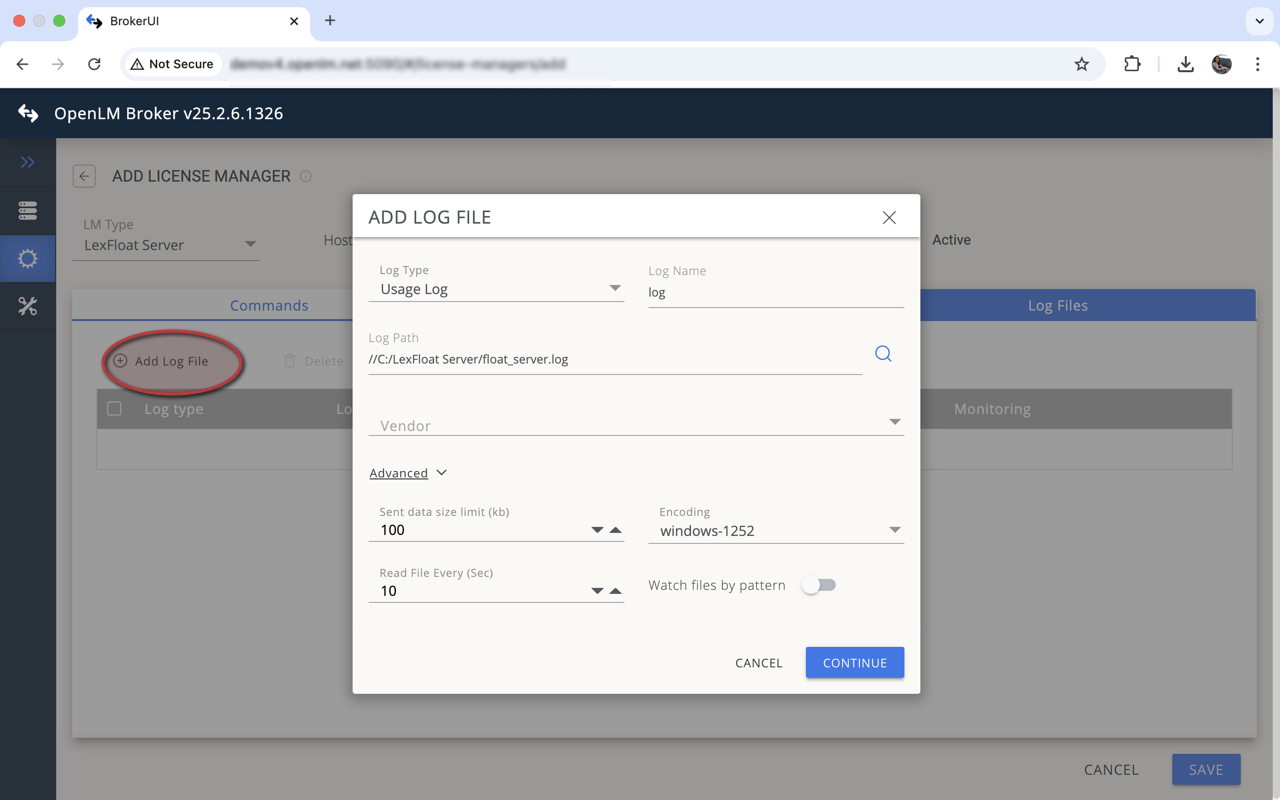
Go to the Log Files tab. Click Add Log File. Turn off Watch file by pattern. You can add multiple logs. Click Continue.
-
Click Save.
Configure OpenLM Platform
-
Log in to OpenLM Platform.
-
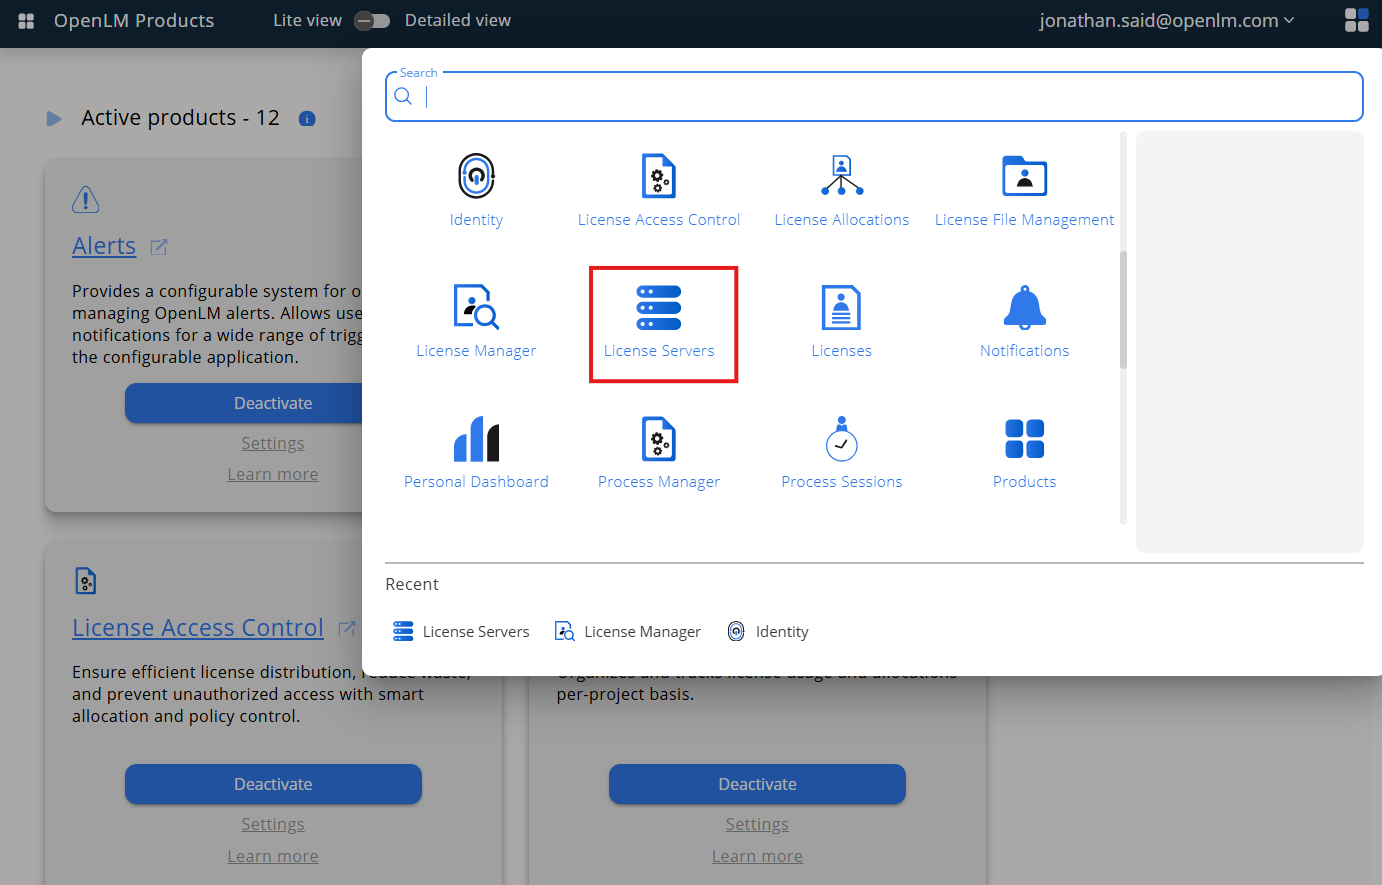
From Menu, go to License Servers.
-
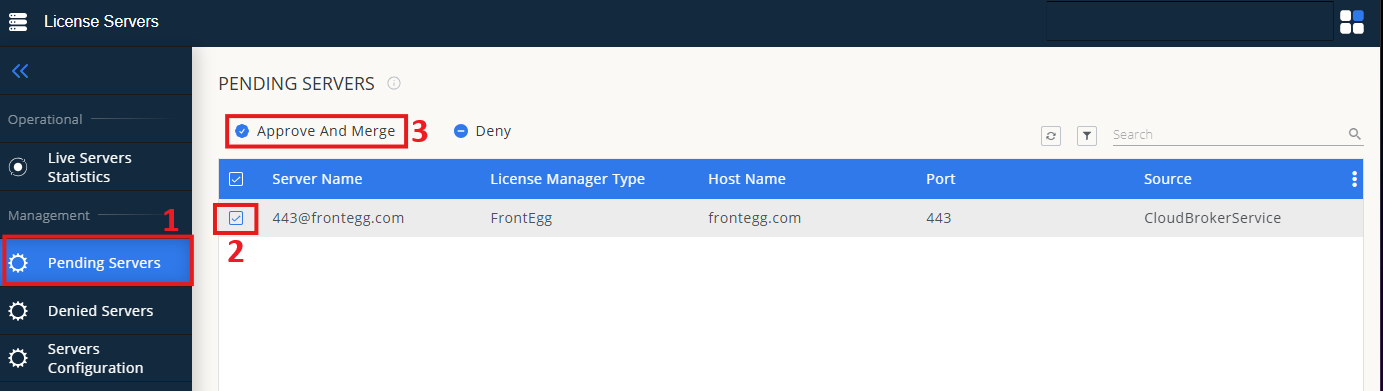
On left menu, select Pending Server
-
On the list, select the LexFloat license manager and click on Approve and Merge
-
In OpenLM Web Interface -> Menu -> License Servers Live -> Server Statistics.
-
Ensure LexFloat appears in the list with a green status indicator.
Note: It can take up to 3 minutes for the status to update for new connections.